
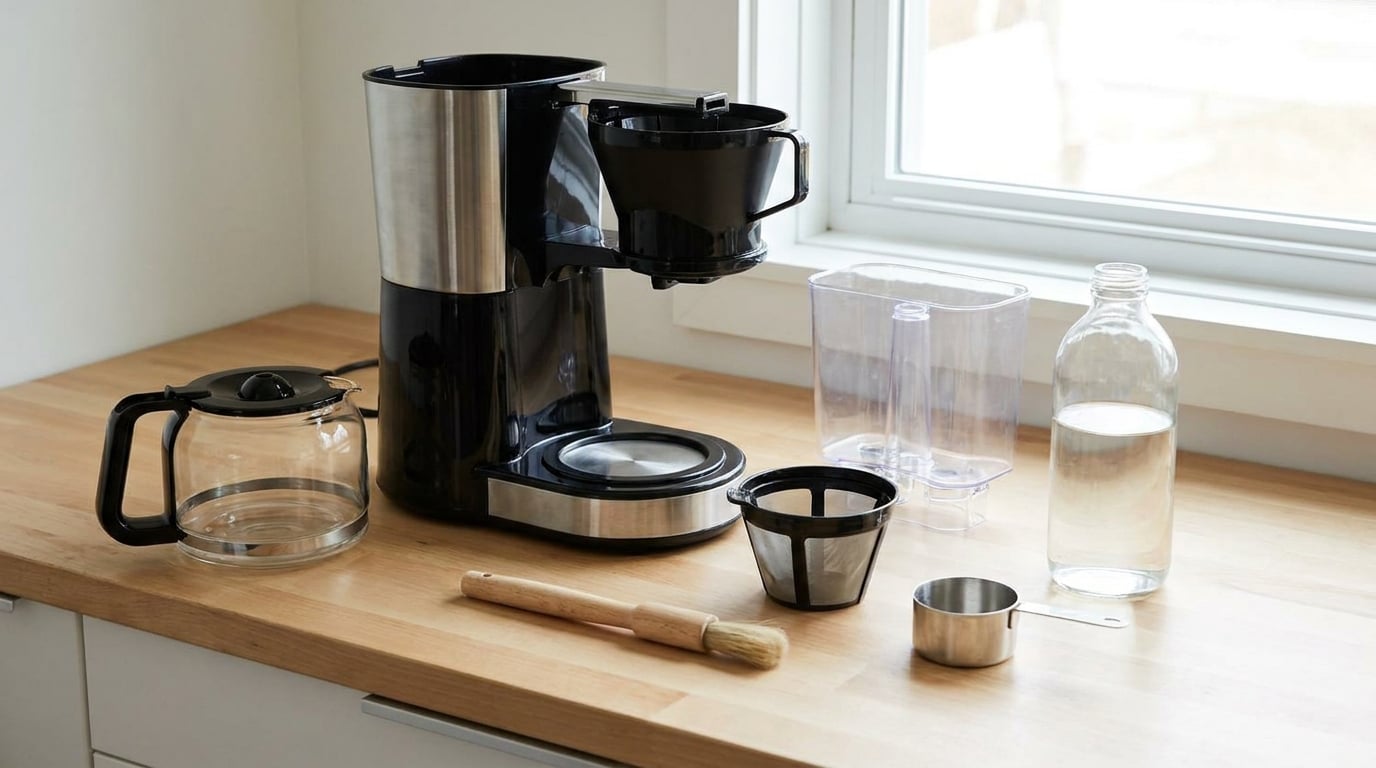
To clean a coffee maker with vinegar, mix equal parts white distilled vinegar and cool water, run about half a brew cycle, let the solution sit for 30 to 60 minutes, then flush two or three full cycles of plain water through the machine. The whole job takes about 30 minutes of your attention plus an hour of soaking time.
That matters because the coffee maker is the one appliance in the kitchen most people never clean. Coffee oils stick to the carafe and warming plate, and dissolved minerals in your tap water bake onto the heating element and inside the tubing. Together they slow the brew down and make the coffee taste bitter long before anything smells wrong.
The reason vinegar works so well is chemistry, not folklore. White vinegar is roughly 5% acetic acid, and acetic acid reacts with calcium carbonate, the mineral that makes up limescale, breaking it into particles that rinse away with water. The heat in the machine speeds up the reaction, which is why a warm soak beats a cold one. If your machine has a descale light, or the water has started running slow, do it now rather than waiting for the next deep clean. For machines that steam or run slow without producing coffee, our coffee maker troubleshooting guide covers the other likely causes.
You need far less than most people expect:
A commercial descaling solution is the one substitute worth buying. Reach for it instead of vinegar when the buildup is severe, when the machine is a fully automatic model with a closed boiler, or when the manual for a machine under warranty explicitly says to use a branded tablet. A few dollars of descaler beats a machine that has been run past what the acid can loosen.
Check the manual before you start. Some manufacturers specify their own cleaning cycle, water temperature or cycle count, and their instructions win over any general guide, including this one.
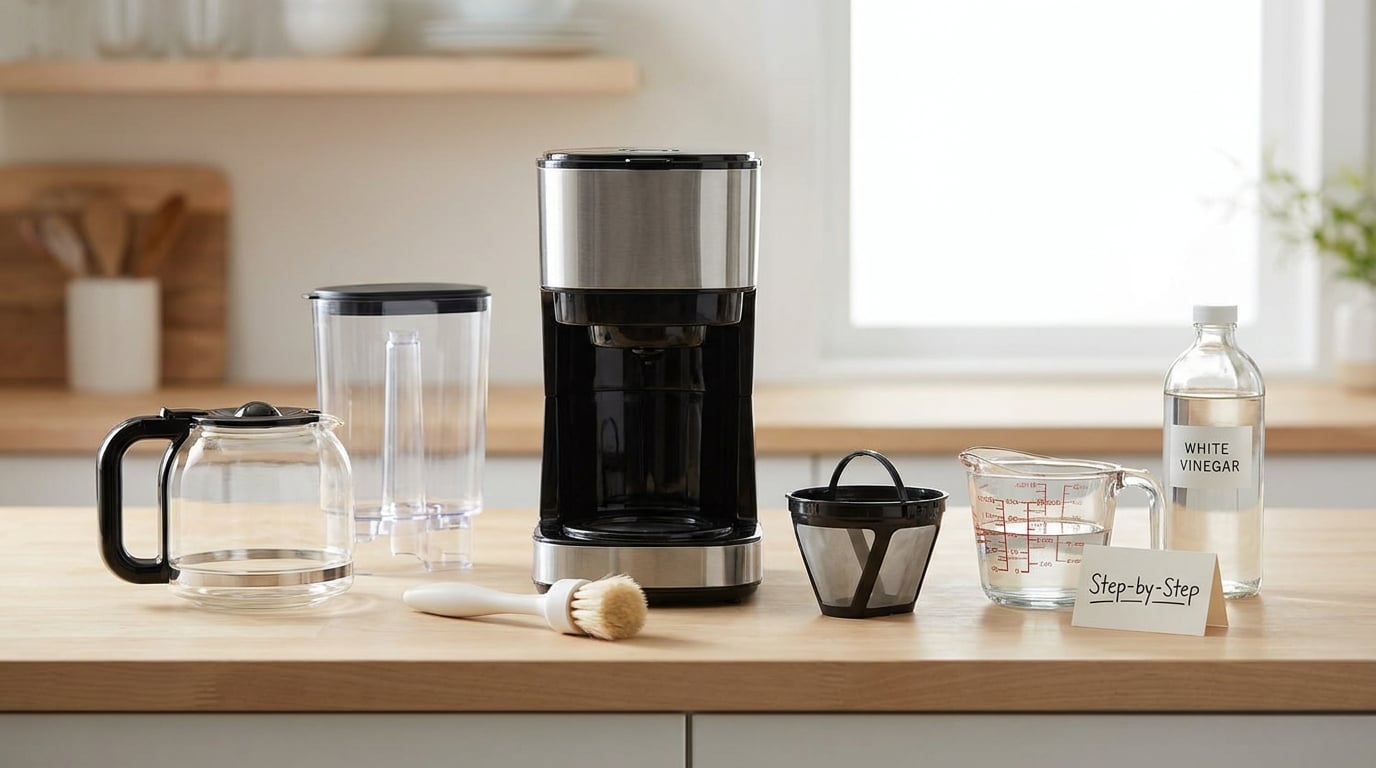
Unplug the machine at the wall and wait 30 minutes so the heating plate, carafe and any metal parts cool to room temperature. Handling a hot machine risks burns, and water poured into a warm reservoir can crack glass. This is also the moment to empty the reservoir and dump any water sitting in the carafe.
Take out the brew basket, the filter basket, the carafe and its lid, and the water reservoir. Wash them by hand with warm water and a drop of mild dish soap, scrubbing the basket with a soft brush so grounds come out of the mesh.
Never put a part in the dishwasher unless the manual says it is dishwasher safe. High heat and detergent strip the plastic, dull the carafe and can warp the reservoir seal, which then leaks water onto the counter.
Run a rinse cycle while these parts are soaking so the machine is warming the vinegar solution at the same time.
Pour equal parts white distilled vinegar and cool water into the water reservoir. For a 10-cup drip machine that is roughly 30 ounces of vinegar and 30 ounces of water, and for a 12-cup machine about 4 cups of vinegar with 4 cups of water.
Do not use apple cider vinegar, balsamic, wine vinegar or any scented variety. Their sugars and color stain internal parts, and the residue is far harder to rinse out than plain white vinegar. If the water filter cartridge is removable, pull it out for the duration of the clean, since trapped scale on the filter keeps re-entering the water.
Place the empty carafe on the warming plate, turn the machine on and let roughly half the solution brew through. When the flow slows, switch the machine off and leave the mixture sitting inside for 30 to 60 minutes. That dwell time is what actually dissolves the scale; the brew cycle only carries the acid to the deposits.
Turn the machine back on and let the rest of the solution run out, then empty the carafe. If your machine has a dedicated clean or descale button, use it instead of a manual brew, and follow the cycle count printed in the manual.
For pod brewers such as a Keurig, run the solution without a pod in the holder so the full volume reaches the spray head, and use a paper filter as a catch so grounds do not lodge in the exit needle. Percolators take the same method, just fill the whole basket instead of a reservoir.
Empty the carafe, fill the reservoir with fresh cool water and run a complete brew cycle. Discard that water and repeat two more times. Skipping this step is the single most common mistake, and it is why people keep smelling vinegar in coffee that was brewed weeks later.
If a faint vinegar note survives three cycles, add one tablespoon of baking soda to a fourth cycle of water. The soda neutralizes the trace acid, and the machine is clean when the water runs clear and tastes like plain water. Once a person who has not been tasting all day agrees there is nothing sour, you are done.
Wipe the exterior with a damp cloth and a drop of soap, taking care not to let water pool in vents, buttons or around the power cord. For a sticky warming plate, lay a damp towel with a little dish soap on it and let it sit for ten minutes before wiping.
Dry the removable parts fully, refit the water filter, and put the carafe, basket and reservoir back. Run one short cup of water before serving it to anyone. If the machine has been sitting unused through a season, give it a full rinse cycle first and check for scale crust inside the reservoir before filling it.
Most bad outcomes come down to one of these:
Once a machine is clean, filtered water for daily brewing slows future scale, a quick rinse of the basket after each use keeps coffee oils from turning to varnish, and a monthly cycle in hard-water areas is usually enough. Our guide to baking soda and vinegar cleaning covers the rest of the kitchen, and the non-toxic coffee maker roundup is useful if yours is due for a replacement.
Equal parts white distilled vinegar and cool water, so one part vinegar to one part water. A 10-cup drip machine needs about 30 ounces of each, and a 12-cup machine about 4 cups of each. Pour in enough to fill the reservoir, run half a cycle, soak 30 to 60 minutes, then flush with two to three full cycles of plain water.
Not for this job. Apple cider vinegar is amber, mildly acidic and carries sugars and colour that settle into the tubing and stain the reservoir and carafe. The smell also hangs on far longer than plain white vinegar. If distilled white is out of stock, plain white distilled vinegar of any brand works fine. Save the cider vinegar for dressings.
Every one to three months is a reasonable range. In hard-water areas, once a month keeps the heating element and tubing clear. In soft-water areas, quarterly is enough. Clean immediately rather than waiting if brewing slows down, the water gurgles, the descale light comes on, or coffee starts tasting bitter. Descaling also helps if the machine has been stored unused for weeks.
Yes, for light to moderate scale. The acetic acid in white vinegar reacts with calcium carbonate and turns it into particles that rinse away with water, and the machine’s heat speeds the reaction up. For a heavy, rock-hard layer, or a fully automatic machine with a sealed boiler, a commercial descaling solution is more effective. A single cycle should clear taste and flow; persistent slowness may mean a partly blocked line.
Yes, and it is the better option when your machine has one. Fill the reservoir with the same 1:1 white vinegar and water mix, add no pod or coffee, and start the clean or descale cycle. Some machines ask you to add the solution to the hot water outlet instead of the reservoir, so read the manual and follow the cycle count it specifies. Rinse with two or three full water cycles afterwards.
Start tonight: unplug the machine, wash the carafe and basket, pour in a 1:1 mix of white distilled vinegar and cool water, run half a cycle, let it soak for an hour, then rinse three times with fresh water. Once the water runs clear and tastes clean, your machine is good to go.
After that, make the frequency fit your water and your habits. Monthly in hard-water areas, quarterly in soft ones, and always straight away when the flow slows or the descale light comes on. Filtered water for daily brewing slows the buildup between cleans, and the manufacturer’s manual sets the final word on parts, cycles and warranty. Updated for 2026.
