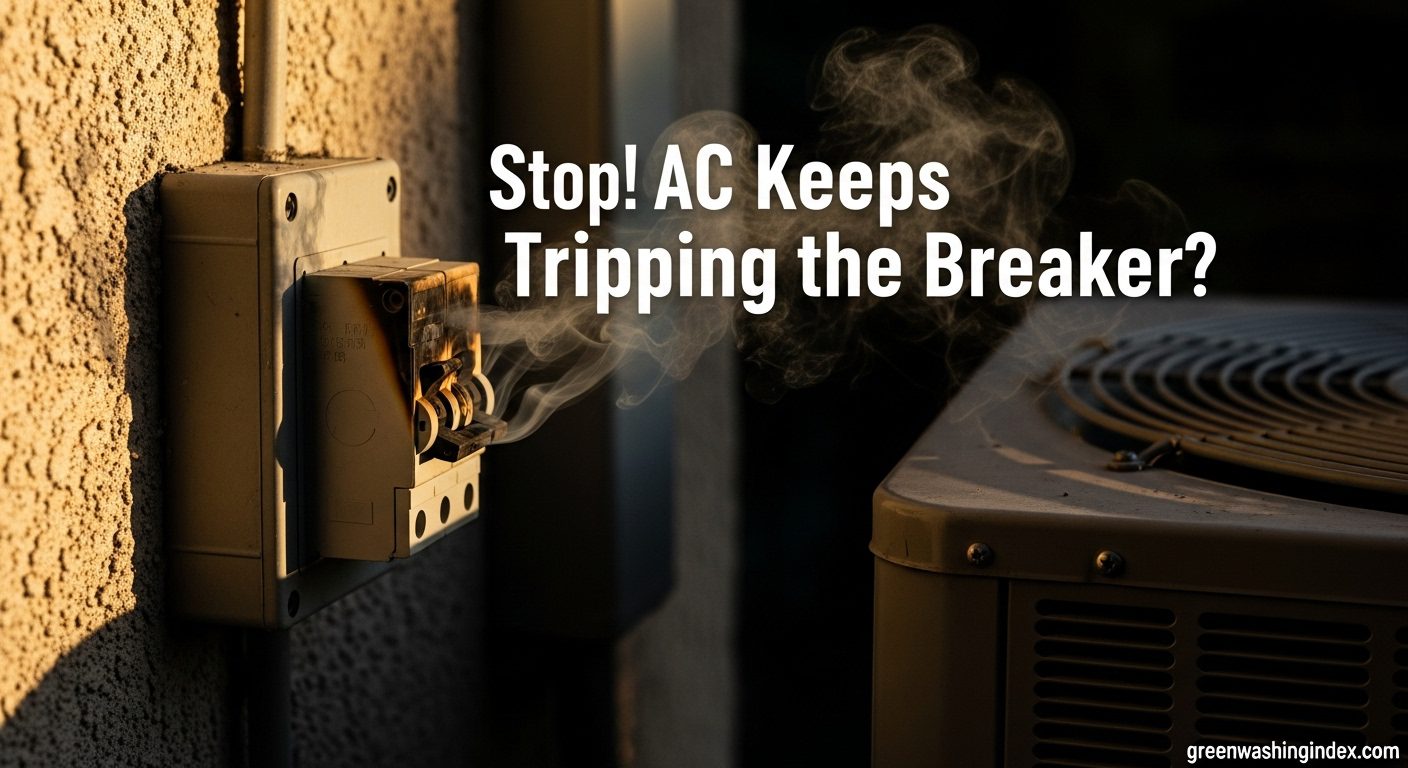

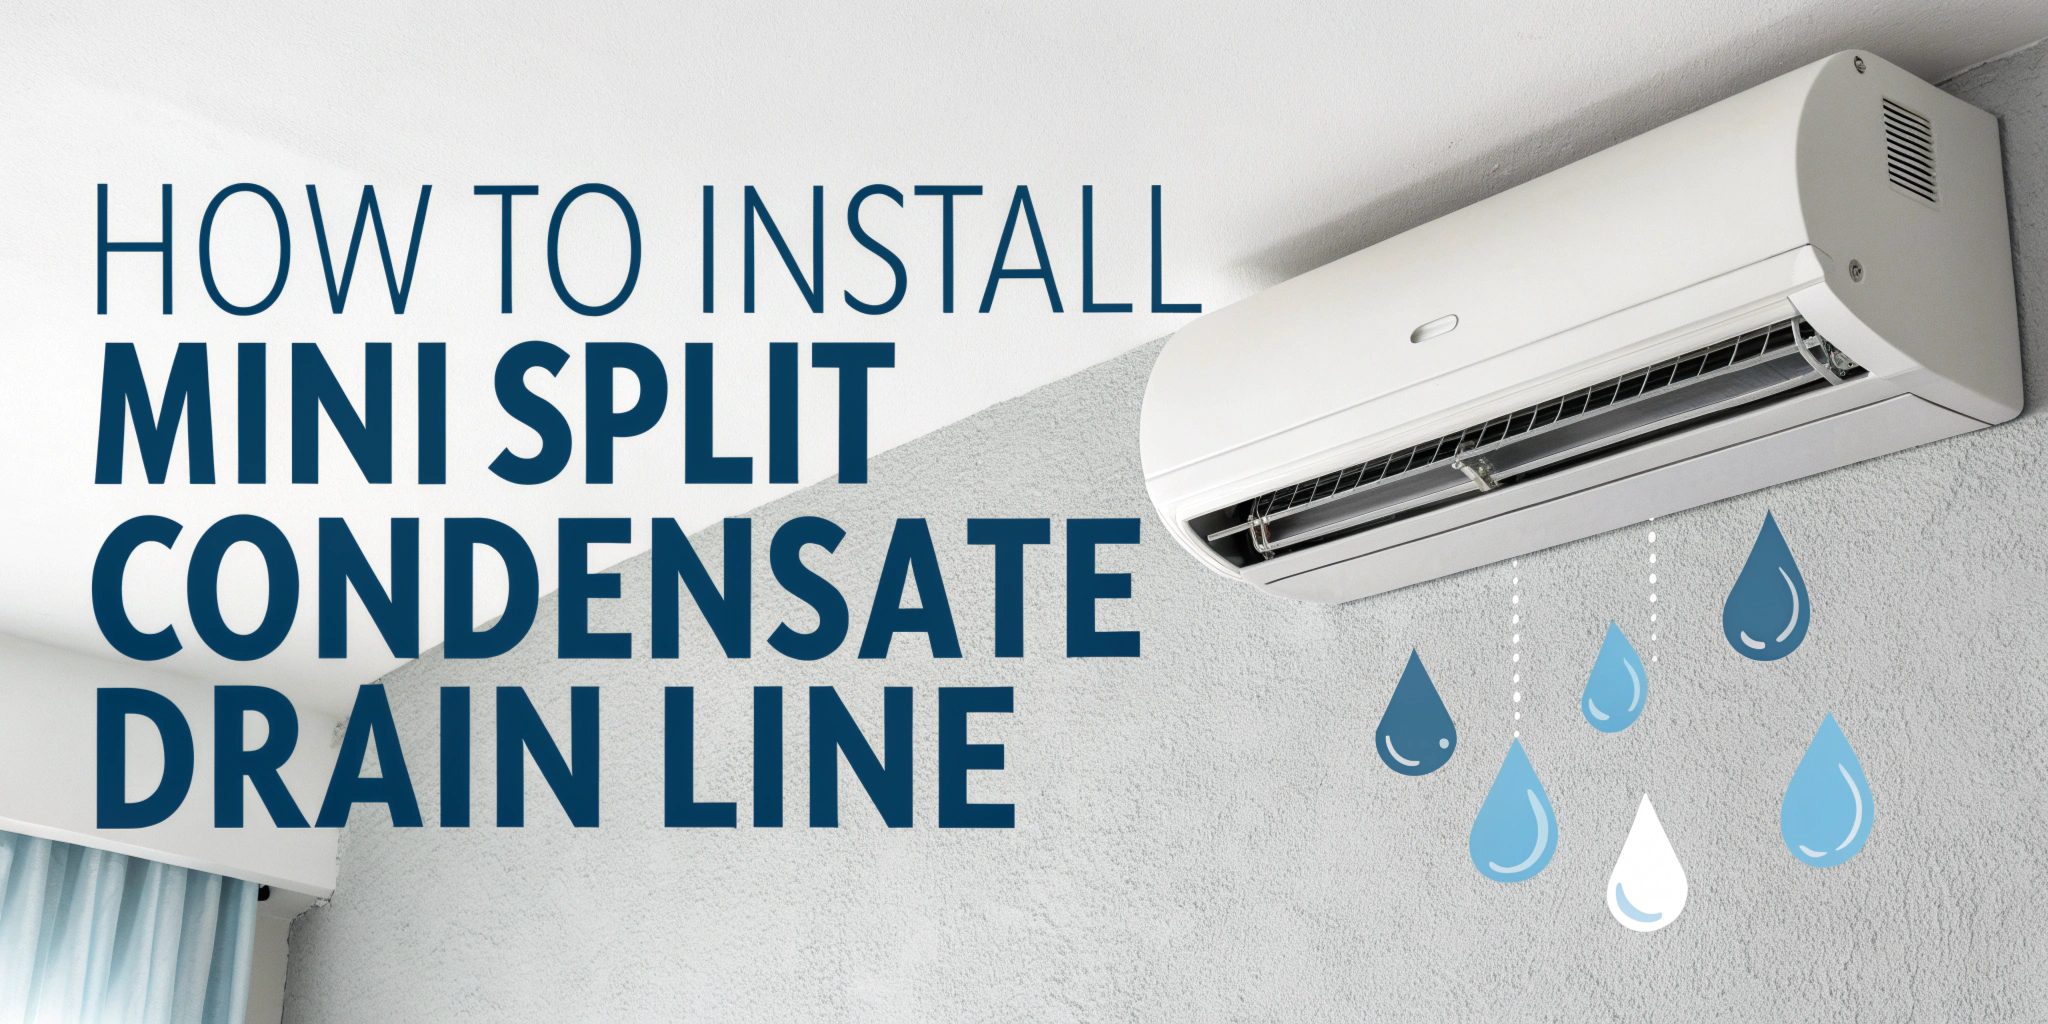
Installing a mini split condensate drain line incorrectly is the #1 cause of water damage in DIY installations. Every year, thousands of homeowners face costly repairs from improperly drained condensate that overflows, damages walls, and creates ideal conditions for mold growth.
Mini splits produce between 5-20 gallons of condensate daily during cooling operation – that’s enough water to cause serious structural damage if not properly managed. This moisture must be efficiently removed from your indoor unit to prevent system shutdowns, water damage, and unhealthy living conditions.
You can install a mini split condensate drain using either a gravity drain system (the preferred method) with 5/8″ drain hose and a proper 1/8″ per foot slope, or utilize a condensate pump for challenging installations where gravity drainage isn’t feasible. Both methods work effectively when installed correctly.
This comprehensive guide covers both installation methods, local code requirements, proper material selection, advanced troubleshooting techniques, and includes practical tools like a visual slope calculator and decision flowchart. Whether you’re installing on an exterior wall, interior wall, or below-grade location, you’ll find the exact steps needed for a professional-quality installation.
For Gravity Drain Installation:
Total Gravity System: $78-114
For Condensate Pump Installation:
Total Pump System: $158-319
Essential Tools:
Optional but Helpful:
Before beginning any mini split drain line installation, complete these critical safety steps:
Gravity drainage is the preferred method for removing condensate because it has no moving parts to fail and requires no electricity. Use this decision process:
Choose Gravity Drain When:
Choose Condensate Pump When:
Step 1: Position the Indoor Unit for Optimal Drainage
Mount your indoor unit high on the wall – ideally 7-8 feet from the floor. This height provides maximum gravity assistance for your condensate drain. The unit must be perfectly level (use your 2-foot level) to ensure proper drainage from the internal drain pan. Even a slight tilt can cause water to overflow rather than drain properly.
Step 2: Mark and Drill the Wall Penetration
Locate the drain outlet on your mini split (usually on the right or left side bottom). Mark your wall penetration point directly behind or slightly below this outlet. The hole should angle downward at approximately 5-10 degrees to promote drainage immediately as the condensate exits the unit.
Drill a 3/4″ to 1″ hole through the wall using a long drill bit. For exterior walls with insulation, you may need an extension. Always check for studs, wiring, and plumbing before drilling.
Step 3: Install the 5/8″ Drain Hose
Attach the supplied 5/8″ drain hose to your indoor unit’s drain outlet. Most units include a 12-18″ section of flexible vinyl hose. Secure the connection with the provided clamp or zip tie, ensuring it’s snug but not overtightened (which could restrict flow).
Feed the drain hose through your wall penetration, maintaining a continuous downward slope. Never allow the hose to sag or create low spots where water can collect – this is a common cause of drainage problems.
Step 4: Connect to 3/4″ PVC Pipe
Outside the wall, use a 5/8″ to 3/4″ drain adapter to transition from the flexible hose to rigid PVC pipe. This adapter ensures a secure, leak-free connection between different materials. Apply PVC primer and cement according to manufacturer instructions.
Install your 3/4″ PVC pipe with proper hangers every 3-4 feet to maintain consistent slope. The pipe should slope at minimum 1/8″ per foot (1% grade) – this means for every foot of horizontal run, the pipe should drop at least 1/8″. Many professionals prefer 1/4″ per foot for better flow.
Step 5: Terminate the Drain Line Properly
The drain line termination requires careful consideration:
This connection point is critical for leak-free operation. The standard 5/8″ drain hose from your mini split must transition smoothly to 3/4″ PVC pipe. Here’s the professional method:
A condensate pump becomes necessary in specific situations where gravity drainage isn’t feasible. Understanding when to use a pump versus gravity drain is crucial for system reliability and proper mini split condensate drain function.
Mandatory Pump Scenarios:
Selecting an appropriate condensate pump involves matching pump specifications to your installation requirements:
Key Specifications to Consider:
Top Condensate Pump Models (2025):
| Model | Lift Height | Flow Rate | Voltage | Price Range |
| Aspen Mini Lime | 20 ft | 84 GPH | 115V/230V | $65-85 |
| RefCo Gobi II | 23 ft | 65 GPH | 115V/230V | $75-95 |
| Little Giant VCMA-20 | 20 ft | 80 GPH | 115V | $45-65 |
| Sauermann Si-30 | 20 ft | 132 GPH | 115V/230V | $120-150 |
Step 1: Mount the Pump Unit
Position your condensate pump based on the manufacturer’s specifications. Most pumps can be mounted:
Ensure the pump remains accessible for maintenance. Mount the reservoir perfectly level to ensure proper float switch operation.
Step 2: Connect Electrical Power
Safety First: Always turn off power at the breaker before any electrical work.
For hardwired installation:
For plug-in models:
Step 3: Install Inlet and Discharge Tubing
Connect the inlet tubing from your mini split to the pump reservoir:
Install discharge tubing from pump to drain location:
Step 4: Test the Installation
Before closing up walls or ceilings:
The P-trap requirement for mini split condensate drains varies significantly based on manufacturer specifications and local codes. Understanding when to install a trap is crucial for proper system operation.
When P-Traps are Required:
When P-Traps Should NOT be Used:
Important P-Trap Considerations: If required, the trap must be sized properly:
When draining condensate to a sanitary sewer, most jurisdictions require an indirect connection with an air gap. This prevents sewer gases and potential backups from entering your HVAC system.
Proper Air Gap Installation:
Common Air Gap Locations:
Building codes for mini split drain line installation vary significantly across regions. Always verify local requirements before installation:
Common Code Requirements by Region:
| Region | Key Requirements | Special Considerations |
| Northeast US | Freeze protection required | Insulation mandatory in unconditioned spaces |
| Southeast US | Termination 6″ above grade | Hurricane strapping for pumps |
| Southwest US | Evaporation considerations | Larger reservoir pumps recommended |
| Pacific NW | Drainage away from foundation | Special requirements in seismic zones |
| International | Varies by country | CE marking required for pumps in EU |
Universal Code Requirements:
Installing a mini split on an interior wall presents unique drainage challenges but remains achievable with proper planning. The key is determining the most efficient route to an appropriate drain location.
Routing Options for Interior Walls:
Best Practices for Interior Installation:
Basement installations require condensate pumps since gravity drainage typically isn’t possible. These installations need special attention to pump reliability and backup systems.
Critical Considerations:
Discharge Options for Basement Units:
When installing multiple mini splits, you may consolidate drainage into a common system. This requires careful planning to prevent drainage conflicts between units.
Design Requirements:
Connection Methods:
Ceiling-mounted units in attics require special attention due to potential water damage if drainage fails. Most ceiling cassettes include built-in condensate pumps with 11-inch lift capacity.
Attic Installation Requirements:
Mistake 1: Using Corrugated Drain Hose
The flexible corrugated drain hose included with many mini splits is convenient but problematic. The ridged interior surface traps debris, promotes algae growth, and restricts water flow. Professional installers immediately discard these in favor of smooth-wall tubing.
Better Alternative: Use smooth 5/8″ vinyl tubing or transition immediately to 3/4″ PVC pipe
Mistake 2: Insufficient Slope Causing Water Backup
The most common installation error is inadequate drain slope. Water standing in the line leads to overflow, algae growth, and eventual clogging. Many DIY installers estimate slope visually, resulting in sections with zero or negative slope.
Proper Method: Use a level to verify minimum 1/8″ per foot slope throughout entire run. Mark your PVC pipe every foot and measure drop accurately.
Mistake 3: Missing Air Gap on Sewer Connections
Directly connecting condensate drains to sewer lines without an air gap violates most plumbing codes and creates health hazards. Sewer gases can travel back through the drain into your living space.
Code-Compliant Solution: Maintain 1-2 inch air gap at connection point or use approved indirect drain fitting
Mistake 4: Undersized Drain Lines for Multiple Units
When combining drainage from multiple units, many installers continue using 3/4″ pipe throughout. This creates bottlenecks and increases overflow risk during peak cooling.
Correct Sizing:
Water dripping from your indoor unit indicates a drainage problem requiring immediate attention. Use this systematic approach to identify the cause:
Diagnostic Steps:
Quick Test Method: Pour 1 cup of water slowly into the drain pan. Water should flow out steadily within 30 seconds. If not, you have a restriction.
A mini split drain line clogged with algae or debris is a common service call. Here’s how to clear it safely:
Clearing Methods (in order of preference):
When a condensate pump fails, water backs up quickly. Address these common failure points:
Pump Troubleshooting Checklist:
Preventive Maintenance Schedule:
Choosing the correct drain line material impacts system longevity and maintenance requirements. Not all materials work well for condensate drainage:
| Material | Pros | Cons | Best Use Case |
| 5/8″ Vinyl Tubing | Flexible, easy to install | Can kink, degrades over time | Short runs from unit |
| 3/4″ PVC Pipe | Durable, smooth flow | Rigid installation | Primary drain runs |
| PEX Tubing | Flexible, won’t burst if frozen | More expensive | Cold climate installs |
| Copper Pipe | Extremely durable | Expensive, requires soldering | Commercial applications |
| Corrugated Hose | Cheap, included with unit | Traps debris, not recommended | Never recommended |
Different manufacturers have specific requirements for their mini split condensate drain installations:
Mitsubishi Requirements:
GREE Specifications:
Daikin Guidelines:
LG Installation:
Proper insulation prevents condensation on the drain line itself, which can cause water damage and mold growth:
When Insulation is Mandatory:
Insulation Specifications:
Understanding the true cost of DIY installation helps determine if professional installation makes sense:
Basic Gravity Drain DIY Costs:
Condensate Pump DIY Costs:
Hidden Costs to Consider:
Realistic time requirements for DIY installation:
First-Time Installer:
Experienced DIYer:
Some situations warrant professional installation despite DIY capabilities:
Call a Pro When:
Professional Installation Benefits:
Regular maintenance prevents costly repairs and water damage. Follow this seasonal schedule:
Spring Maintenance (Start of Cooling Season):
Monthly During Cooling Season:
Fall Maintenance (End of Season):
Algae growth is the primary cause of clogged condensate lines. Prevention is easier than removal:
Preventive Measures:
Safe Cleaning Solutions:
In cold climates, frozen drain lines cause system failures and potential damage:
Winterization Steps:
Year-Round Cold Climate Solutions:
No, mini splits do not produce condensate during heating operation. Condensate only forms during cooling mode when warm, humid air passes over the cold evaporator coil. During winter heating, any moisture concerns involve the outdoor unit, where defrost cycles handle ice buildup. Your indoor drain line remains dry during heating season.
Yes, multiple mini split units can share a common drain line with proper design. The main drain must be sized appropriately – use minimum 1″ PVC for 3-4 units and 1.25″ for 5+ units. Each unit should maintain individual slope to the main line. Consider installing cleanouts at connection points for maintenance access. Never reduce pipe size downstream of connections.
Standard mini split installations require 5/8″ ID drain hose at the unit connection, transitioning to 3/4″ PVC for the main run. Larger systems need bigger pipes: ceiling cassettes often use 1″ connections, and multiple units require 1″ or larger mains. Always match or exceed the manufacturer’s drain port size – never reduce diameter from the unit connection.
Condensate production varies dramatically based on humidity and runtime. In humid climates, expect 5-20 gallons daily during peak cooling. A 12,000 BTU unit in moderate humidity produces about 1-2 gallons per day. Larger systems or commercial units can generate significantly more. Plan drainage capacity for maximum production to avoid overflow issues.
Yes, air conditioner condensate is essentially distilled water and safe for plants – many gardeners prefer it to tap water. The slightly acidic pH (6.0-6.5) benefits acid-loving plants. However, ensure the drain terminates away from foundations and doesn’t create standing water. Some areas restrict where condensate can drain, so verify local codes. Consider a rain barrel collection system for drought-prone regions.
Proper condensate drainage is critical for mini split performance and preventing costly water damage. Whether you choose gravity drainage for its simplicity or a condensate pump for challenging installations, following proper slope requirements and code compliance ensures trouble-free operation for years to come.
Remember these key takeaways:
A properly installed mini split condensate drain protects your investment and home while ensuring efficient cooling performance. Taking time to plan your installation, use quality materials, and follow manufacturer guidelines pays dividends in reliability and peace of mind.
Don't let aphids, slugs, and caterpillars ruin another plant. Take back control with simple, natural methods that actually work.
