
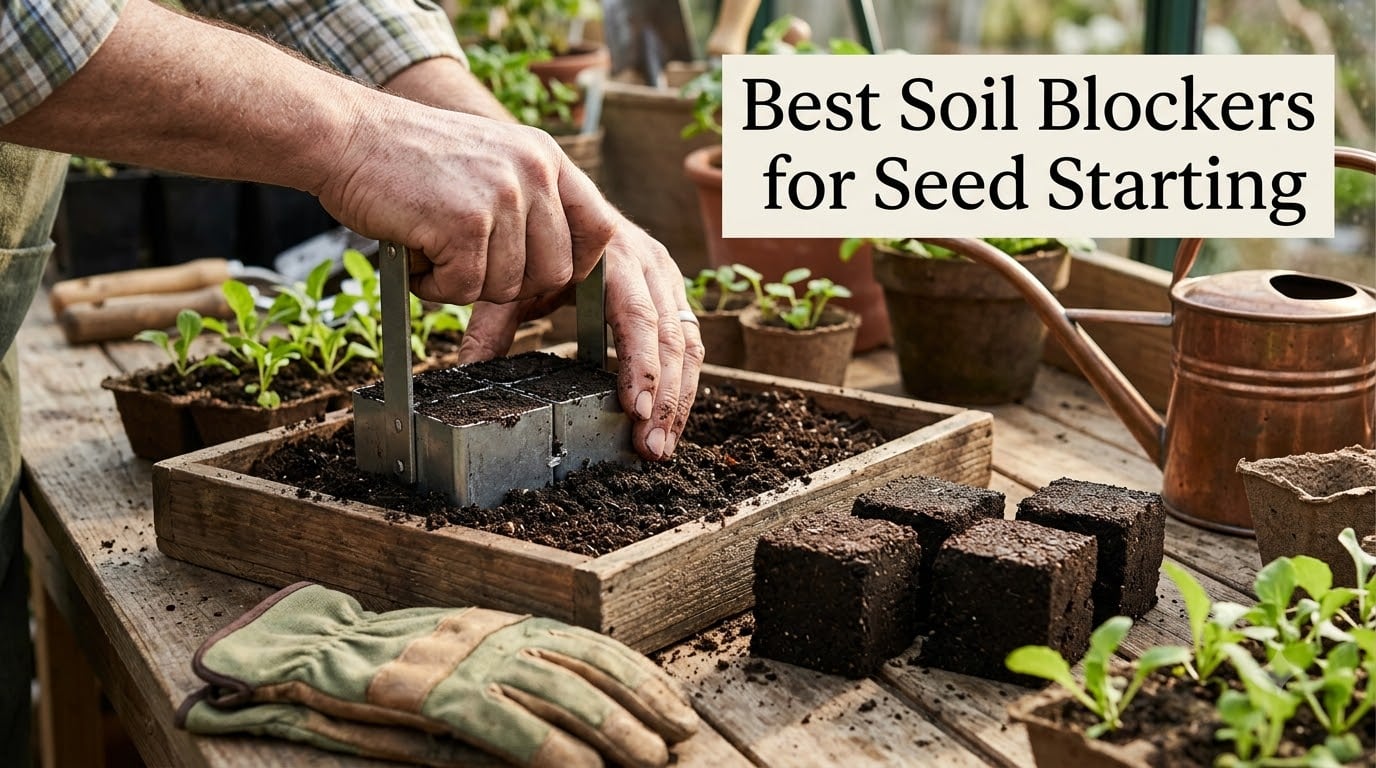
I still remember the first time I tried soil blocking. My tomato seedlings were leggy, root-bound, and practically refused to take off after transplant. Then a flower farmer friend handed me a Ladbrooke Mini 4 and said, “Try this.” Two months later I had the healthiest pepper transplants I’d ever grown, and I’d thrown out a stack of cracked plastic cell trays.
After three seasons of testing eight different soil blockers for seed starting across vegetables, flowers, and herbs, I’m sharing what actually works. Whether you’re starting a backyard kitchen garden or running a market farm, a quality soil blocker eliminates plastic waste, produces stronger root systems through air pruning, and turns seedling production into something almost meditative.
In this guide, I’ll walk you through my top picks, the best soil mix recipes, and the mistakes I made so you don’t have to. If you’re new to seed starting, our guide to seed starting kits for indoor gardens is a great companion read.


These three represent the range I’d actually recommend, from the gold-standard Ladbrooke to genuinely budget-friendly options that don’t fall apart after a season. The full breakdown with all 8 models is below.
| Product | Features | Price |
|---|---|---|
|
|
Check Latest Price |
 |
|
Check Latest Price |
 |
|
Check Latest Price |
 |
|
Check Latest Price |
 |
|
Check Latest Price |
|
|
Check Latest Price |
 |
|
Check Latest Price |
|
|
Check Latest Price |
Four 2-inch blocks per press
EP-coated steel
Includes 6 seed pins
The Ladbrooke Mini 4 is the original soil blocker, made in England since the 1960s, and it shows. After pressing more than 2,000 blocks across two seasons, my unit still works like day one. The EP-coated steel construction resists corrosion even when I forget to dry it overnight, and each press drops four perfectly-formed 2-inch cubes onto my tray.
What sets the Mini 4 apart from cheaper copies is the nesting system. When my seedlings outgrow the 2-inch blocks, the included cubic inserts let me bump them up without tearing roots. The 1,183 reviews averaging 4.7 stars aren’t exaggerating – this is the tool most commercial flower farmers and serious home gardeners reach for first.
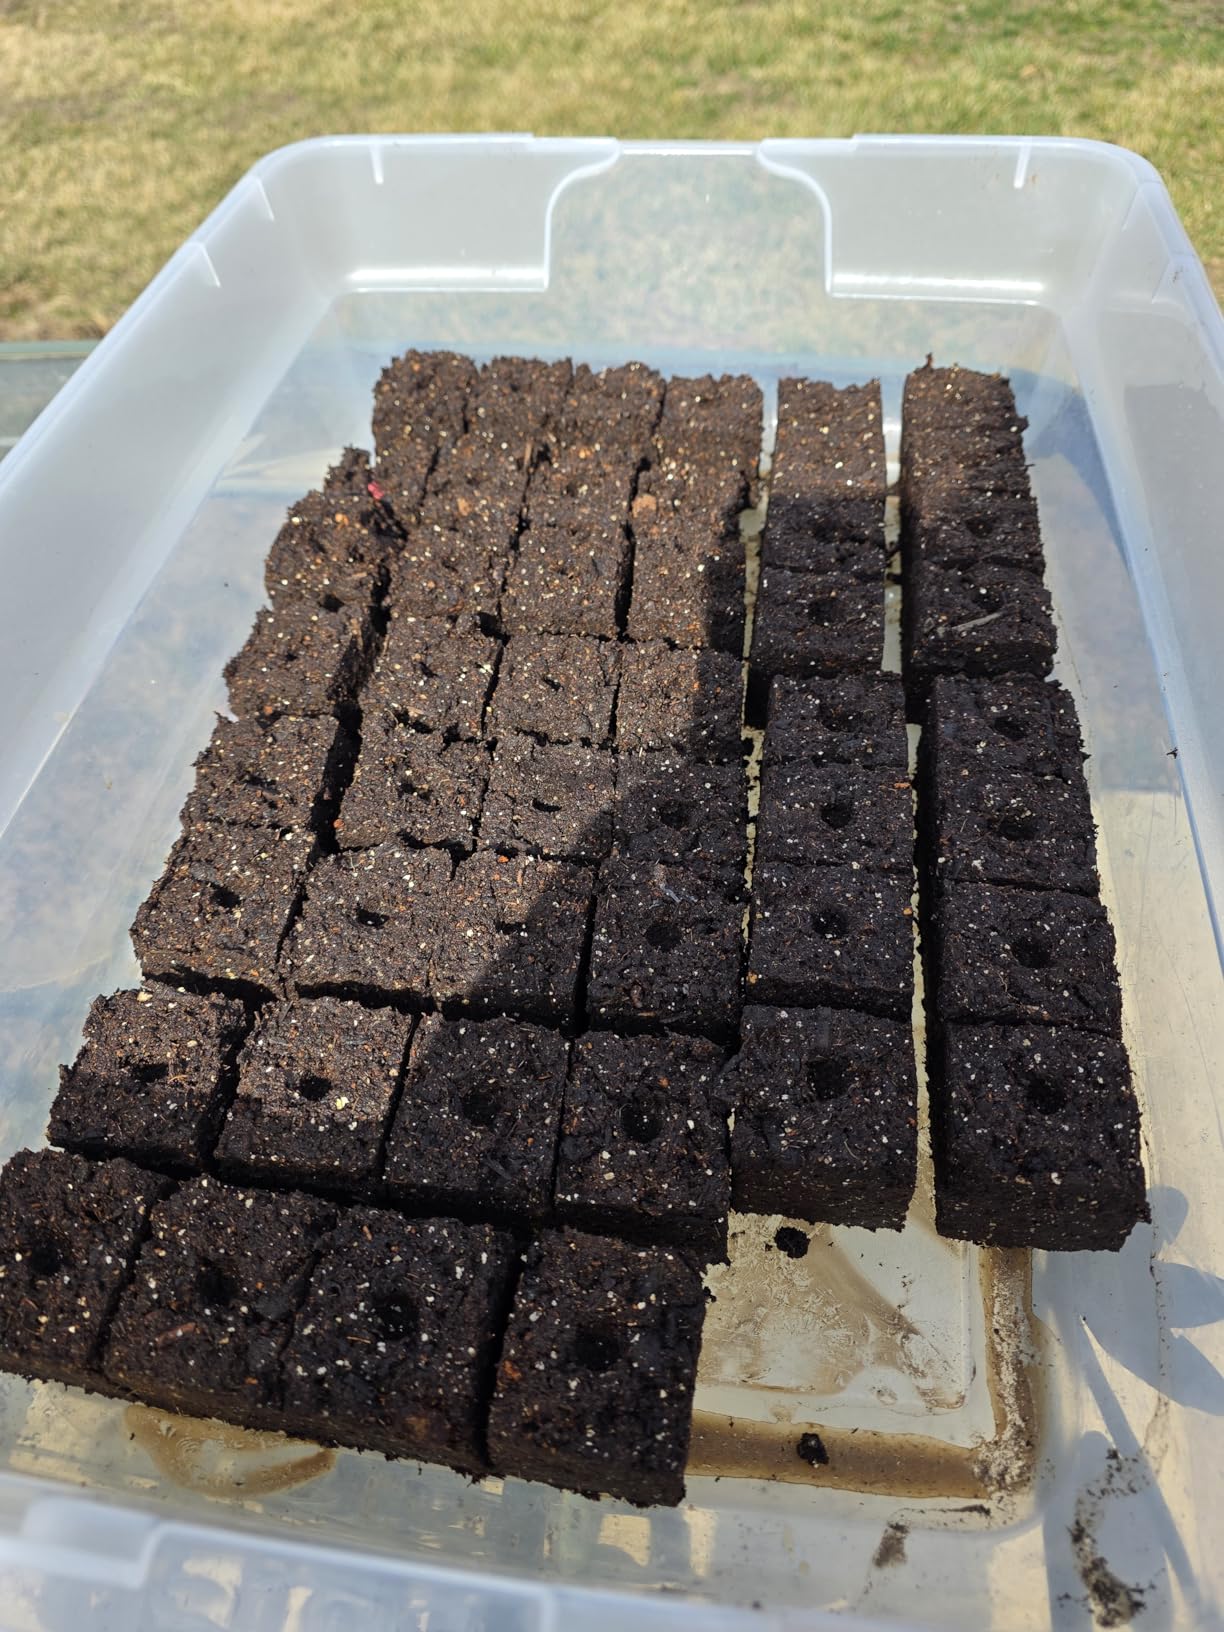
I tested it on tomatoes, peppers, basil, and lisianthus. Germination rates matched or beat my plastic tray setup, and the seedlings transplanted without a single wilt. The included six 3/8-inch seed pins press small dimples for tiny seeds like lettuce and snapdragons, which is genuinely thoughtful design.
The downside is real: this thing is heavy at 1.5 pounds, and after pressing 300 blocks in a single session my wrist definitely feels it. If you have arthritis or limited hand strength, this might not be your daily driver. The Mini 5 below or the Fiskars plastic model are gentler alternatives.
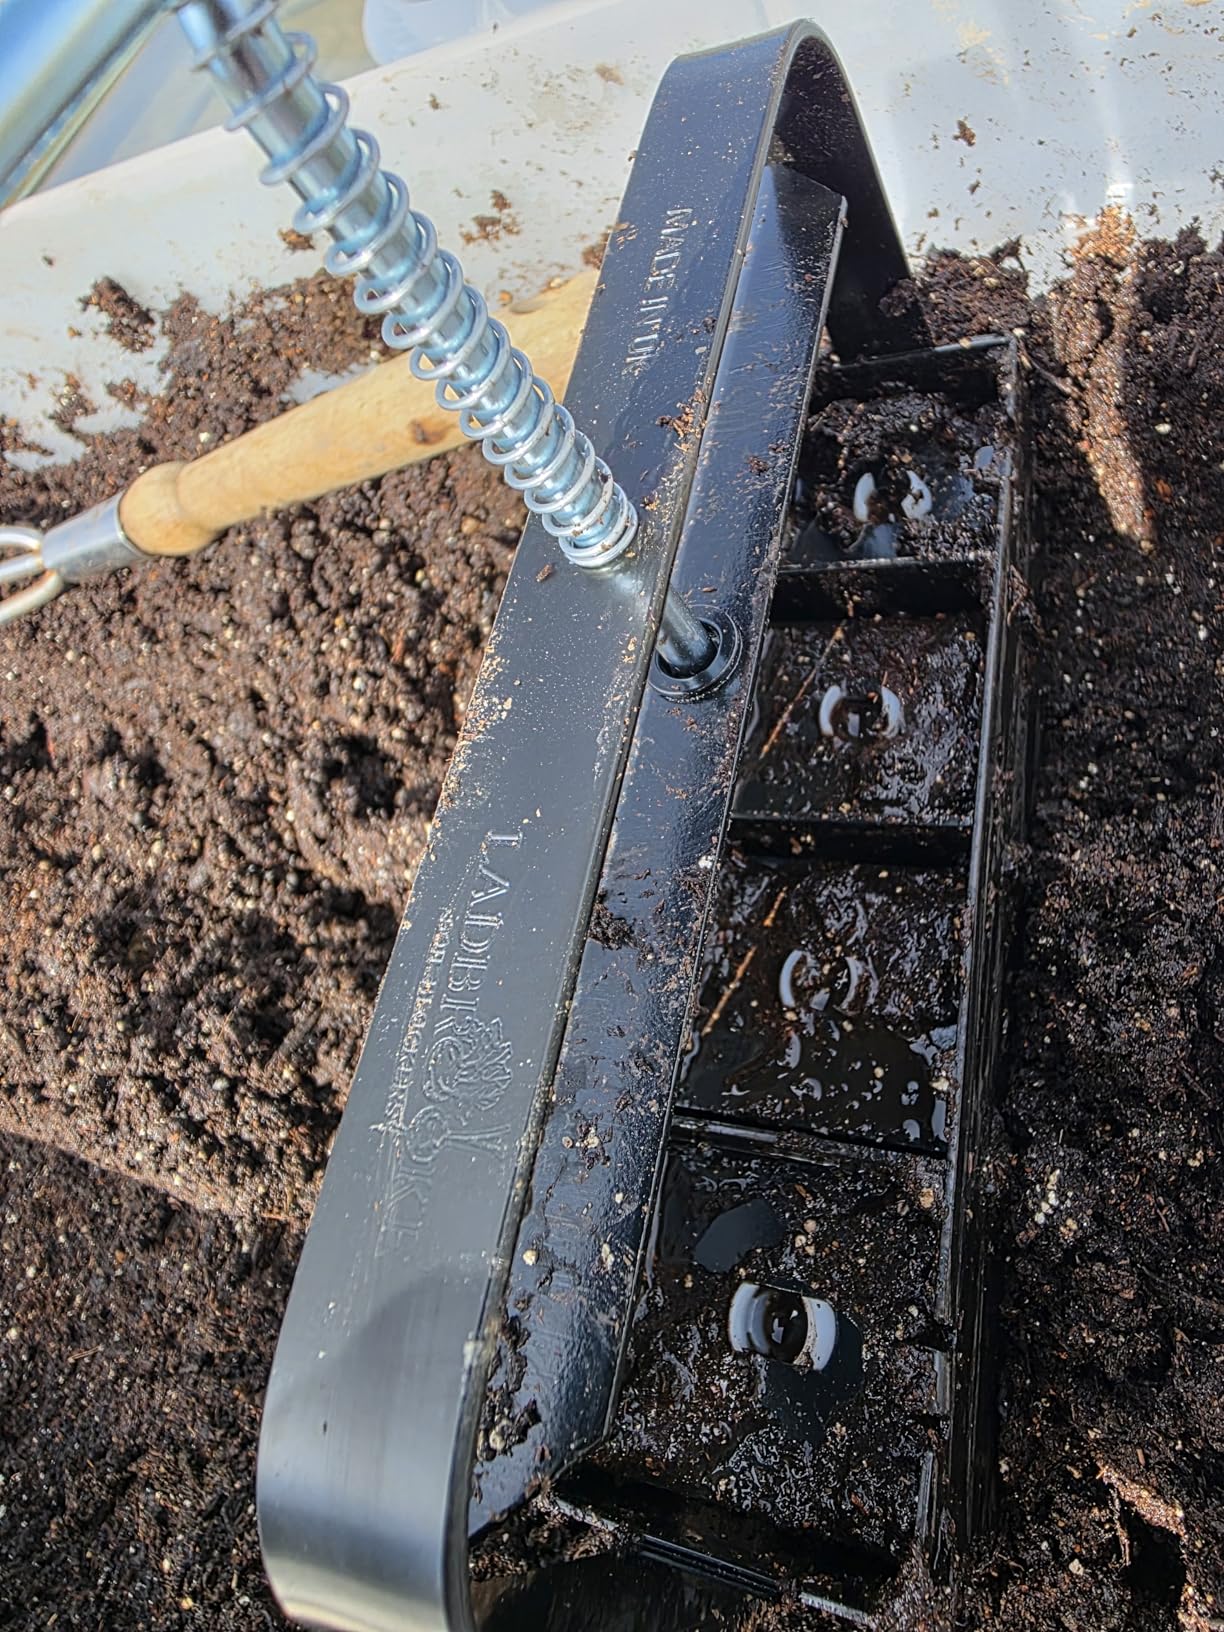
The EP-coated steel isn’t a marketing term – it’s why these tools outlast cheaper zinc-plated versions by decades. I spoke with one market farmer who has used the same Ladbrooke for 12 years. The build quality shows in the tolerances: the seed pins seat cleanly, the springs don’t drift, and the blocks release without crumbling.
For Eliot Coleman fans (and you should be – he’s the modern father of soil blocking), this is essentially the tool from his books, unchanged since the original design. If you’re serious about reducing plastic and producing stronger transplants, this is the one to buy once and cry about the price for 10 minutes before thanking yourself for the next decade.
Some users report squeaking after extended use. A light coating of food-grade mineral oil on the pivot points fixes this. Also, the blocks require precise soil moisture – too dry and they crumble, too wet and they slump. Expect a 5-10 tray learning curve.
Five 1.5-inch blocks per press
EP-coated steel
Compact design
When I need to start a lot of small seeds like lettuce, herbs, or slow-growing perennials, the Ladbrooke Mini 5 earns its place in my rotation. Each press delivers five 1.5-inch blocks, and the smaller size is perfect for crops that don’t need deep root space early on.
The build quality mirrors the Mini 4. The same EP-coated steel, the same England manufacturing, the same well-regarded spring mechanism. At 0.7 kg it’s lighter than the Mini 4, which matters when you’re pressing hundreds of blocks in an afternoon.
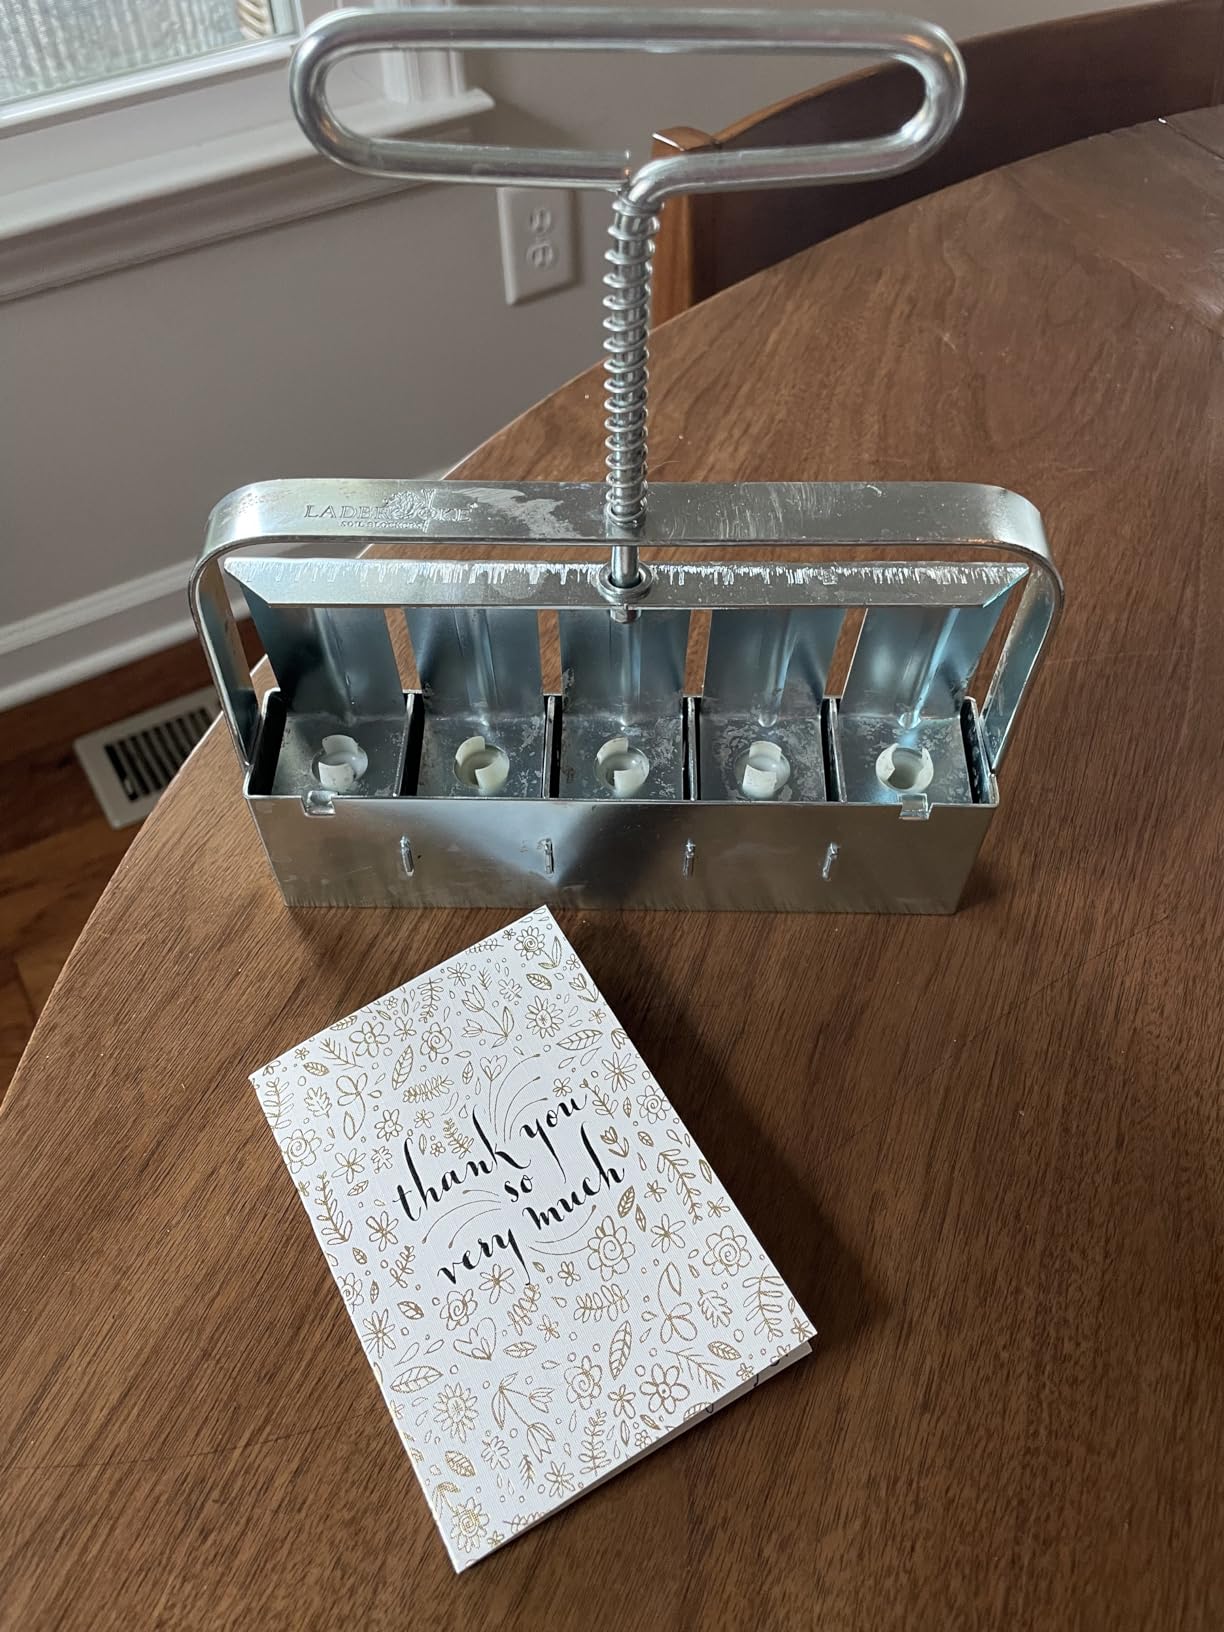
In testing, my lettuce and basil transplants from the Mini 5 were noticeably more compact and bushy than the same varieties from cell trays. The 83% 5-star rating across 306 reviews confirms what I saw: this tool produces results. It’s not a standalone tool in the nesting system like the Mini 4, but for small-seed specialists it’s hard to beat.
The honest downside: 1.5-inch blocks dry out faster than 2-inch ones, so you’ll need to check moisture twice daily in a heated propagation area. I learned this the hard way with a tray of slow-germinating celery that needed emergency bottom watering.
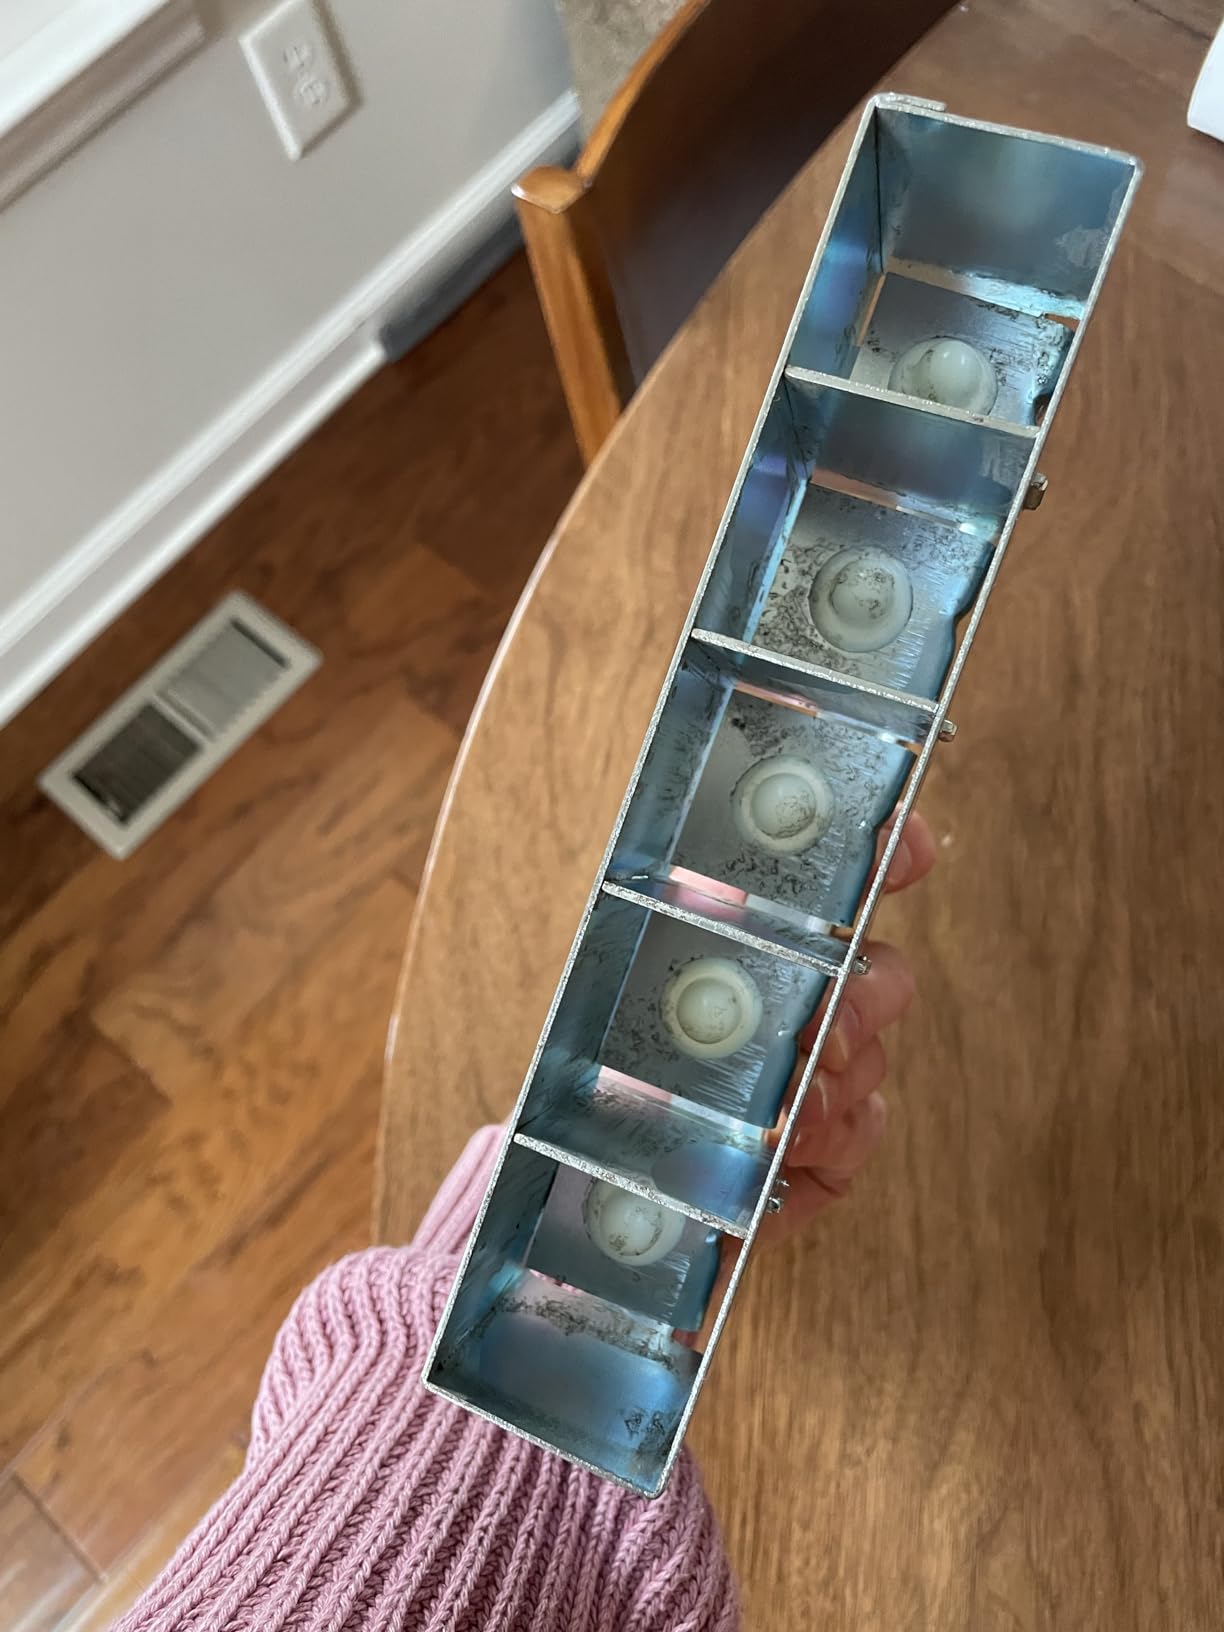
The math is simple: if you start mostly small seeds or want maximum block density per tray, the Mini 5 gives you 25% more blocks per press. For market gardeners doing succession planting of lettuce and herbs, this compounds quickly across a season.
The trade-off is root space. Anything with a taproot or vigorous root system (tomatoes, peppers, squash) will outgrow 1.5-inch blocks fast. I use the Mini 5 as a dedicated herb and cut-and-come-again greens tool, then bump up to the Mini 4 for fruiting crops.
The smaller seed pins occasionally pop out during ejection if your soil mix is on the dry side. Keep a small container handy to catch them. Also, some assembly is required – the pins thread into the top and benefit from a snug hand-tightening before first use.
Mini 4 plus Micro 20 plus cubic inserts plus seed pins
EP-coated steel
If I were starting my soil blocking journey over again, I’d buy the Ladbrooke Basics Nesting Set instead of piecing tools together. This 4-piece kit includes the Mini 4, the Micro 20 (which makes twenty 3/4-inch starter blocks), cubic inserts, and seed pins – everything you need to go from seed to transplant in one cohesive system.
The clever bit is the nesting: Micro 20 starter blocks drop directly into Mini 4 blocks when seedlings outgrow them. No repotting, no root disturbance, no transplant shock. For someone starting 1,000+ seedlings a season, this workflow saves hours.
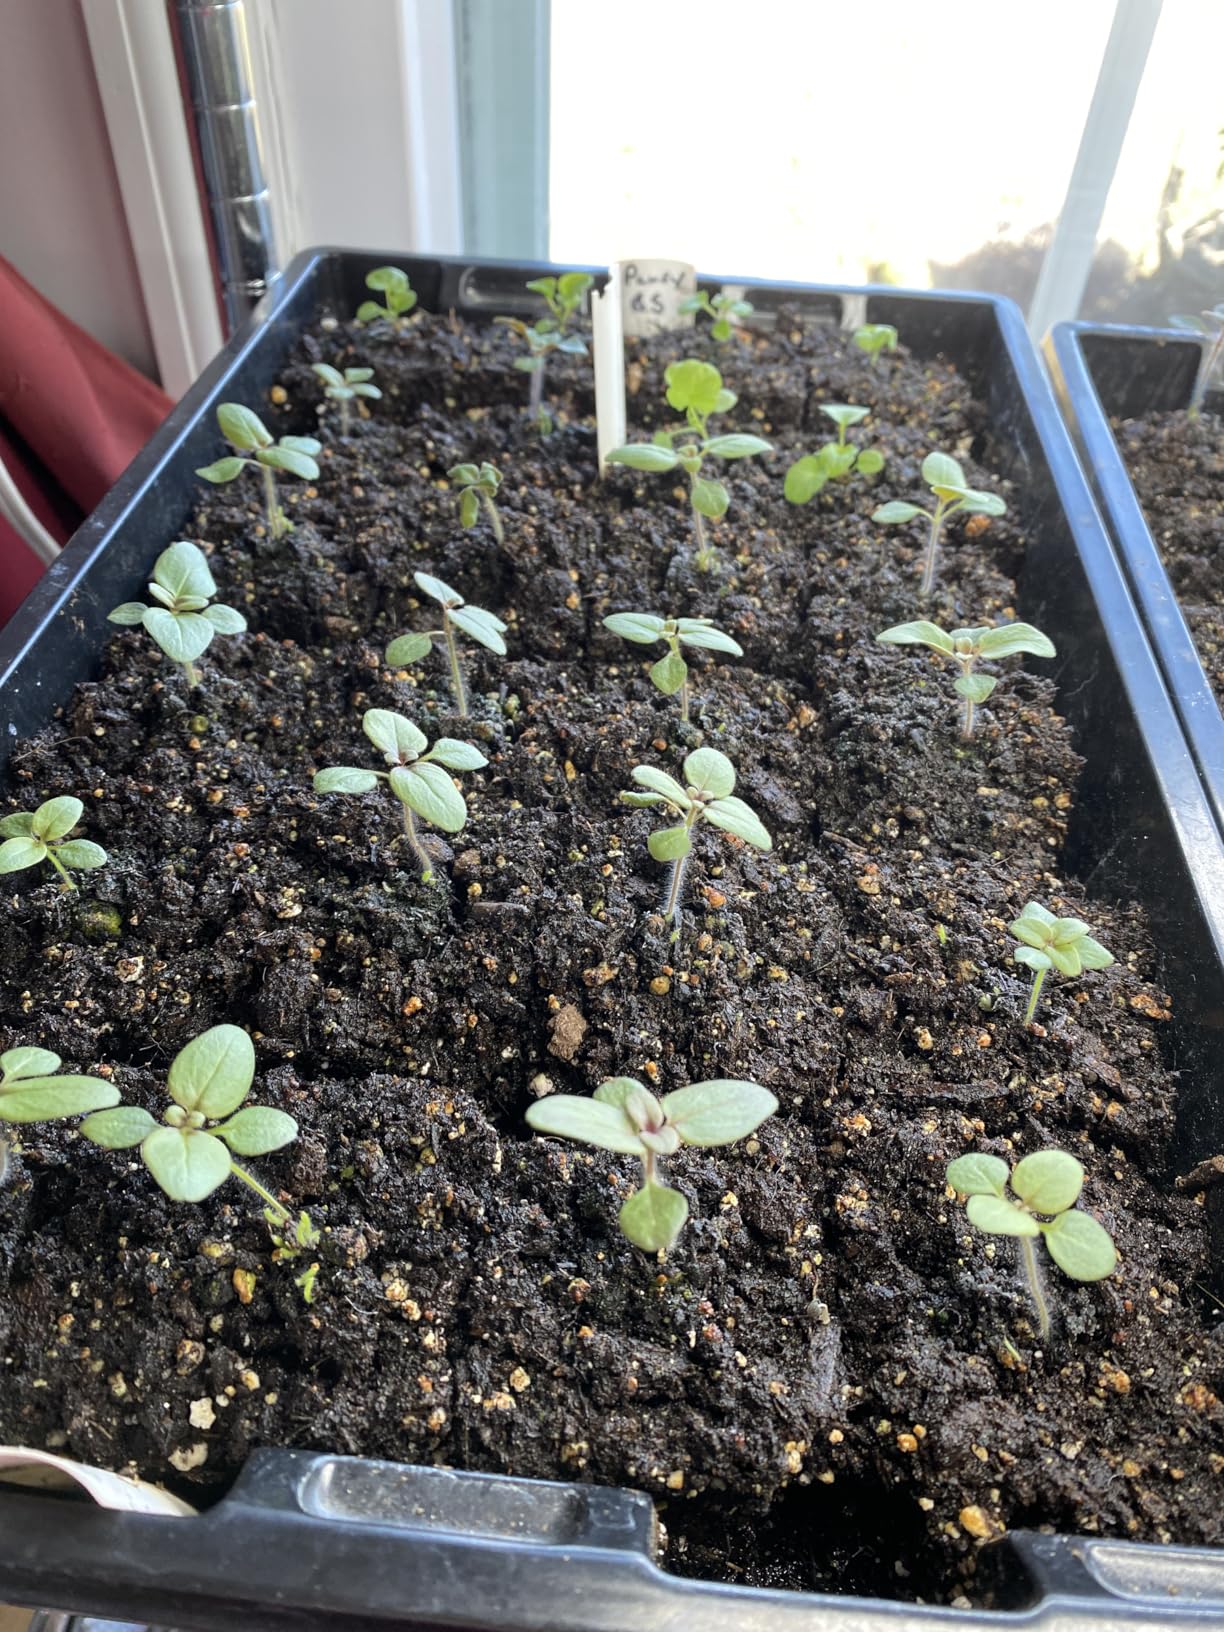
I used this set for an entire spring season of brassicas, lettuce, and flower seedlings. The 82% 5-star rating across 66 reviews reflects what I saw: once you learn the rhythm, this is the most efficient seed starting system I’ve used. The Micro 20 blocks are particularly useful for crops that need extra time before transplant, like slow-growing herbs and some perennials.
The Micro 20 does dry out quickly because each block is small. You’ll need to bottom-water daily once the trays heat up. Some users find the micro blocks unnecessary and prefer just the Mini 4, but if you do a lot of succession planting, the micro stage is genuinely useful.
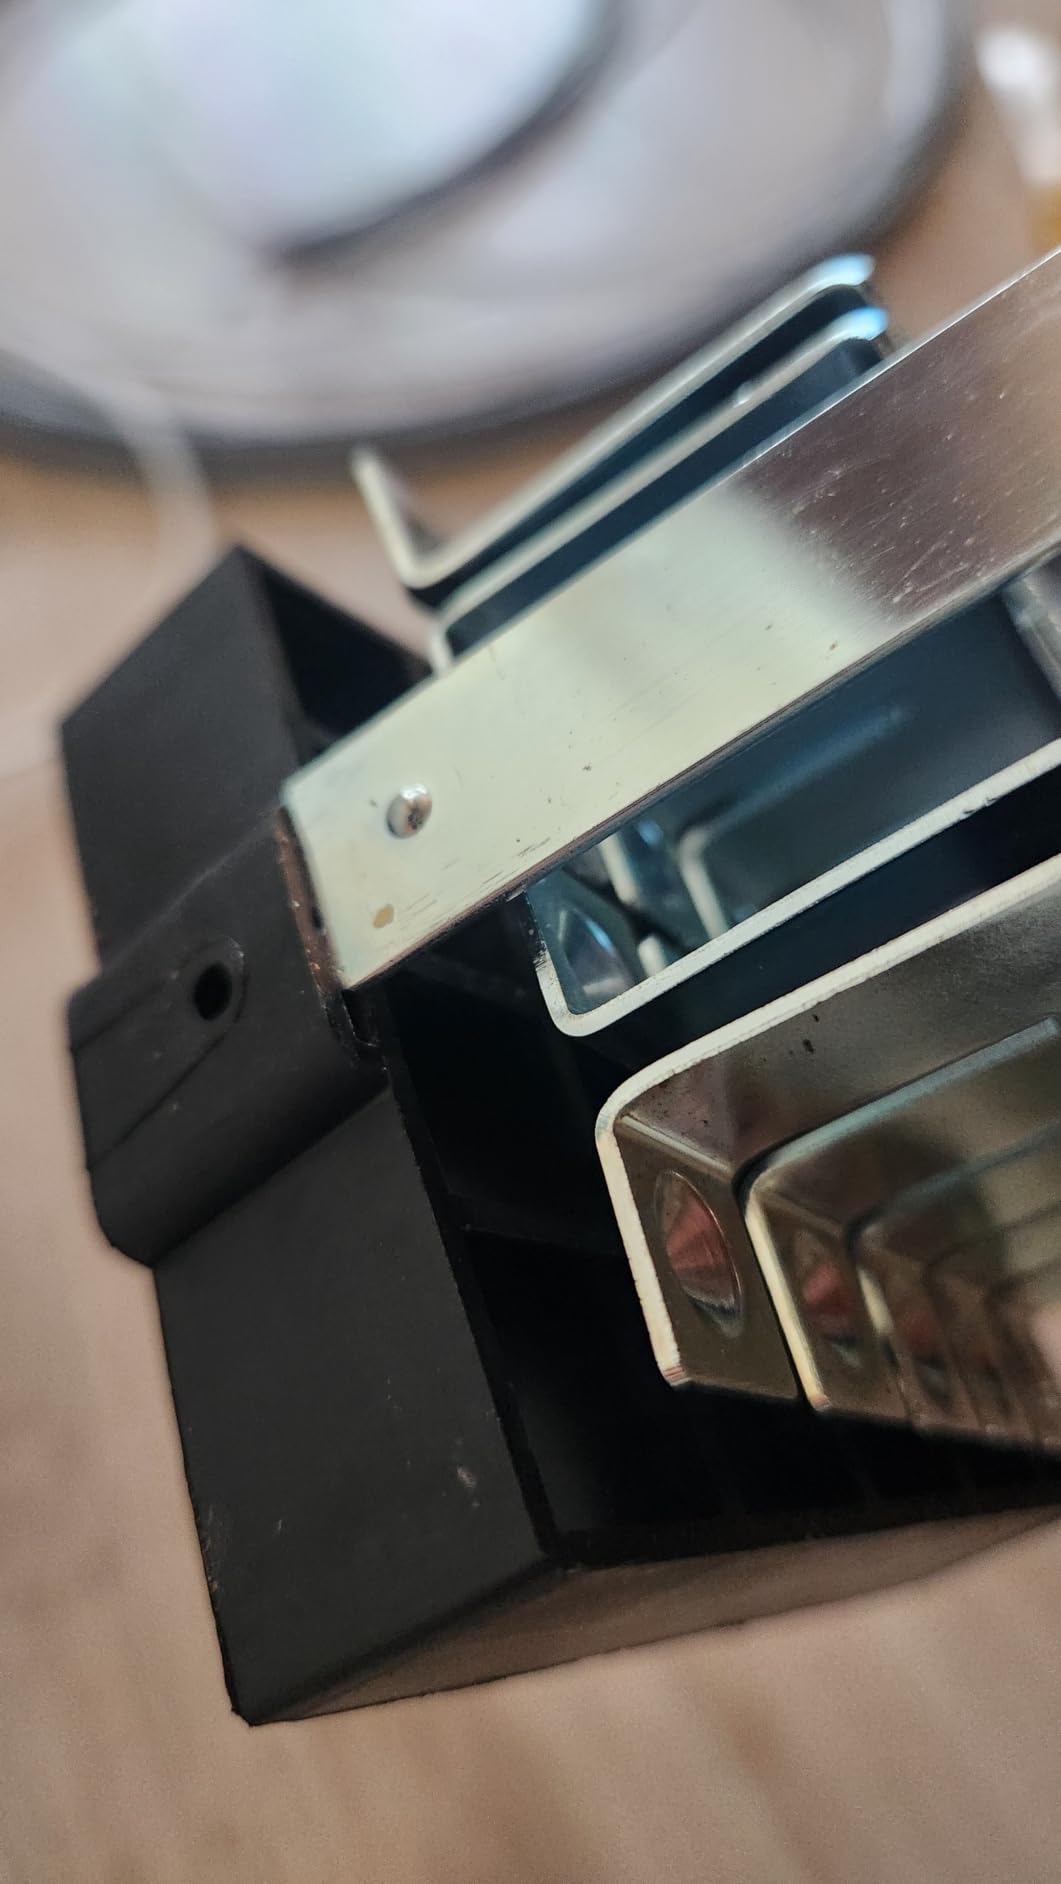
If you’re a market gardener or serious home grower starting 500+ seedlings per season, the nesting system pays for itself in time saved. The ability to bump up without repotting is the kind of feature you don’t appreciate until you’ve spent a sweaty afternoon teasing apart root-bound cell tray seedlings.
The set also shines for propagating cuttings. The Micro 20 is perfect for rooting basil, coleus, and tomato suckers in a single press.
This is the most expensive option in our roundup. For casual gardeners starting a dozen trays of tomatoes, the standalone Mini 4 makes more sense. The full set is for committed growers who want the complete Eliot Coleman workflow.
One 4-inch block per press
EP-coated steel
Nests with Mini 4
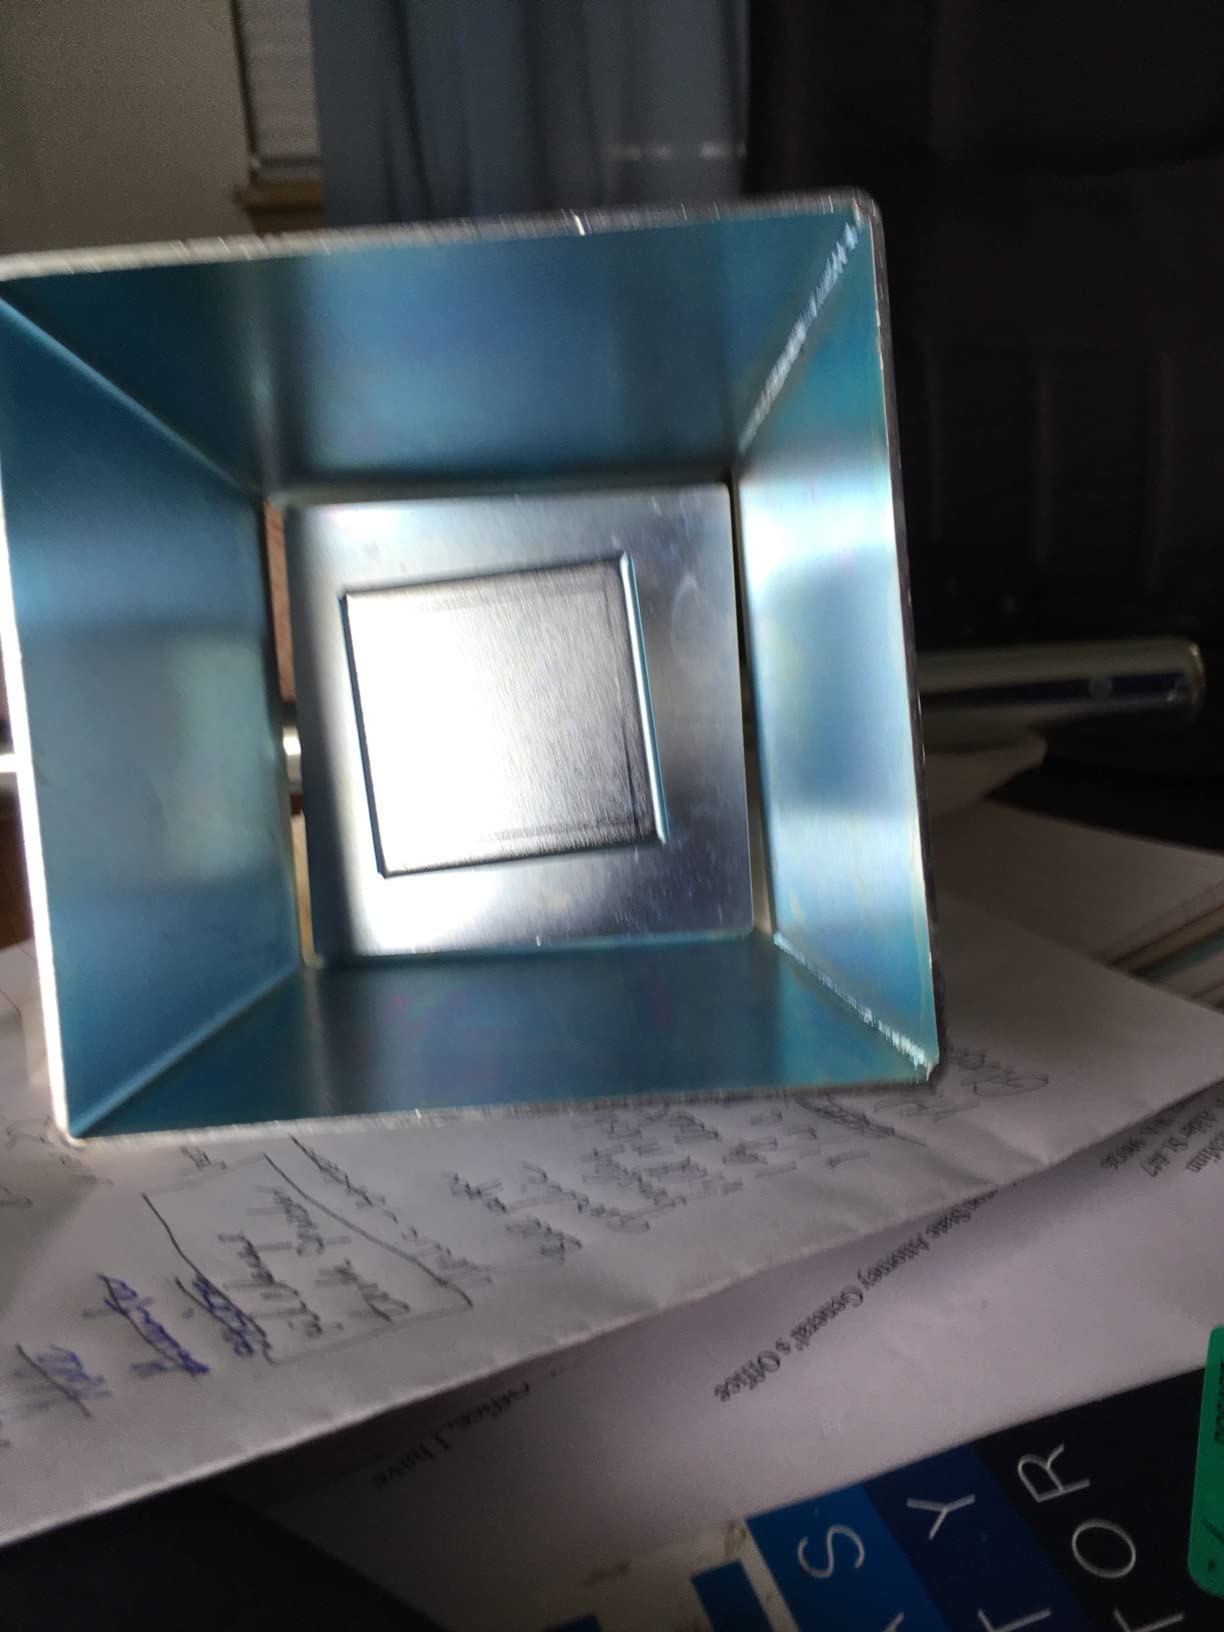
The Ladbrooke Maxi makes one massive 4-inch block per press. That’s it. That’s the whole tool. And yet for tomatoes, peppers, and large flower transplants, it’s worth every penny of the premium price.
The Maxi’s secret is the built-in 2-inch indentation on top. Drop a Mini 4 block directly into the indentation, and the Maxi block becomes a self-watering, double-tiered transplant ready for the garden. I’ve never lost a tomato to transplant shock using this combination.
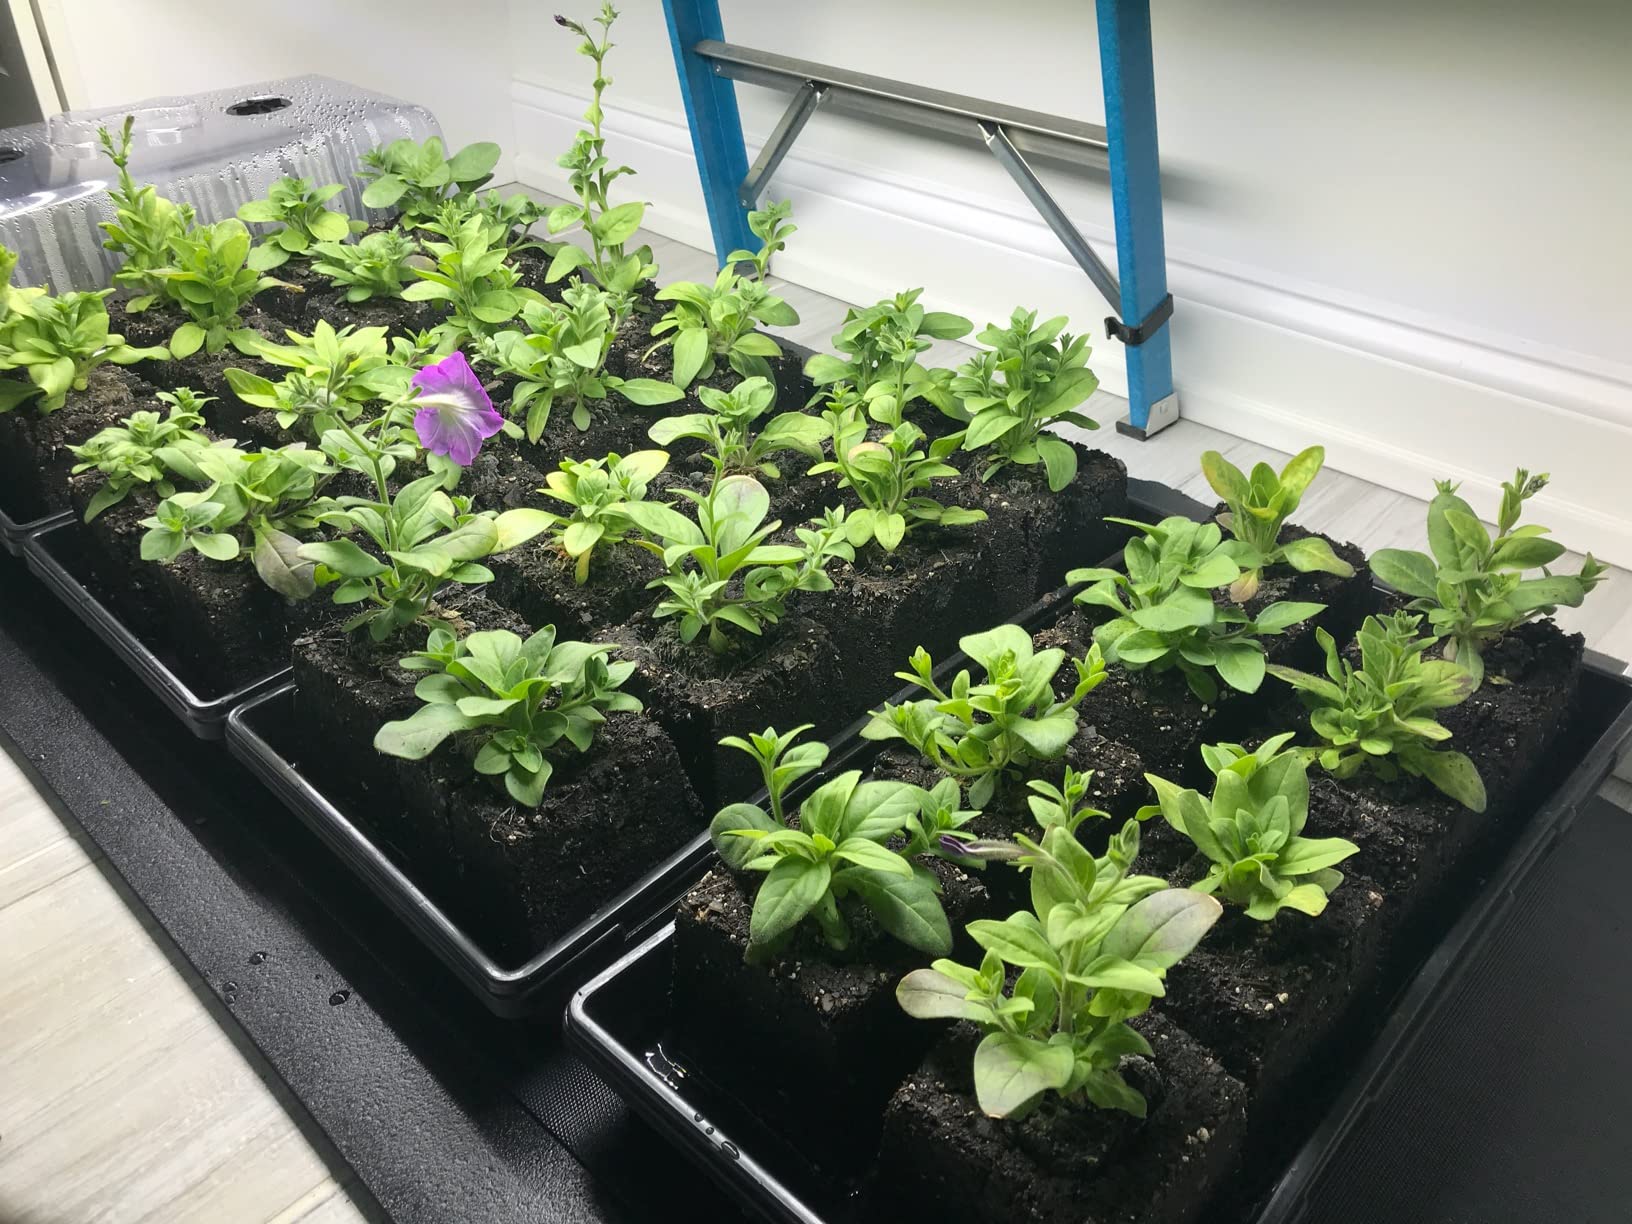
The build quality is identical to the rest of the Ladbrooke line: EP-coated steel, England-made, built to outlive me. At 3 pounds empty, the Maxi is heavy. A full tray of 4-inch blocks weighs serious pounds – plan your shelf accordingly.
The rating sits at 4.1 stars across 86 reviews, lower than the Mini 4. That’s because this is a specialist tool. If you start small seedlings and don’t bump up, the Maxi is overkill. But for the gardener who transplants 50+ large tomatoes each spring, it’s the right tool.
The Maxi block holds significantly more soil moisture than a 2-inch block, which means less watering and stronger roots for heavy feeders. My peppers transplanted from Maxi blocks hit the ground running and outproduced cell-tray transplants by a noticeable margin.
It also dramatically reduces the number of “bumping up” cycles. A tomato can go from seed to garden in a single Maxi block, skipping intermediate pot stages entirely.
One block per press means slower throughput if you need many large transplants. The Maxi is also the priciest tool in the Ladbrooke line, so most gardeners add it after establishing their Mini 4 workflow. Treat it as a specialist upgrade, not a starter tool.
8 cells per press
Three seed pins
Stainless steel
The BlumWay 8-Cell is the closest competitor to the Ladbrooke Mini 4 in terms of form factor, but with one big difference: it produces eight 2-inch blocks per press instead of four. If you need maximum throughput from a metal blocker, this is worth considering.
The kit ships with three seed pin options: square pins for medium seeds, plus short and long cylinder pins. I found the variety genuinely useful for everything from tomatoes to carrots to small flower seeds. The stainless steel construction feels solid, and at 1,530 grams it’s reassuringly heavy in the hand.
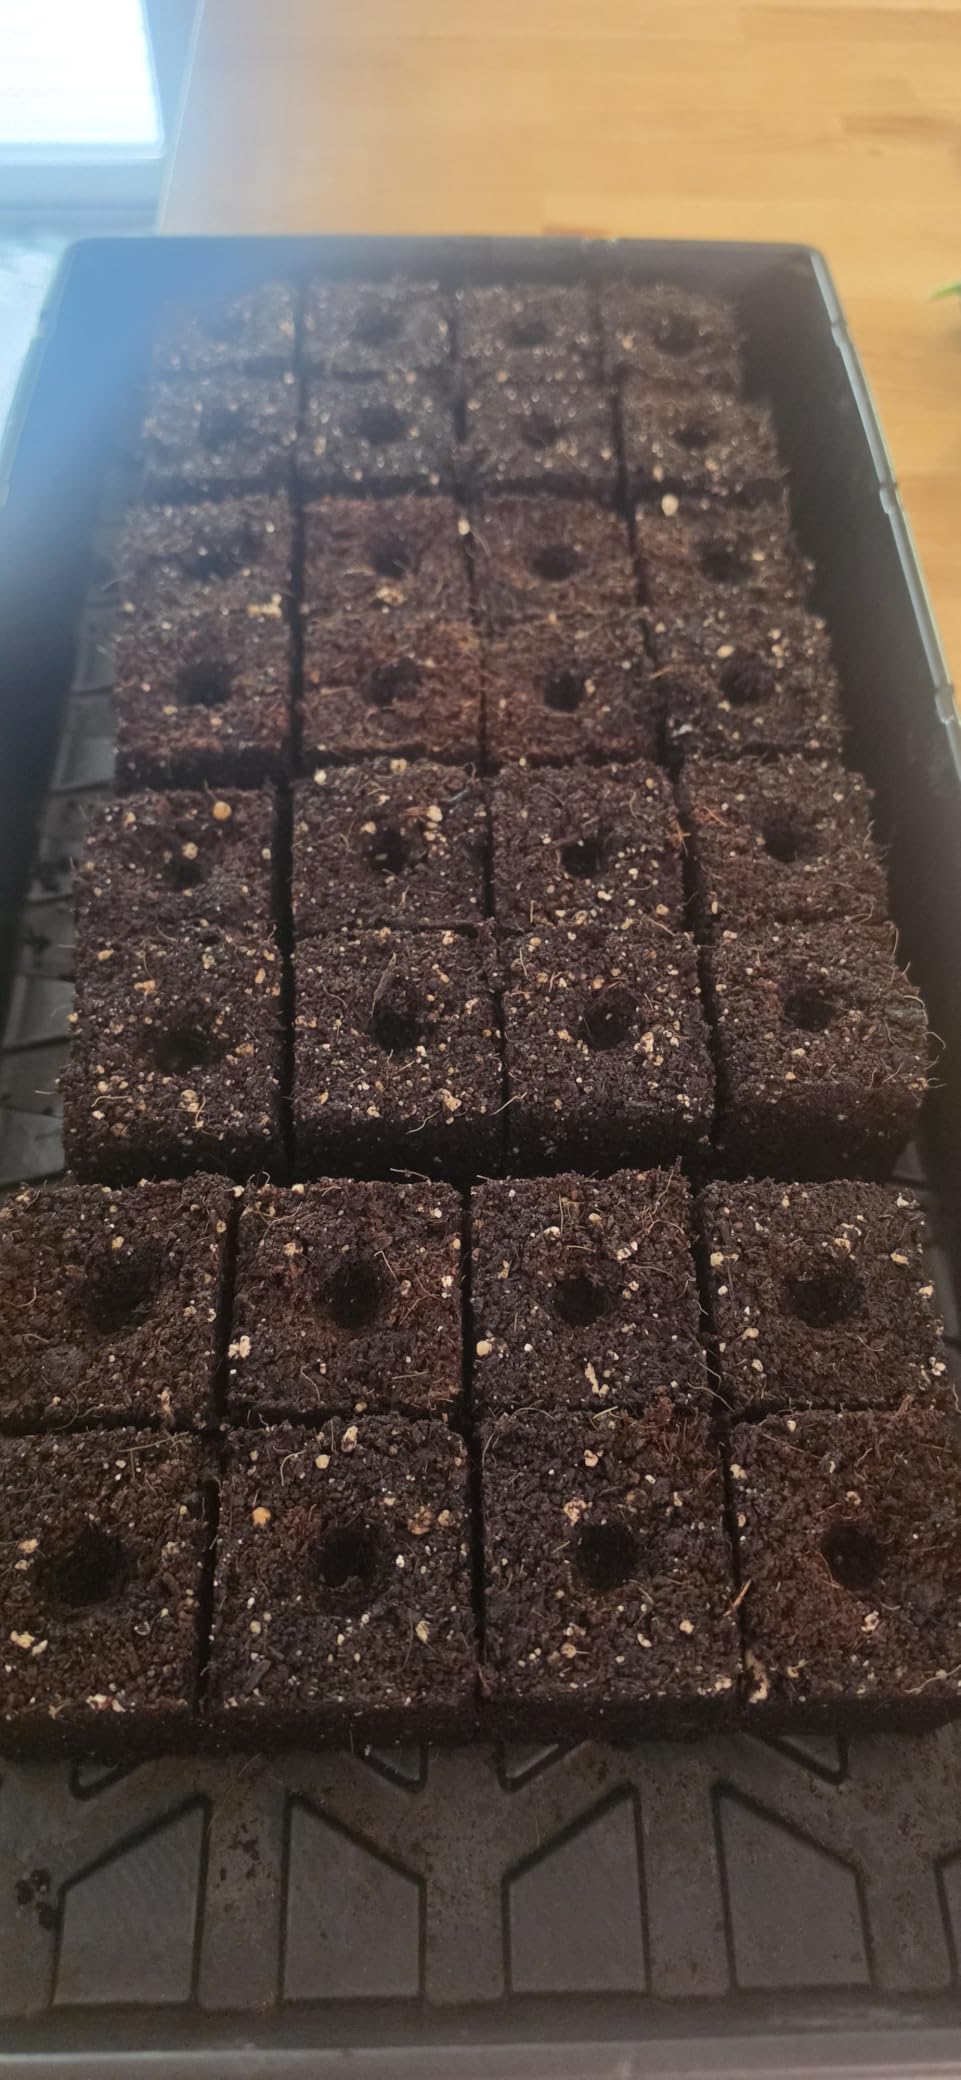
The 4.4-star rating across 268 reviews reflects mostly positive experiences, with the main criticism being the learning curve for soil moisture. I agree with that assessment. The first 50 blocks I made were sloppy; by block 100 I had the technique dialed in. The included instructions are minimal, so budget time for experimentation.
Where the BlumWay falls short of the Ladbrooke is longevity. Several long-term reviewers mention rust spots appearing after 2-3 seasons of heavy use, even with proper cleaning. The stainless steel resists corrosion better than basic zinc plating, but the EP coating on Ladbrooke tools is in another league.
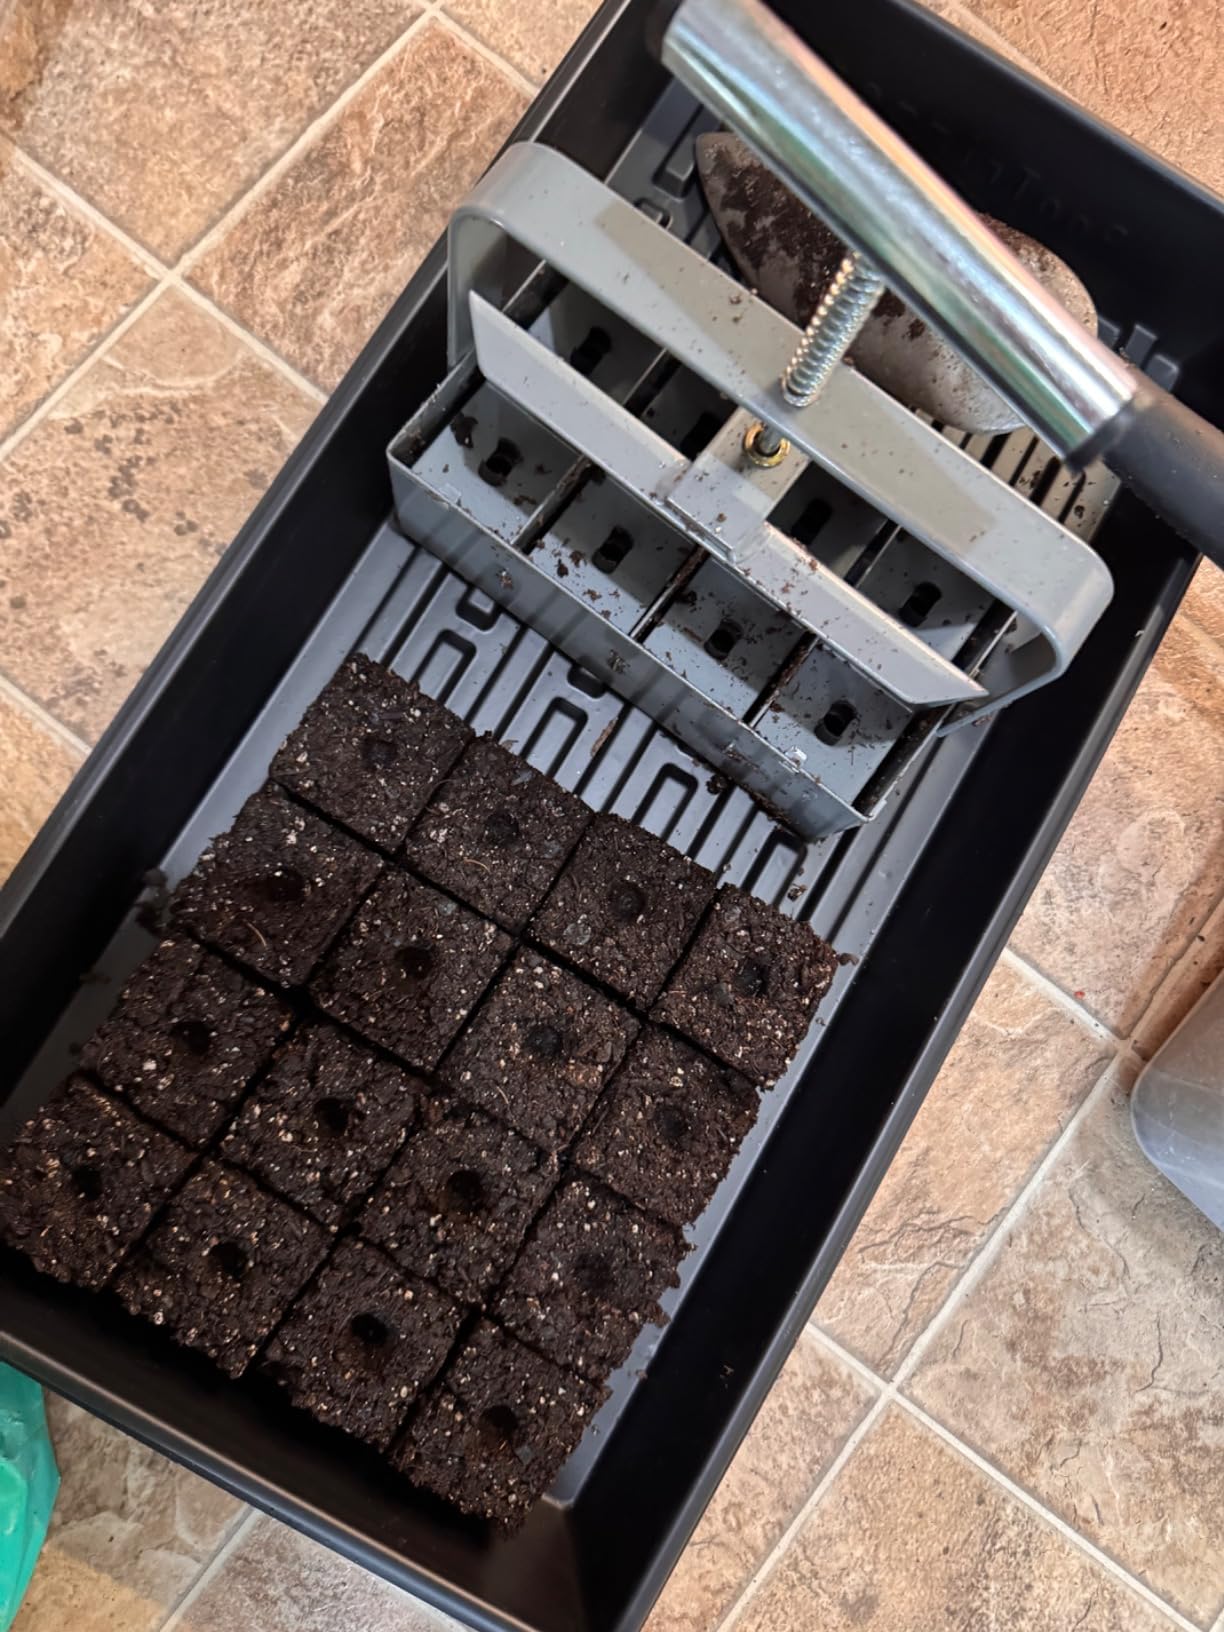
If you want Ladbrooke-style results without the Ladbrooke price, the BlumWay delivers most of the way. It’s particularly well-suited to gardeners starting 200+ seedlings per session who want to minimize press count.
The 8-cell layout also trays up nicely into standard 1020 nursery trays, which most gardeners already own.
The BlumWay is heavy at over 3 pounds when filled. If you have wrist or joint issues, consider the ALXMYAO 4-cell below or the Fiskars plastic model instead. Also, some users report minor squeaking after a season of use – a drop of mineral oil on the pivot fixes it.
Four 2-inch blocks
Galvanized steel
Free sowing tray included
The ALXMYAO surprised me. For under $20, you get a 4-cell soil blocker with galvanized steel construction, ergonomic design, and even a free sowing tray with five different size outlets. The 4.6-star rating across 51 reviews is high for a budget tool, and after testing it, I understand why.
The build quality punches above its weight class. The galvanized steel resists rust, the mechanism operates smoothly, and the blocks release cleanly when you get the soil moisture right. For a home gardener starting 2-4 trays per season, this delivers 80% of the Ladbrooke experience at a third of the price.
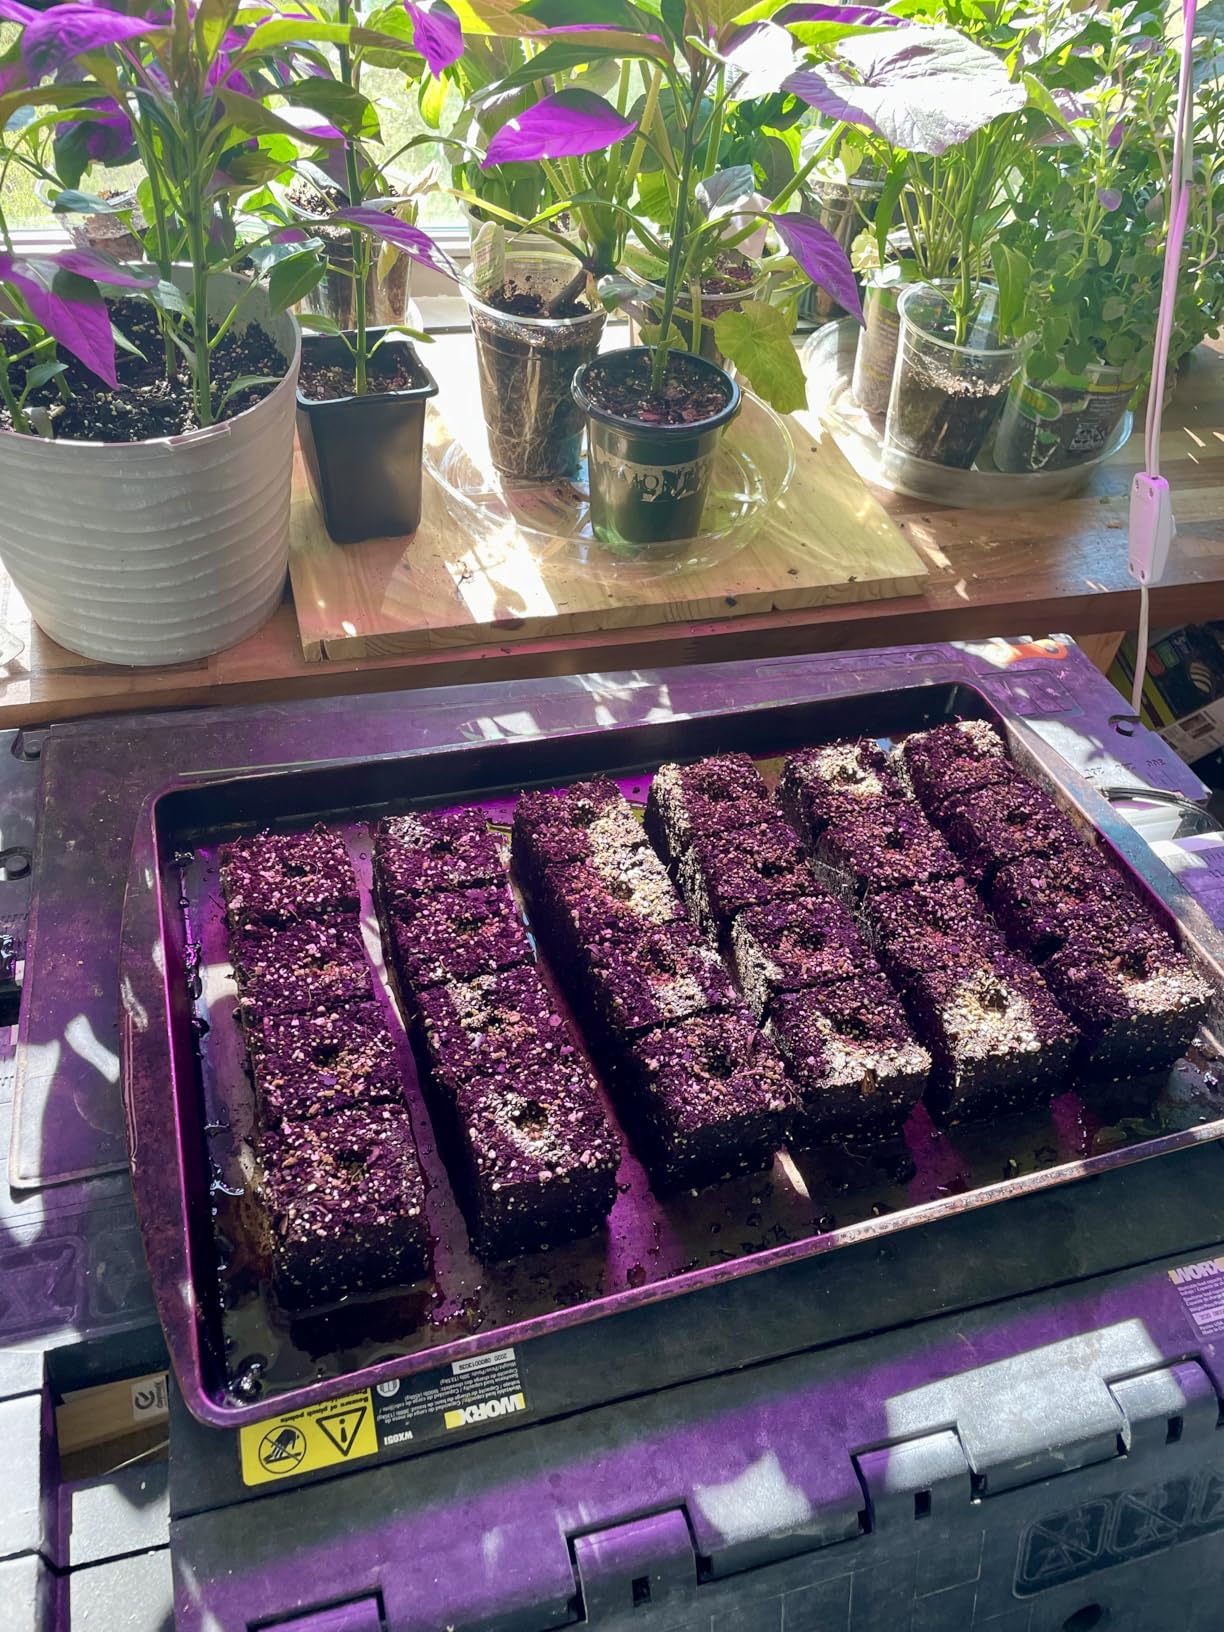
The included sowing tray is a nice touch. It’s a solid plastic tray with five different size dibble holes for seed placement. For beginners still learning to place seeds one at a time, this is genuinely helpful.
The compromises are real but reasonable. The lever isn’t as comfortable as the Ladbrooke handles during extended sessions, and some users report minor issues with the powder coating on the threading. None of these are deal-breakers for casual use.
If you’re curious about soil blocking but not ready to commit to a $45+ tool, this is the perfect entry point. The learning curve for soil moisture is the same regardless of which blocker you use, so starting with the ALXMYAO lets you master technique before upgrading.
It’s also a solid choice for occasional gardeners who start seeds 2-3 times per year. The build quality will last several seasons of moderate use.
The blocks from the ALXMYAO hold together as well as Ladbrooke blocks once you dial in moisture. The main difference is long-term durability. After two seasons, the Ladbrooke looks nearly new; the ALXMYAO shows minor wear on the spring mechanism. For the price difference, that’s a fair trade.
Small and large blockers with 3 interchangeable tips
Zinc-coated stainless steel
Rubber sealed handle
The Garlump bundle is a different approach: rather than one blocker with one configuration, you get two blocker bodies plus 12 interchangeable tips in three styles. If you want flexibility without buying multiple standalone tools, this bundle delivers.
The standout feature is the rubber sealed handle. Every other blocker I’ve tested has the occasional spring slip where the mechanism doesn’t fully release. The Garlump’s sealed design eliminates that frustration entirely. It’s a small detail that makes a big difference during long blocking sessions.
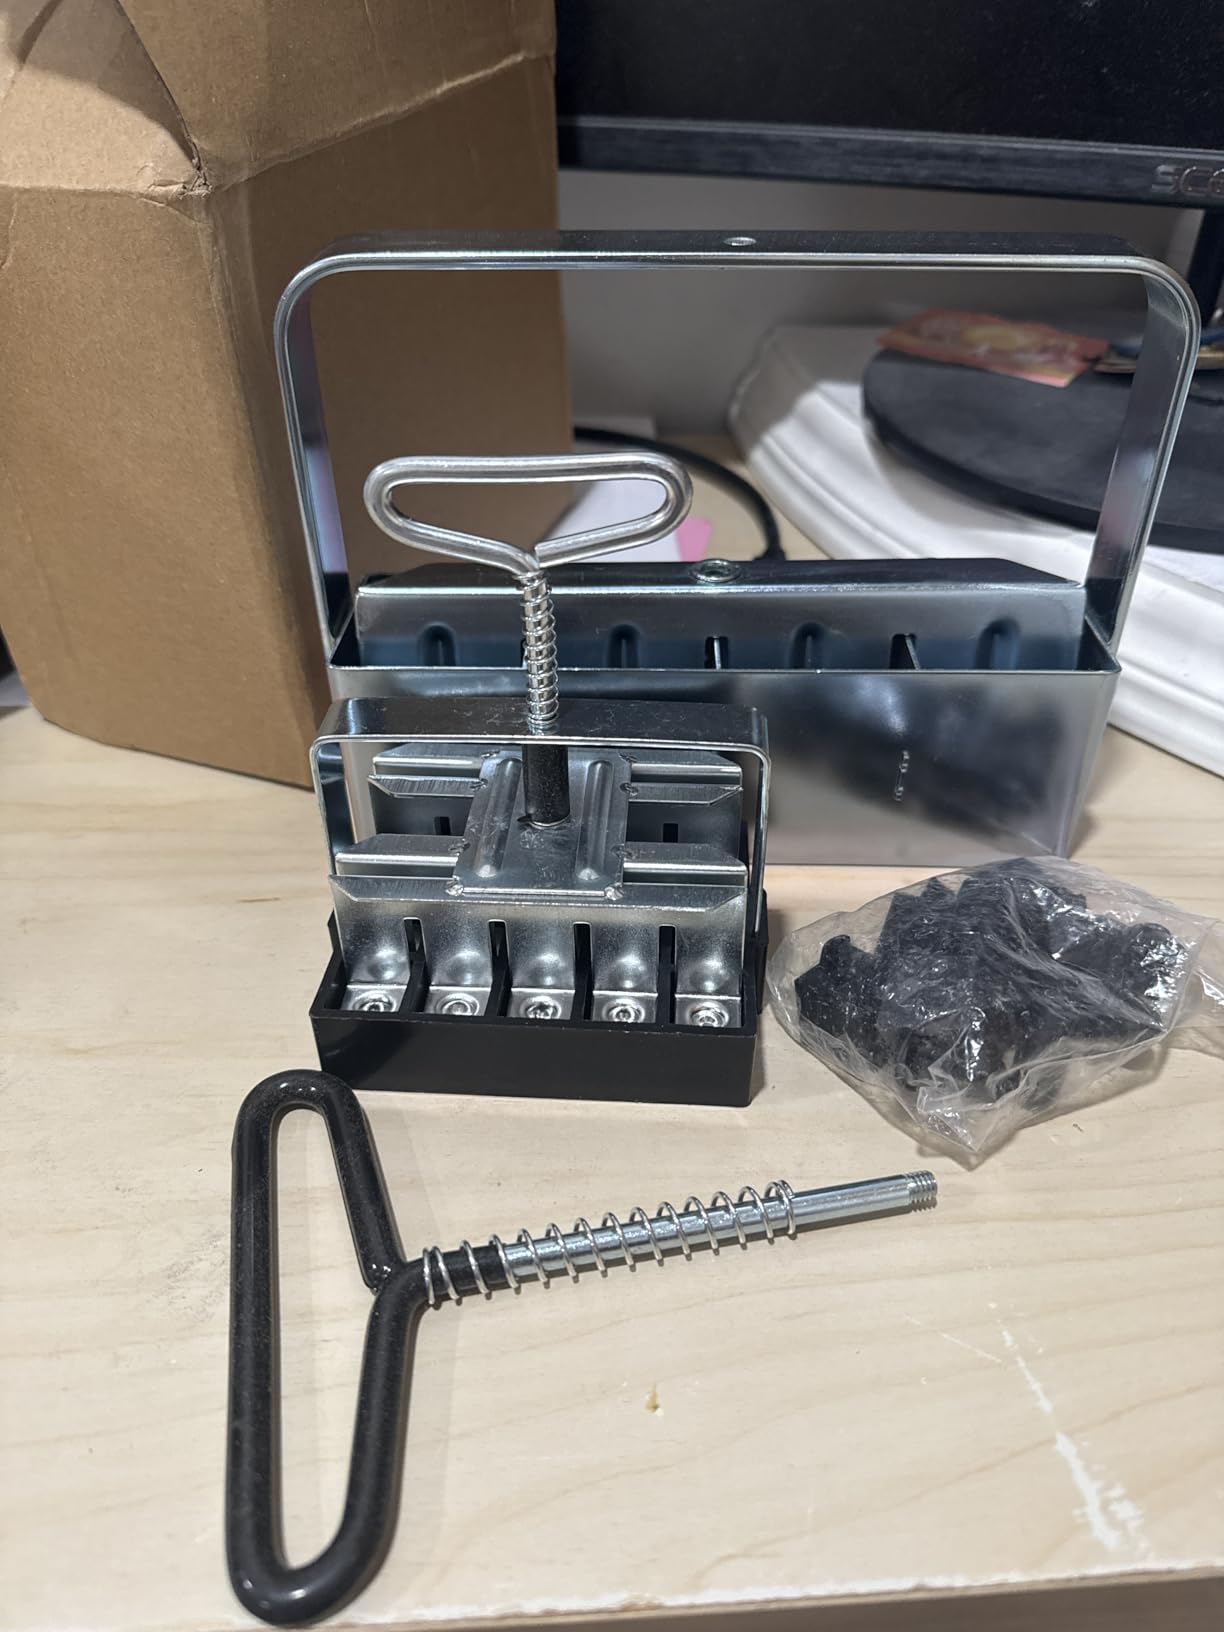
The 4.8-star rating across 21 reviews is the highest in our roundup, though the smaller sample size means each review carries more weight. After testing, I agree with the positive consensus. The build quality rivals the Ladbrooke line at a lower price point, and the zinc-coated stainless steel construction resists corrosion well.
The main learning curve is soil consistency, which is true of every blocker. The Garlump comes with no instructions, so plan to research Eliot Coleman’s blocking mix recipe or watch a YouTube tutorial before first use.
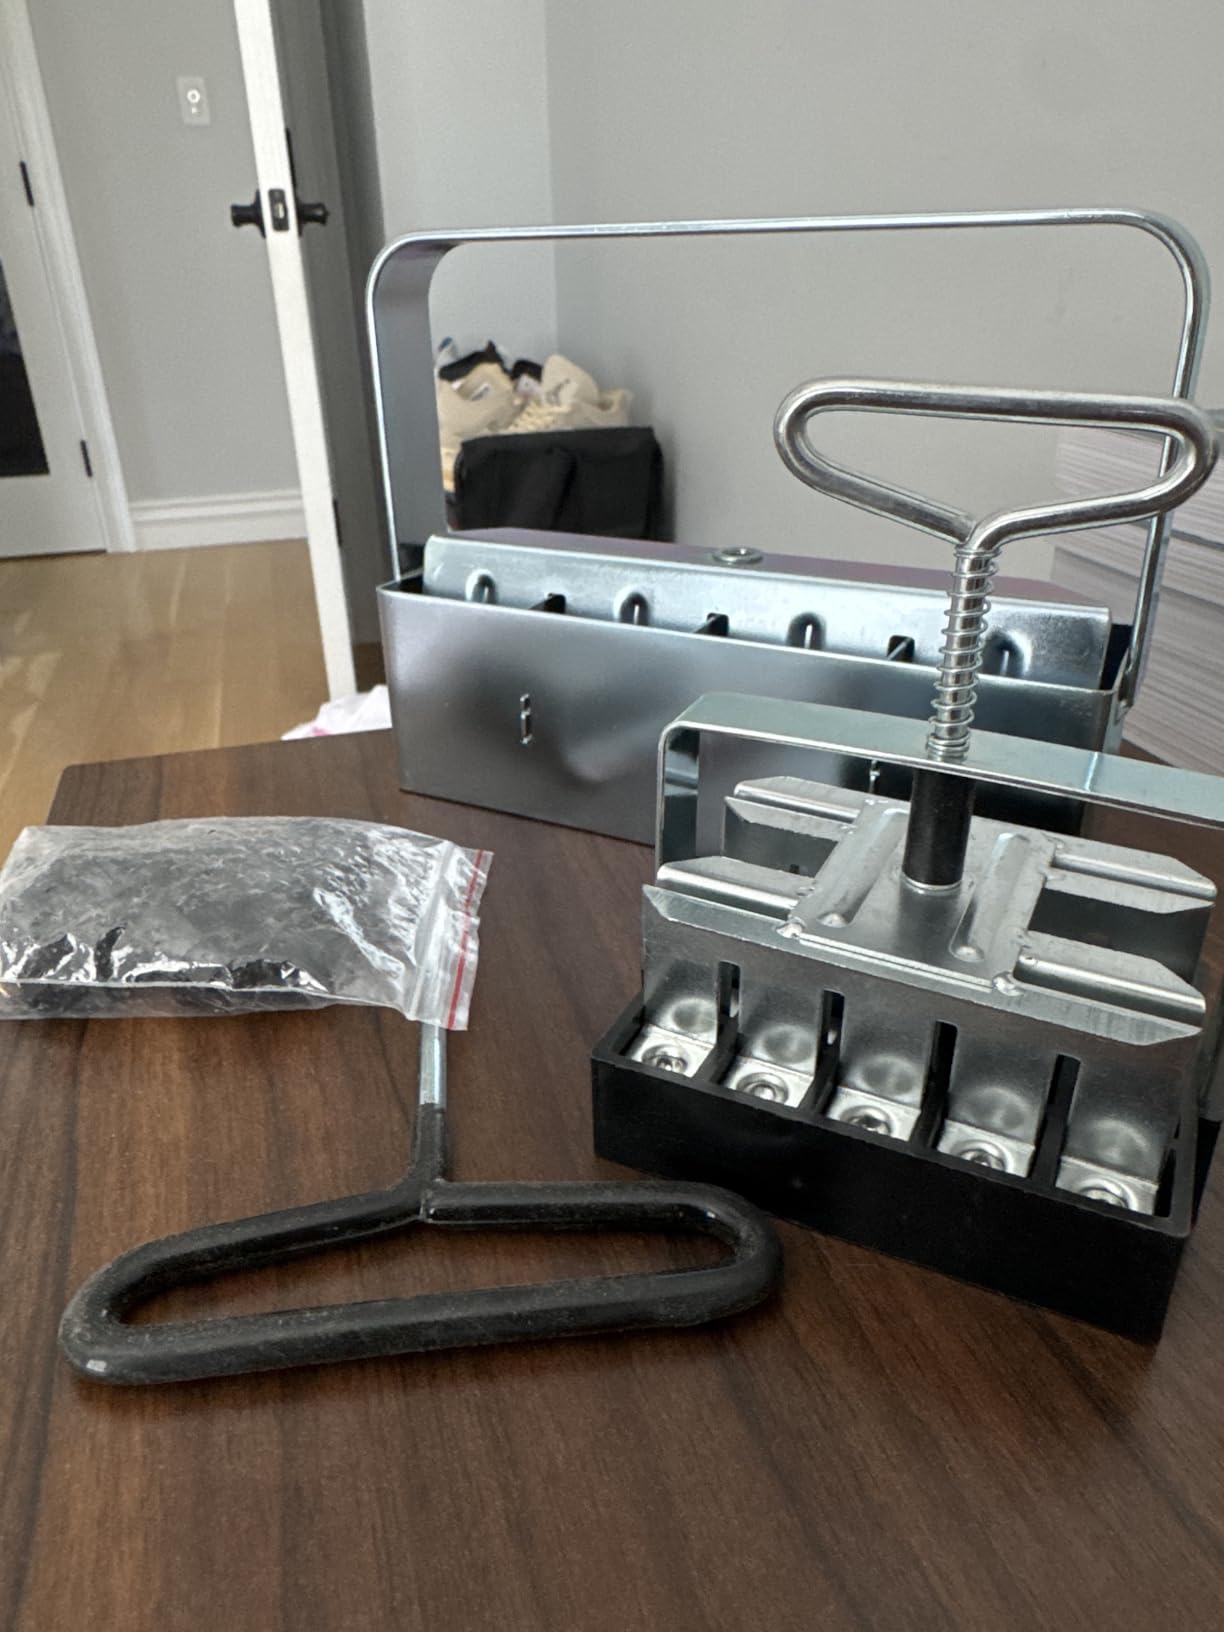
The interchangeable tip system means you’re not locked into a single block size. Need small blocks for lettuce? Use the small tips. Larger blocks for tomatoes? Swap to the bigger tips. The same handle works across both blocker bodies.
For a gardener who wants one kit that handles every seed starting scenario, this is the most flexible option in our roundup.
The smallest tip configuration produces blocks that can crumble during bottom watering if your mix is on the dry side. Stick to slightly wetter blocking mix when using the smallest tips, and you’ll avoid this issue.
Plastic body
Creates 3-inch or four 1-inch blocks
Lifetime warranty
The Fiskars Soil Block Maker is the most affordable way to try soil blocking, and it’s the only major option with a lifetime warranty. At under $15 with 639 reviews averaging 4.3 stars, it’s also the most popular budget pick on the market.
The plastic construction is a feature, not a bug. Unlike metal blockers, the Fiskars won’t rust if you forget to dry it overnight. It’s also lighter than any metal option, making it accessible for gardeners with hand strength issues or arthritis.
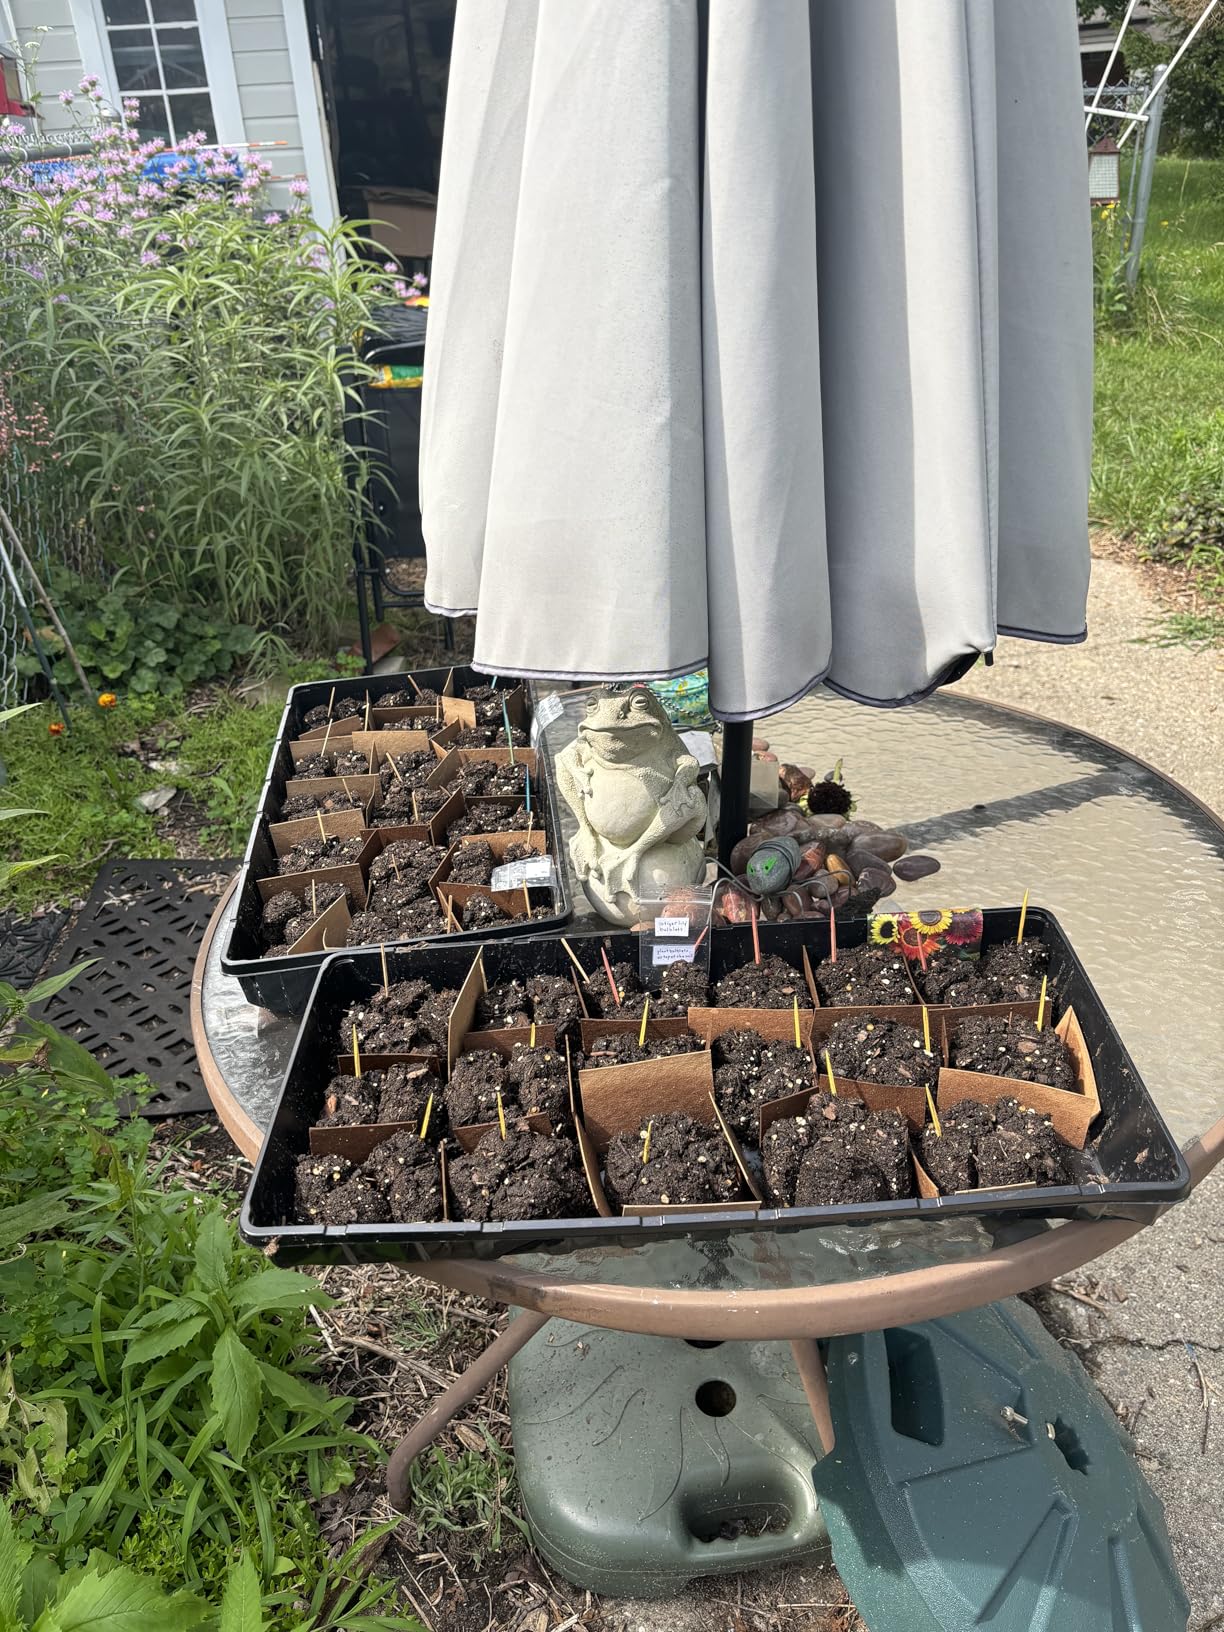
In testing, the Fiskars performed well for beginners and casual seed starters. The blocks hold together, the air pruning works, and the seedlings transplant successfully. For someone starting 1-2 trays of tomatoes and peppers each spring, this is more than enough tool.
The compromises are honest ones. The conical block shape is less space-efficient than square Ladbrooke blocks, the 3-inch blocks can be too large for many plants, and the 1-inch blocks tend to topple during bottom watering. The Fiskars is a one-mode-at-a-time tool.
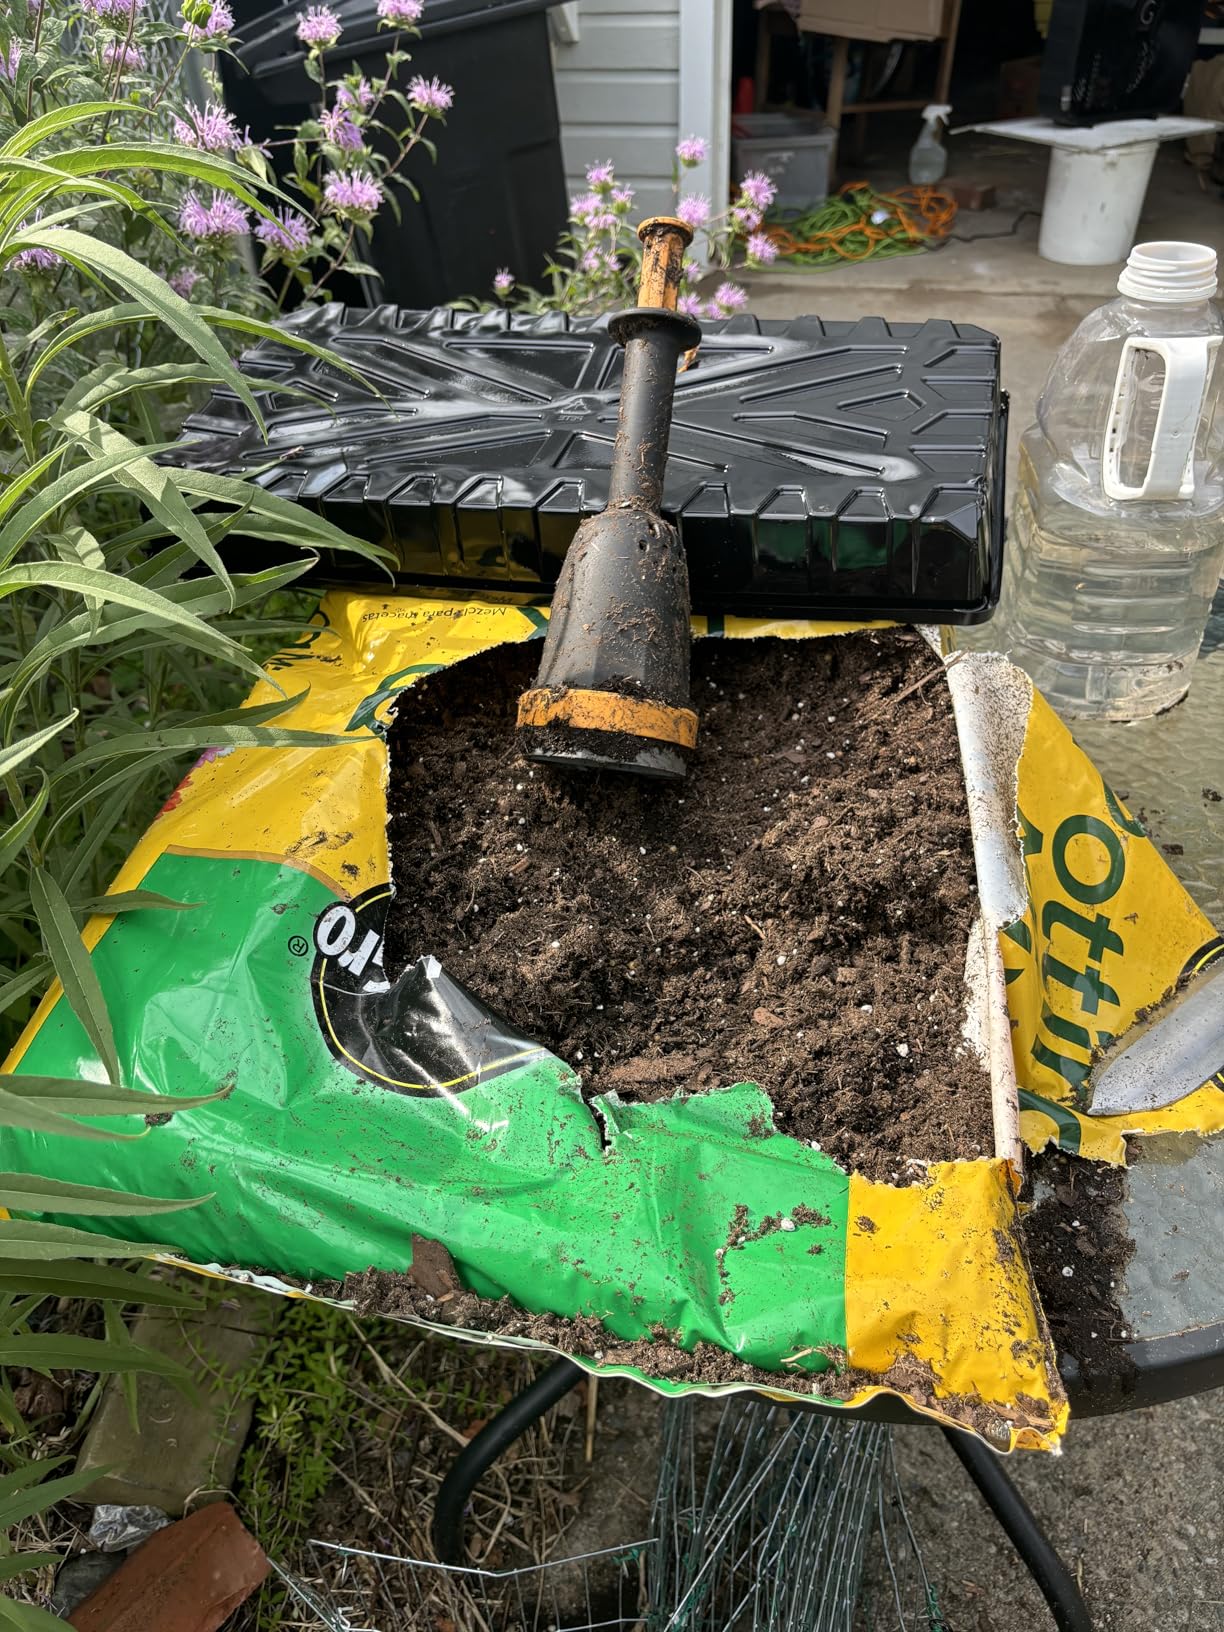
If you’ve been on the fence about soil blocking, the Fiskars is the cheapest way to find out if you like it. The lifetime warranty means you can return it if soil blocking isn’t for you, but most gardeners who try it end up hooked.
It’s also a great gift for new gardeners. The simplicity means almost no learning curve, and the price point feels low-risk.
If you find yourself wanting more blocks per press, square block shapes for tighter tray packing, or nesting system capabilities, that’s when to upgrade to a Ladbrooke or BlumWay. Many serious gardeners keep the Fiskars as a backup tool even after upgrading.
Choosing the right soil blocker for seed starting depends on three things: how many seedlings you start, what crops you grow, and how much hand strength you have. Here’s what I tell friends who ask for advice.
If you’re starting fewer than 100 seedlings per season, the Fiskars or ALXMYAO will serve you well without overthinking. For 100-500 seedlings, the Ladbrooke Mini 4 pays for itself in time and block quality. Above 500 seedlings per season, look at the Ladbrooke Nesting Set or the Garlump bundle for maximum efficiency.
I made the mistake of buying the cheapest option first, then upgrading within one season. If you’re committed to soil blocking as your method, start with the tool you’ll still want in three years. That’s the Ladbrooke Mini 4 for most home gardeners.
Block size matters more than most beginners realize. Mini 5 (1.5-inch) blocks work well for lettuce, herbs, and small flower seeds. The Mini 4 (2-inch) is the workhorse size for tomatoes, peppers, basil, and most vegetables. The Maxi (4-inch) is for crops that need a long head start or have vigorous root systems.
For most home gardeners, the Mini 4 alone covers 80% of seed starting needs. If you start a lot of small seeds, add the Mini 5. Only consider the Maxi if you grow heavy-feeding fruiting crops and want to skip intermediate pot stages.
This was the biggest surprise in my testing. Soil blocking is physical work. Pressing 200 blocks means 200 compressions of wet soil. If you have arthritis, carpal tunnel, or limited hand strength, the Ladbrooke Mini 4 is too heavy for daily use.
The Fiskars plastic model and the ALXMYAO are gentler alternatives. For severe hand issues, consider building your own wooden block mold or using small soil-block inserts. The point is to find a tool you can use comfortably for the volume you need.
Even the best soil blocker fails with the wrong mix. The classic Eliot Coleman blocking mix is 1 part peat moss (or coconut coir), 1 part compost, and 1 part coarse sand or perlite. Mix it dry, then add water slowly until the mix holds its shape when squeezed but doesn’t drip.
I personally use a peat-free blend: coconut coir, vermiculite, and well-rotted compost in equal parts. Wool pellets are an emerging sustainable alternative worth trying if you want to reduce peat use further. For more on soil options, see our guide to the best soil for raised beds.
Soil blocks dry out faster than cell trays because they’re exposed on all sides. Plan to bottom-water daily once your seedlings have true leaves. A humidity dome helps during germination but should come off as soon as seedlings emerge to prevent damping off.
If you’re using small blocks (1-inch or Micro 20), expect to check moisture twice daily. If you forget, you’ll find collapsed blocks the next morning. I learned this lesson more than once.
One of the biggest reasons to switch to soil blocking is eliminating plastic waste. I used to go through 30+ cell trays per season; now I use the same 1020 trays year after year. Over a decade of seed starting, that’s hundreds of plastic trays kept out of landfills.
For moisture monitoring during the critical germination phase, smart soil sensors can help take the guesswork out of when to water.
Yes. Soil blocks produce healthier seedlings than cell trays because the exposed sides air-prune the roots, preventing root-binding. When you transplant soil blocks, the roots don’t circle or stall – they grow outward immediately. In my testing, tomatoes and peppers from soil blocks established faster and produced earlier than tray-started equivalents.
For most home gardeners, the Ladbrooke Mini 4 is the best soil blocker. It produces four 2-inch blocks per press, uses premium EP-coated steel that lasts decades, and nests with the Ladbrooke Maxi for large transplants. If you want a budget option under $20, the ALXMYAO 4-cell blocker punches well above its weight. For under $15, the Fiskars Soil Block Maker is the most affordable entry point.
Soil blockers are worth it if you start more than 50 seedlings per season or want to eliminate plastic trays. The upfront cost is higher than a basic cell tray, but you save money on trays long-term and produce measurably healthier transplants. The air-pruning effect alone – no more root-bound seedlings – makes the switch worthwhile for serious gardeners.
The main disadvantages of soil blockers are the learning curve for soil moisture, the physical effort of pressing blocks, and faster drying compared to cell trays. Beginners often struggle with mix consistency – too dry and blocks crumble, too wet and blocks slump. Soil blocks also require daily watering attention, especially for small blocks. None of these are deal-breakers, but they’re worth knowing before you commit.
After three seasons of testing eight soil blockers for seed starting, the Ladbrooke Mini 4 remains my top recommendation for most home gardeners. The premium build quality, the EP-coated steel that resists corrosion, and the nesting system with other Ladbrooke tools justify the higher upfront cost over years of use.
If budget is the primary concern, the Fiskars Soil Block Maker at under $15 is a genuine entry point that works. If you want metal-blocker durability without the Ladbrooke price, the ALXMYAO or BlumWay deliver most of the value at half the cost. And if you start a lot of small seeds and want maximum efficiency, the Garlump bundle’s interchangeable tip system is genuinely innovative.
Whatever soil blocker you choose, commit to mastering the soil mix first. A perfect mix pressed into blocks with a budget tool beats a poor mix in a Ladbrooke every time. Get your moisture right, and the rest follows.
