

Are you tired of the same old liquid shampoos that come in plastic bottles? Well, let me tell you about DIY shampoo bars! Not only are they a fun little project to tackle at home, but they also provide an array of benefits for your hair and the planet.
Imagine crafting your own eco-friendly shampoo bar—a practical, personalized hair care product that aligns perfectly with a sustainable lifestyle. Get ready to dive into the world of DIY beauty products and give your hair the love it deserves.
To make your own shampoo bars, you’ll need some specific ingredients and tools. But don’t worry, it’s not rocket science! All it takes is selecting some natural oils like coconut or olive oil, adding in lye for saponification (that’s just a fancy word for soap-making!), and customizing with essential oils for that heavenly scent and extra hair-nourishing qualities. Then mix them up, pour them into molds, and wait patiently as they transform into solid bars ready to revitalize your tresses.
What You Will Discover Here:
Making DIY Shampoo Bars at home has become a popular trend these days, and it’s easy to see why. Many folks, like myself, have started learning how to create our own beauty products. This shift isn’t just about saving money or picking up a new hobby; it’s also about taking care of our planet and our health.
There are several reasons why DIY shampoo bars are catching on:
In short, crafting DIY shampoo not only helps promote healthier lifestyle choices around personal care but also pushes forward the movement towards sustainable living. Together, we build a better future for both ourselves and one homemade beauty product at a time!
Making your very own DIY Shampoo Bars is a fun and eco-friendly way to care for your hair. I’ll walk you through each step so you can create a bar that’s perfect for you.
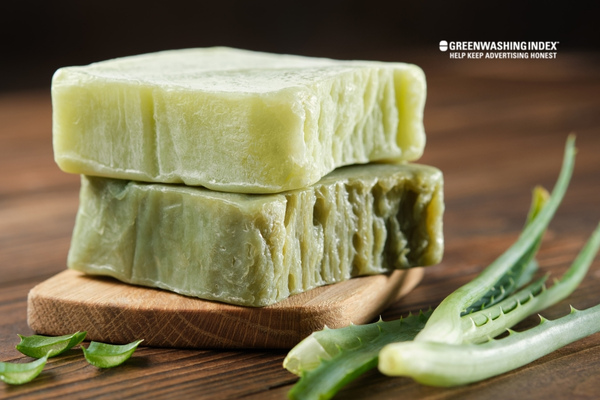
Before we start mixing and molding, it’s important to pick the right stuff to put in your bars. Here’s a list of natural ingredients:
Remember, everyone’s hair is different, so feel free to play around with what works best for you.
Now for the fun part: making the shampoo bars! It’s like a little science project in your kitchen.
Step 1: Suit Up and Safety First!
Put on gloves and goggles to protect yourself from the lye. Always work in a well-ventilated area.
Step 2: Mix Your Lye
Carefully mix the lye with water or herbal tea. This will get hot and give off some fumes, so be cautious and wait for it to cool down.
Step 3: Melt Your Oils
In a pot or double boiler, melt down your chosen oils and butter until they’re completely liquid.
Step 4: Mix Everything Together
Once both the lye mixture and the oils have cooled to a similar temperature, slowly and carefully combine them. Stir the mixture until it reaches ‘trace,’ which is when it’s thick enough to leave a mark if you drizzle a bit on top.
Step 5: Add Your Extras
Now’s the time to put in your essential oils, honey, or powders. Mix them in well.
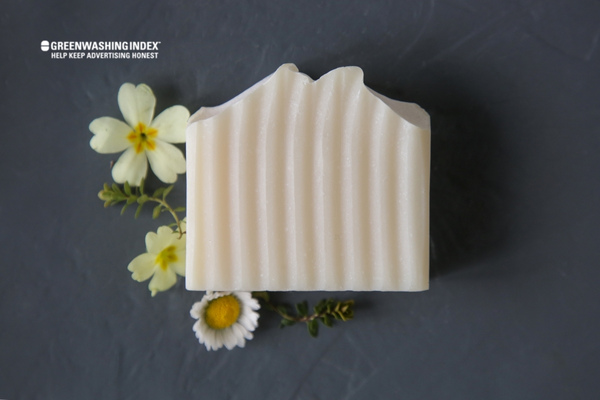
Step 6: Mold It
Pour your mixture into molds. Silicone baking molds work great for this, or you can use a loaf pan and cut it into bars later.
Step 7: Wait It Out
Let your bars sit in their molds for a day until they’re firm enough to take out. Then, let them cure in a cool, dry place for about 4 weeks. This waiting period is important—it lets the soap finish saponifying and hardens the bars up.
And that’s it! You’ve made your own shampoo bars. With these homemade goodies, you’ll not only have a great time making them but also enjoy an eco-friendly way to keep your hair looking fabulous.
When I dive into making DIY beauty products, especially DIY Shampoo Bars, I like to keep things simple but effective. Ensuring a high-quality result means paying attention to every step of the process. From mixing to molding, every detail matters.

First, let’s talk about the process of making eco-friendly shampoo bars. There are a few obstacles you might run into, but don’t worry; with a bit of know-how, they’re easy to avoid.
Quality of Ingredients: Start with the best ingredients. For a successful shampoo bar recipe, use natural oils like coconut or olive oil and pure essential oils for fragrance. Improper ingredients or low-quality oils won’t just affect the bar’s performance; they can also impact your hair.
Measuring Precisely: The key to consistency is accurate measurement. Use a kitchen scale to get your proportions right. Eyeballing ingredients may lead to a mix that’s either too dry or too oily.
Mixing Thoroughly: Make sure that your lye and water blend well with your oils. A common pitfall is rushing this step. Mix until you reach a texture known as ‘trace’ – where the drizzled mixture sits on the surface momentarily before sinking in.
Mold Selection: The mold you choose can make or break your shampoo bars. Silicone molds are great because they’re easy to use, and the bars pop out neatly without much effort. If you use a wooden mold, line it with parchment paper for easier removal.
Curing Properly: Don’t be tempted to use your bars right away. They need time to harden and cure, ideally four to six weeks. This wait ensures the bars are set properly and will last longer when you use them.
Climate Considerations: Humidity can play havoc with homemade shampoo bars. If it’s too humid, the bars might not be set correctly. If it’s too dry, they may crack. Try to make your bars in a controlled environment where you can keep an eye on the humidity.
Now, onto storing and maintaining your shampoo bars to make sure they last:
Following these simple but vital storage and maintenance pointers, your homemade DIY Shampoo Bars should remain in top condition, saving you money and supporting an eco-friendly lifestyle in the long run.
When I think about the products I use in my day-to-day life, especially those for personal care, it strikes me how each choice I make can either harm or help our beautiful planet.
That’s why I’ve been drawn to DIY shampoo bars. Making my own shampoo bars is not just a crafty endeavor, but it’s a step towards reducing my environmental footprint. Let me share with you the positive impact of these eco-friendly shampoo alternatives.
Switching to homemade shampoo bars can be one of the little changes in your routine that have a big impact on the environment. Here are some reasons how:
DIY shampoo bars are a beautiful fusion of self-care and earth-care. They’re simple, sustainable, and a testament to the fact that what’s good for us can also be good for the planet.
Plus, there’s something genuinely satisfying in knowing that the product I’m lathering into my hair was crafted by my own hands with nature and the future in mind. So here’s to taking a small step for a healthier me and a happier Earth!
Homemade shampoo bars can be great for all types of hair. However, you might want to tweak your recipe to fit your hair’s needs—be it dry, oily, or normal.
Yes, always check if you’re allergic to any ingredient in your DIY shampoo bars. Essential oils and certain herbs can cause reactions. It’s best to do a patch test before using it in your shampoo bar mix.
A well-made batch of DIY shampoo bars can last up to 6 months. Store them in a cool, dry place, away from direct sunlight to maintain their quality.
Wrapping up making my own DIY Shampoo Bars has been quite the adventure. I love knowing that I have put my personal touch into each bar, tailoring it to my specific hair needs. The steps I’ve shared come from my heart, aiming to guide you through this enjoyable and creative process.
Every bar you make is a step toward a more eco-friendly lifestyle and a testament to self-sufficiency in beauty care. Remember to choose your ingredients wisely, follow the instructions carefully, and store your shampoo bars properly. With these insights and your passion, you’ll craft something wonderful for your hair and the planet.
Key Takeaway Points
Don't let aphids, slugs, and caterpillars ruin another plant. Take back control with simple, natural methods that actually work.
