
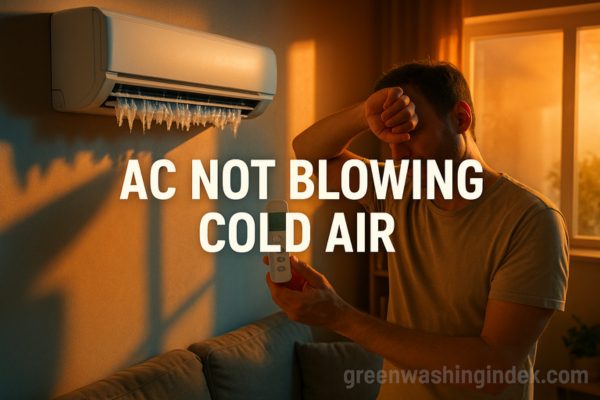
There’s nothing worse than coming home on a scorching summer day to find your AC running but blowing warm air. I’ve been there, standing in front of vents waving my hand around, hoping to feel even a hint of cool air that never comes. If you’re dealing with this right now, I get it – it’s frustrating, uncomfortable, and you’re probably worried about repair costs.
Before you panic or call an expensive repair service, let me walk you through exactly what’s happening with your system. In most cases, the problem is simpler than you think. I’ll show you what to check first, what you can fix yourself, and when you absolutely need to call a professional. We’ll cover everything from 5-minute fixes to more complex issues, plus I’ll help you avoid this headache in the future.
Important Safety Note: While many AC issues can be diagnosed and even fixed by homeowners, always turn off power to your system before attempting any repairs. If you smell gas, see sparks, or feel uncomfortable at any point, stop immediately and call a professional.
Let’s start with the simple stuff that causes about 30% of “my AC isn’t working” calls to HVAC companies. I’m serious – technicians regularly show up to homes just to flip a switch or adjust a thermostat setting. Save yourself the service call fee and check these first.
This sounds obvious, but check that your thermostat is set to “cool” not “heat” or “fan only.” I once spent 20 minutes troubleshooting before realizing someone had bumped the mode switch. Also verify the temperature setting is at least 5 degrees below the current room temperature. If your thermostat is set to 78°F and it’s 77°F inside, your AC won’t kick on.
Head to your electrical panel and look for any tripped breakers. Your AC system typically has two breakers – one for the indoor unit and one for the outdoor unit. If either is tripped (the switch will be in the middle position or “off”), flip it fully off, then back on. If it immediately trips again, you have an electrical issue that needs professional attention.
Pull out your air filter right now. If you can’t see light through it, or if it looks like a gray carpet, that’s your problem. A clogged filter restricts airflow so severely that your system can’t cool properly. It’s like trying to breathe through a pillow. Replace it immediately – this alone might solve your problem.
Walk through your house and make sure all supply vents are open and unblocked. I’ve seen furniture, rugs, and even toys completely covering vents. Your system needs proper airflow to function. While you’re at it, check that the return air grilles (the larger vents that pull air in) aren’t blocked either.
Go outside and check your condenser unit (the big box with the fan on top). Is the fan running? Is the unit covered in leaves, grass clippings, or debris? Is there at least 2 feet of clearance around all sides? If the answer to any of these is no, you’ve found at least part of your problem.
Now let’s dig into the real troubleshooting. These are the issues I see most often, ranked roughly by how common they are. I’ll tell you exactly what to look for and whether you can handle it yourself.
We touched on this already, but it bears repeating because it’s the #1 cause of cooling problems. When your filter gets too dirty, airflow drops dramatically. Your evaporator coil can freeze up, and the system simply can’t move enough air to cool your home. The fix is simple: replace the filter. Use the size printed on your old filter’s frame and buy quality pleated filters, not the cheap fiberglass ones. Mark your calendar to change it every 1-3 months depending on usage and whether you have pets.
If you see ice on the indoor unit or copper lines, or if you notice water pooling around your indoor unit, you likely have a frozen coil. This happens when airflow is restricted (usually from that dirty filter) or when refrigerant levels are low. To fix it, turn off your system and switch the fan to “on” (not “auto”) to help thaw the ice. This can take 2-4 hours. Once thawed, replace your filter and try again. If it freezes again, you need a pro to check refrigerant levels.
Your AC doesn’t “use up” refrigerant like gas in a car. If levels are low, you have a leak somewhere. Signs include: ice on the evaporator coil, hissing sounds from the indoor unit, higher electric bills, and of course, warm air from vents. This is NOT a DIY fix – handling refrigerant requires EPA certification. A technician needs to find the leak, repair it, and recharge your system.
That outdoor unit needs to breathe. When it’s clogged with dirt, leaves, or cottonwood seeds, it can’t release heat properly. Turn off power to the unit, then use a garden hose (not a pressure washer!) to gently spray from the inside out, cleaning the aluminum fins. Trim back any vegetation within 2 feet. If the fins are bent, you can carefully straighten them with a fin comb, available at any home improvement store.
The compressor is the heart of your AC system. When it fails, your system might run but won’t cool at all. You’ll hear the fan running outside, but the compressor (which makes a distinct humming sound) stays silent. This is expensive to fix – often $1,500 to $2,500. If your system is over 10 years old, it might make more sense to replace the entire unit with a more energy-efficient appliance.
Capacitors, contactors, and relays can all fail, preventing your system from starting properly. You might hear clicking sounds, or the system might start then immediately stop. While capacitors are relatively cheap parts ($25-$45), replacing them involves working with high voltage. Unless you’re experienced with electrical work, call a professional.
Modern programmable thermostats can fail or lose calibration. Try replacing the batteries first. If that doesn’t work, you can test if it’s the thermostat by carefully jumping the R (power) and Y (cooling) wires at the furnace – if the AC kicks on, your thermostat is bad. Smart thermostats can often be recalibrated through their apps.
If certain rooms won’t cool while others are fine, you might have duct leaks. According to Energy Star, the average home loses 20-30% of conditioned air through duct leaks. Look for obvious disconnections in accessible areas like attics or basements. Small leaks can be sealed with mastic sealant or metal tape (never regular duct tape despite the name).
Capacitors help motors start and run. When they fail, you might hear a humming sound but see no movement, or the system might not start at all. A failed capacitor often looks swollen or leaks oil. While replacement is straightforward for those comfortable with electrical work, capacitors store electricity even when power is off, making them dangerous for inexperienced DIYers.
Both the indoor blower motor and outdoor fan motor can fail. Signs include no air movement despite the system running, grinding or squealing noises, or the fan spinning slowly. Motors typically cost $300-$600 to replace. Sometimes the issue is just a loose belt or needs lubrication, which you can handle yourself.
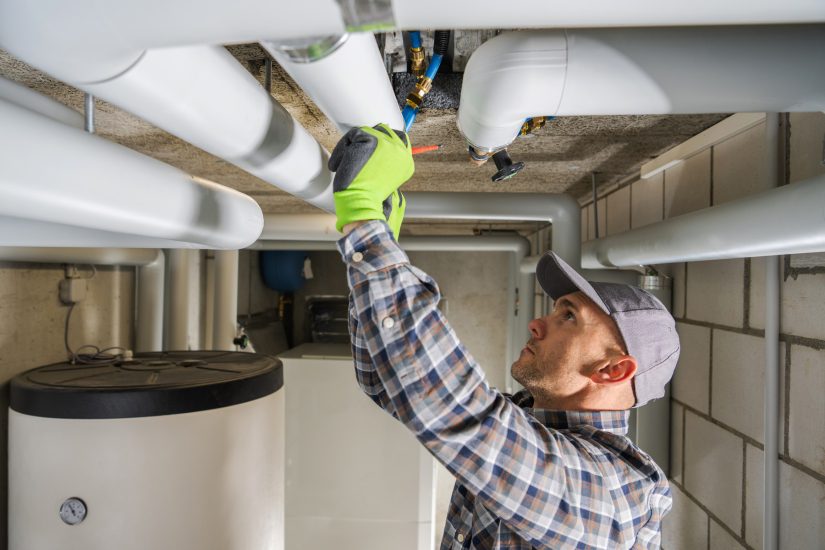
Let’s get practical. Here are the repairs you can definitely handle yourself, with step-by-step instructions.
Turn off your system first. Locate your filter – it’s usually in the return air grille, in a slot near your furnace, or in the air handler. Note the size (like 20x25x1) and the arrow showing airflow direction. Slide out the old filter, slide in the new one with the arrow pointing toward the unit. That’s it. Set a reminder to check it monthly.
Turn off power at the breaker and the disconnect box near the unit. Remove any debris from around and on top of the unit. Using a garden hose with a spray nozzle, gently spray from inside the unit outward to clean the fins. Don’t use high pressure – you’ll damage the fins. For stubborn dirt, use a coil cleaner spray from any HVAC supply store. Let it sit according to directions, then rinse thoroughly.
Sometimes your AC just needs a reboot. Turn off the thermostat. Go to your breaker panel and turn off both AC breakers. Wait 30 seconds. Turn breakers back on, then turn the thermostat back to cool. This clears any error codes and gives the system a fresh start.
If you’ve got ice, turn the system off completely but set the fan to “on” to circulate air over the frozen coil. Place towels around the indoor unit to catch water. Do NOT try to chip ice off – you’ll damage the coil. Once fully thawed (2-4 hours), replace your filter and restart. If it freezes again within 24 hours, call a pro.
I’m all for saving money with DIY repairs, but some situations require professional help. Here’s when to put down the tools and pick up the phone.
You need immediate professional help if: You smell gas or burning electrical components. There’s water leaking through your ceiling. The breaker trips repeatedly. You see sparks or exposed wires. The outdoor unit is making loud banging or grinding noises.
You should schedule professional service if: Your system needs refrigerant. The problem involves the compressor or major electrical components. Your system is under warranty (DIY work often voids it). You’ve tried basic troubleshooting and nothing works. The repair requires special tools or EPA certification.
When hiring an HVAC technician, get multiple quotes for major repairs. Ask about their license, insurance, and warranty on work performed. A good technician will explain the problem clearly and show you what’s wrong. Expect to pay $75-$200 for a diagnostic visit, more for after-hours calls.
While dealing with AC problems, you’re probably worried about energy bills. A malfunctioning system can use 30-50% more electricity while providing little to no cooling. According to the Department of Energy, proper maintenance can reduce energy consumption by 5-15%.
If your system is over 10 years old and needs major repairs, consider upgrading to an Energy Star certified model. You’ll save 20-40% on cooling costs, and many utilities offer rebates. Plus, newer systems use environmentally friendly refrigerants that don’t damage the ozone layer.
During the repair decision process, calculate the 50% rule: if the repair cost is more than 50% of a new system’s price, and your unit is over 10 years old, replacement makes more financial sense.
Once you get your AC working again, let’s keep it that way. Regular maintenance prevents most cooling failures and extends your system’s life by 5-7 years.
Check and potentially replace your air filter. It’s the single most important thing you can do. Clear debris from around your outdoor unit. Make sure all vents are open and unobstructed. Listen for unusual sounds when the system runs.
Every spring, before you need cooling, clean the condenser coil and check the condensate drain line for clogs. Test your system on a mild day so you’re not discovering problems during a heat wave. Schedule professional maintenance if you haven’t had it in over a year.
A professional tune-up costs $75-$200 but saves much more in prevented repairs and improved efficiency. Technicians check refrigerant levels, test all electrical components, clean coils thoroughly, lubricate moving parts, and identify problems before they cause breakdowns.
Consider joining a maintenance plan with a reputable HVAC company. You’ll get priority service, discounts on repairs, and peace of mind knowing your system is professionally maintained.
Check it monthly, but replacement frequency depends on several factors. Basic fiberglass filters need changing every 30 days. Pleated filters last 60-90 days. If you have pets, allergies, or run your system constantly, change filters more frequently. When in doubt, hold the filter up to light – if you can’t see through it clearly, replace it.
Running a malfunctioning AC can cause more damage and higher bills. If it’s blowing warm air but otherwise running normally, you can use it short-term while waiting for repairs. However, if you hear unusual noises, smell burning, or see ice formation, turn it off immediately to prevent costly damage.
Minor repairs like capacitor replacement run $150-$400. Refrigerant leak repairs cost $200-$1,500 depending on location and severity. Compressor replacement ranges from $1,500-$2,500. Full system replacement costs $3,000-$7,000 depending on size and efficiency.
Generally, no. Most AC units last 15-20 years. If yours needs major repairs after 15 years, replacement is usually smarter. Newer units are significantly more efficient, use better refrigerants, and come with warranties. Plus, you’ll avoid the frustration of repeated repairs on an aging system.
With proper maintenance, expect 15-20 years from a quality central air conditioner. Heat pumps typically last 10-15 years. Window units last 8-10 years. Factors affecting lifespan include usage patterns, maintenance frequency, local climate, and installation quality.
Yes, running with low refrigerant causes the compressor to work harder and run hotter, potentially leading to premature failure. It also causes the evaporator coil to freeze, which can damage other components. If you suspect low refrigerant, have it checked promptly.
Dealing with an AC that won’t cool is frustrating, but now you’re equipped to handle it. Start with those 5-minute checks – you might get lucky with a simple fix. Work through the common causes systematically, and don’t hesitate to tackle the DIY-friendly repairs yourself.
Remember that regular maintenance is your best defense against future problems. That monthly filter change and annual tune-up might seem unnecessary when everything’s working, but they’re far less expensive than emergency repairs in July.
If your system is beyond repair, consider it an opportunity to upgrade to a more efficient model that will save money and reduce environmental impact. And when it’s time to replace that old unit, make sure you research proper appliance recycling options to dispose of it responsibly.
Stay cool, stay safe, and remember – most AC problems are more manageable than they initially seem. With the knowledge you now have, you can make informed decisions about repairs and avoid getting taken advantage of by unscrupulous contractors.
Don't let aphids, slugs, and caterpillars ruin another plant. Take back control with simple, natural methods that actually work.
