
Planning to install a mini split but worried about your electrical panel capacity? You’re not alone. Understanding mini split amperage requirements is crucial for safe installation and avoiding costly electrical upgrades that can run thousands of dollars.
Most residential mini splits use between 15-45 amps, with specific requirements varying by BTU size, voltage (120V vs 240V), and efficiency rating. The exact mini split power consumption depends on multiple factors we’ll explore in detail.
This guide How Many Amps Does a Mini Split Use? covers amp calculations, breaker sizing, wire requirements, and everything you need for proper mini split electrical planning. Whether you’re a DIY enthusiast or working with a contractor, you’ll find the answers to ensure your installation meets code and operates efficiently.
Understanding your ductless AC amp draw starts with knowing your system’s BTU rating and available voltage. Here’s what you need to know about single and multi-zone systems.
The following table shows typical amperage requirements for single-zone mini splits at different voltages:
| BTU Size | 120V Amps | 240V Amps | Typical Breaker Size |
|---|---|---|---|
| 9,000 | 8-12.5 | 4.2-6.5 | 15-20A |
| 12,000 | 10-15 | 5-8 | 20A |
| 18,000 | 15-20 | 7.5-10 | 20-30A |
| 24,000 | N/A | 10-13 | 30A |
| 36,000 | N/A | 15-20 | 40-50A |
Note: Actual amperage varies by manufacturer and SEER rating.
Multi-zone systems require careful calculation of total amp draw. A typical 2-zone system with two 12,000 BTU heads might draw 20-30 amps total at 240V. For 3-4 zone systems, expect 30-50 amps depending on total BTU capacity and efficiency ratings.
Each indoor unit typically adds 2.5-10 amps to the total system draw, with the outdoor compressor unit handling the majority of the electrical load. Always check manufacturer specifications for exact multi-zone amperage requirements.
The relationship between voltage and amperage follows Ohm’s Law – as voltage doubles, amperage halves for the same power output. This explains why a 240V mini split draws significantly fewer amps than a 120V unit of the same BTU capacity.
Running your mini split on 240V reduces amp draw by approximately 50%, allowing for smaller wire sizes and reducing voltage drop over long distances. This efficiency gain makes 240V the preferred choice for most installations over 12,000 BTU.
Determining your mini split electrical requirements doesn’t require an engineering degree. Here are three reliable methods to calculate amp draw.
The most accurate way to determine amperage is checking your unit’s nameplate or specification sheet. Look for these key values:
These ratings, required by UL standards, provide the exact electrical requirements for safe installation.
When you know your mini split’s wattage, calculating amps is straightforward:
Formula: Amps = Watts ÷ Volts
Example: A 2,400-watt mini split on 240V circuit:
This formula works for any electrical device and helps verify manufacturer specifications or estimate power consumption for energy planning.
Without manufacturer data, estimate amperage using BTU capacity and assumed efficiency:
Formula: Amps = (BTU ÷ EER) ÷ Volts
Example: 18,000 BTU mini split with 12 EER on 240V:
Note: Most modern mini splits have EER ratings between 10-16. Use 12 as a conservative estimate.
These two ratings are critical for proper mini split electrical requirements and safe installation. Ignoring them can lead to code violations and potential safety hazards.
MCA represents the minimum amperage your circuit must handle continuously. Calculate it as: MCA = (RLA × 1.25) + Other Loads
This 25% safety factor, required by NEC Article 440, ensures your circuit can handle startup surges and continuous operation without overheating.
MOP indicates the largest breaker size permitted for your mini split. Exceeding this value voids warranties and creates fire hazards. The MOP typically ranges from 15-50 amps depending on system size.
Common MOP values:
While running amps indicate normal operation, MCA and MOP ratings ensure:
Never size electrical components based solely on running amps – always follow MCA and MOP specifications.
Selecting the correct breaker size is crucial for protecting your mini split and meeting electrical code requirements. Here’s what you need to know.
| BTU Size | 120V Breaker | 240V Breaker | Wire Gauge Required |
|---|---|---|---|
| 9,000 | 20A | 15A | 12 AWG / 14 AWG |
| 12,000 | 25-30A | 20A | 10 AWG / 12 AWG |
| 18,000 | N/A | 25-30A | 10 AWG |
| 24,000 | N/A | 30-35A | 10 AWG / 8 AWG |
| 36,000 | N/A | 40-50A | 8 AWG / 6 AWG |
Always verify with manufacturer MOP ratings
Understanding breaker types prevents installation errors:
Double-pole breakers ensure both legs disconnect simultaneously, providing proper protection for 240V circuits as required by electrical code.
Avoid these costly errors:
Pro Tip: Why you should never oversize your breaker – Oversized breakers won’t trip during overload conditions, potentially damaging your mini split or causing wire overheating. Always match breaker size to MOP rating, never exceed it “just to be safe.”
Proper wire sizing ensures safe operation and prevents voltage drop. Understanding mini split wire gauge requirements helps avoid common installation mistakes.
| Circuit Amps | Copper Wire Size | Maximum Distance @ 3% Drop |
|---|---|---|
| 15A | 14 AWG | 45 feet |
| 20A | 12 AWG | 55 feet |
| 30A | 10 AWG | 65 feet |
| 40A | 8 AWG | 80 feet |
| 50A | 6 AWG | 100 feet |
Based on NEC Table 310.16 for 75°C rated wire
The communication cable between units typically uses 14/4 stranded wire:
This specialized cable handles:
Voltage drop becomes critical for long wire runs. Calculate using: Voltage Drop = (2 × Length × Current × Resistance) ÷ 1000
For runs over 100 feet, consider:
| Wire Gauge | Amps | Resistance (Ω/1000ft) | Max Distance for 3% Drop (240V) |
|---|---|---|---|
| 12 AWG | 20A | 1.93 | 93 feet |
| 10 AWG | 30A | 1.21 | 99 feet |
| 8 AWG | 40A | 0.764 | 118 feet |
Understanding what influences your mini split power consumption helps optimize efficiency and reduce operating costs.
Higher SEER (Seasonal Energy Efficiency Ratio) ratings mean lower amp draw. Modern mini splits with SEER ratings of 16-22 use 20-40% fewer amps than older 10-13 SEER units.
Amp reduction by SEER improvement:
Mini split heat pumps typically draw 10-25% more amps in heating mode, especially in cold climates. This increased draw occurs because:
Typical amp increase in heating mode:
Inverter technology significantly reduces average amp draw by modulating compressor speed. Benefits include:
Non-inverter units cycle on/off, drawing maximum amps each startup cycle.
All mini splits experience higher startup vs running amps, but duration varies:
This surge explains why proper breaker sizing follows MOP ratings, not running amps. Circuit protection must handle these brief surges without nuisance tripping.
Meeting mini split electrical code requirements ensures safety, insurance compliance, and warranty protection. Here’s what 2025 codes mandate.
NEC Article 440 specifically addresses air conditioning equipment:
Local amendments may add requirements – always check with your AHJ (Authority Having Jurisdiction).
Mini splits require dedicated circuits per NEC 440.4(B):
Sharing circuits with other appliances violates code and voids warranties.
Disconnect requirements per NEC 440.14:
Common disconnect types:
While not code-required, surge protection extends equipment life:
NEMA recommends surge protection for all HVAC equipment in 2025.
Follow this systematic approach to ensure your electrical system can support your new mini split.
Locate BTU rating on:
Common residential sizes: 9,000, 12,000, 18,000, 24,000, or 36,000 BTU.
Determine available voltage options:
Most homes have 240V at the panel, even if not currently used.
Using methods covered earlier:
Add 25% safety factor for circuit sizing.
Calculate available amperage:
If insufficient, consider load management or panel upgrade.
Document for your electrician:
Professional installation ensures code compliance and safety.
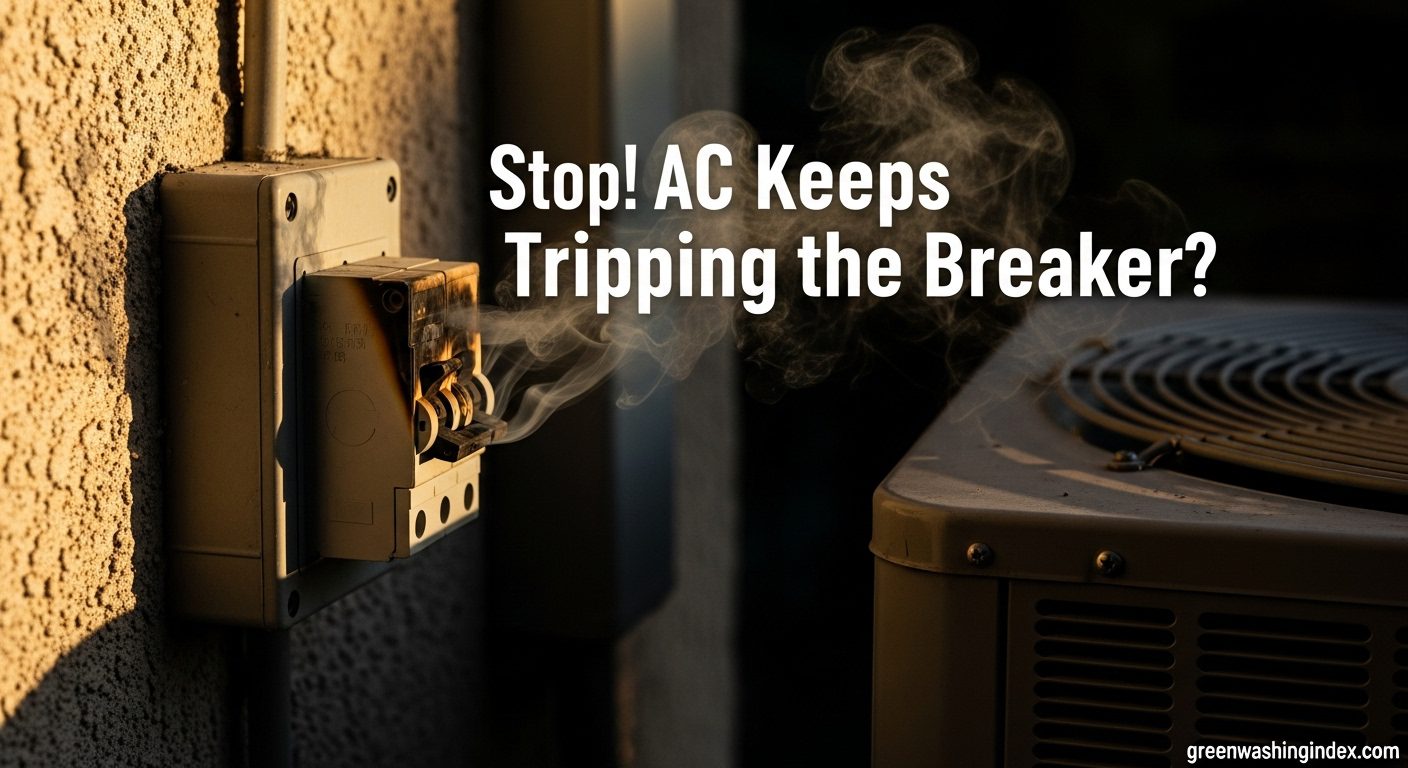
Recognizing and addressing excessive amp draw prevents damage and reduces energy costs. Here’s how to identify and solve common issues.
Watch for these warning signs:
Immediate investigation prevents costly damage.
Top reasons for high amperage:
Regular maintenance prevents most issues.
Contact qualified HVAC technician for:
Professional diagnosis prevents dangerous conditions and further damage.
High Amp Draw Diagnosis Flow:
Understanding electrical costs helps budget accurately for your mini split installation in 2025.
Panel upgrade costs vary by region:
Factors affecting cost:
New circuit costs for mini split:
Price includes:
While DIY saves labor costs, consider:
DIY Risks:
Professional Benefits:
Most areas require licensed electrician for 240V circuits.
Pro Tip: Often overlooked expenses:
Budget 20-30% above initial estimate for unexpected costs.
Comparing ductless AC amp draw to traditional systems reveals significant efficiency advantages.
Mini splits typically use 30-40% fewer amps than equivalent central AC:
A 24,000 BTU mini split may draw 10-12 amps while central AC of same capacity draws 15-20 amps.
Key efficiency factors:
These advantages compound for 30-50% energy savings.
| System Type | Avg. Summer Amps | Daily kWh (8 hrs) | Monthly Cost @ $0.12/kWh |
|---|---|---|---|
| Window AC (12k BTU) | 12A @ 120V | 11.5 | $41.40 |
| Central AC (2-ton) | 20A @ 240V | 38.4 | $138.24 |
| Mini Split (24k BTU) | 10A @ 240V | 19.2 | $69.12 |
Based on 2025 average electricity rates and 8-hour daily runtime
Yes, but only for smaller 120V units up to 9,000 BTU with MOP ratings of 15 amps. Most mini splits require 20 amps minimum due to startup current demands. Always check the manufacturer’s MOP rating – using an undersized breaker causes nuisance tripping and potential system damage.
It depends on size and design. Units up to 12,000 BTU often offer 120V or 240V mini split options, while larger systems require 240V exclusively. The 240V option is preferred because it reduces amp draw by 50%, allows smaller wire sizes, and improves efficiency. Check your specific model’s requirements before planning installation.
Excessive amp draw triggers several problems: breaker tripping, overheated wires, reduced component lifespan, higher energy bills, and potential fire hazards. Common causes include dirty filters, low refrigerant, or electrical issues. If your system consistently draws more than nameplate amperage, schedule professional service immediately.
While some homeowners possess the skills, most jurisdictions require licensed electrician installation for 240V circuits. DIY installation risks code violations, warranty voiding, insurance issues, and safety hazards. The cost savings rarely justify these risks. Always check local codes and permit requirements before attempting DIY electrical work.
A 200-amp panel can typically support 3-4 mini split systems, depending on other household loads. Calculate by adding all existing breaker amperage, including the mini splits’ MCA ratings, keeping total below 160 amps (80% of panel capacity). Most homes can add 60-80 amps of mini split load to a 200-amp panel.
Breaker tripping during startup indicates several possible issues: undersized breaker for startup amps, weak breaker needing replacement, failing start capacitor, low voltage conditions, or compressor problems. If the breaker matches MOP specifications and still trips, have a technician check the capacitor and compressor.
Understanding mini split electrical requirements ensures safe, efficient installation that meets code and protects your investment. Mini splits typically draw 15-45 amps depending on size, with proper electrical planning essential for optimal performance and longevity.
Key takeaways for your mini split project:
Ready to move forward? Download our free mini split electrical planning checklist or consult with a licensed electrician for your specific installation needs. Proper planning today prevents costly corrections tomorrow.
Don't let aphids, slugs, and caterpillars ruin another plant. Take back control with simple, natural methods that actually work.
