


Tulips can make your garden bright and colorful! To grow the best tulips, pick the right types like parrot or Darwin hybrids. Dig up your soil and mix in compost for soft, happy roots.
Pick a sunny spot where tulips can stand tall. Water them often but not too much. After flowers fade, let leaves die back to help bulbs grow strong.
Grow tulips that shine in spring! Choose healthy bulbs and plant them deep enough. Keep weeds away so tulips don’t fight for nutrients.
Check for bugs and fix problems fast. With easy care, your tulips will bloom like magic. Make your garden a tulip wonderland this year!
Selecting the right tulip varieties is essential for a vibrant and successful tulip garden. Consider factors such as climate, soil type, and the blooming season to choose varieties that thrive in your area. Popular types include Darwin hybrids for their robust blooms and longevity, as well as fringed and parrot tulips for unique textures and colors. Mix early, mid, and late bloomers to enjoy continuous blooms throughout the spring, ensuring your garden remains a visual delight.
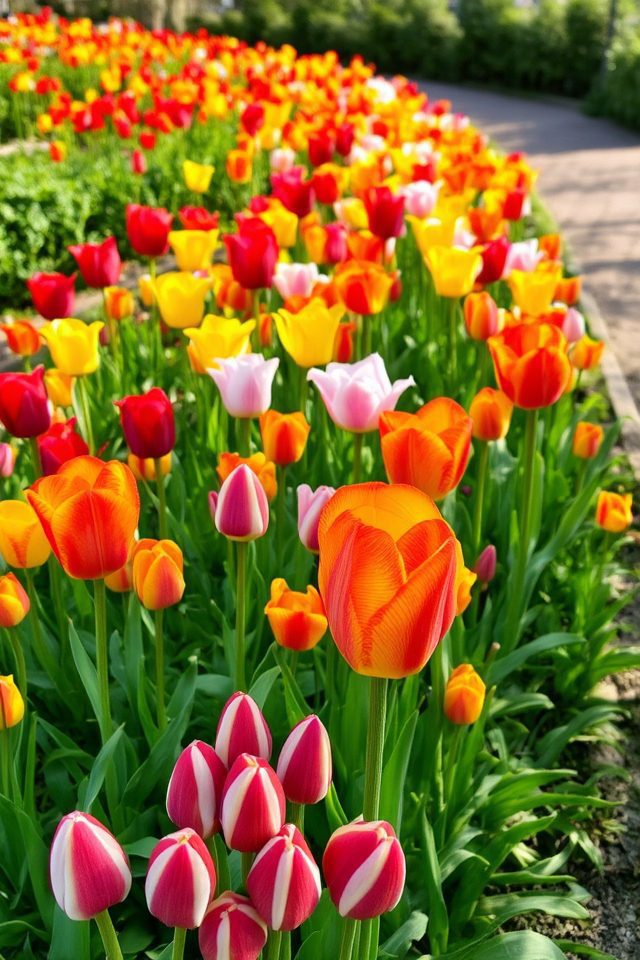
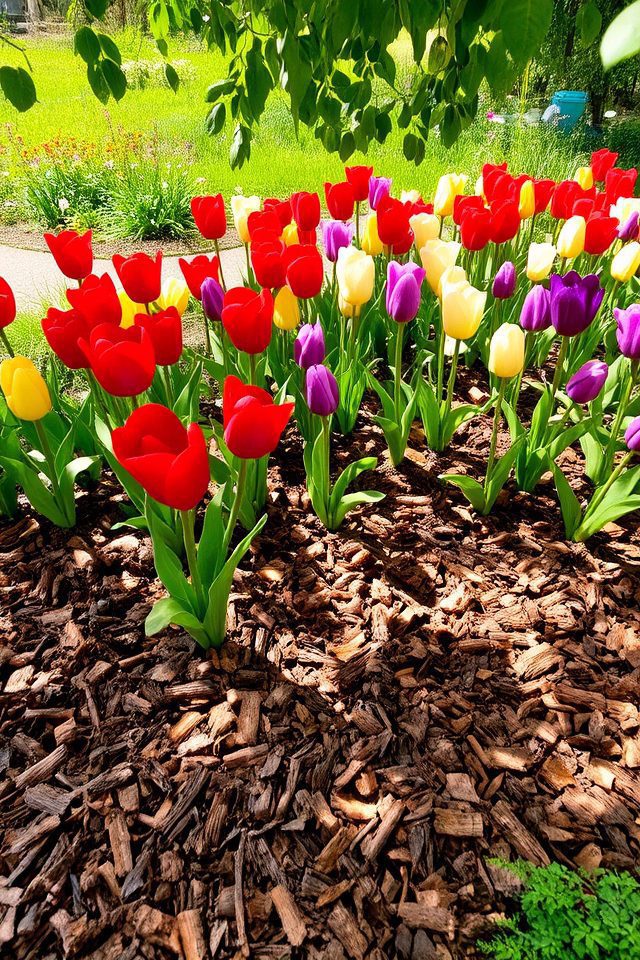
When planning your tulip garden layout, consider factors such as sunlight, soil type, and drainage. Choose a location that receives full sun for ideal blooming. Use a mix of tulip varieties for diverse colors and heights, grouping them in clusters for visual impact. Plan for companion plants that can enhance the tulips’ beauty and prolong the blooming season. Remember to allow space between bulbs for proper growth and maintenance. Sketch a layout to visualize your design before planting.
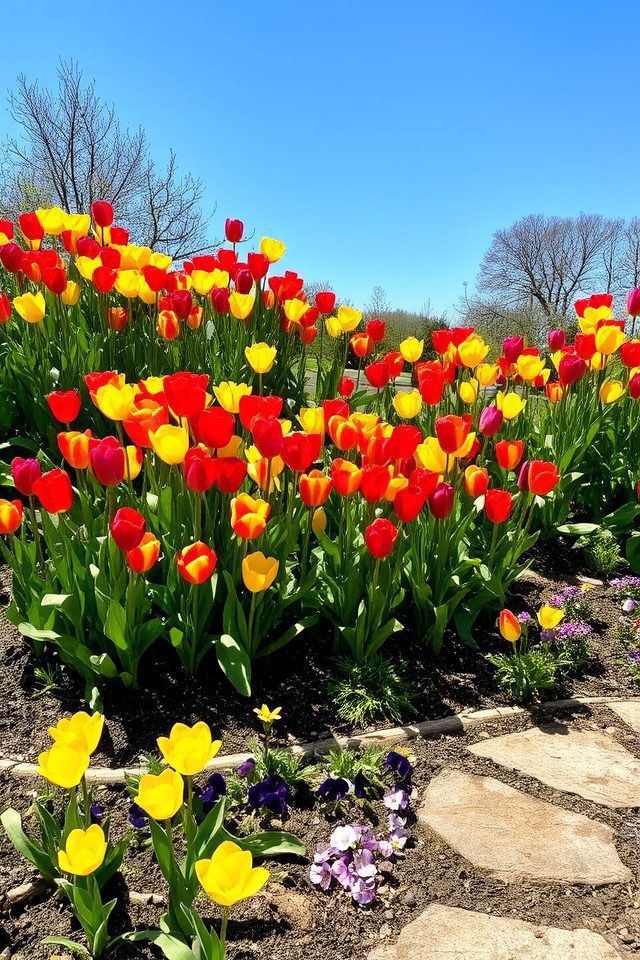
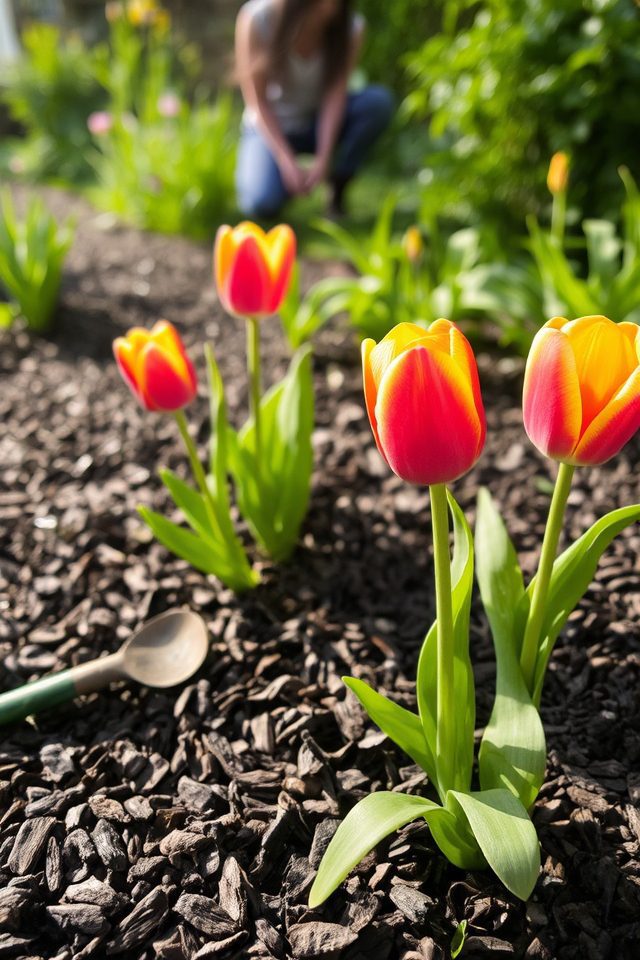
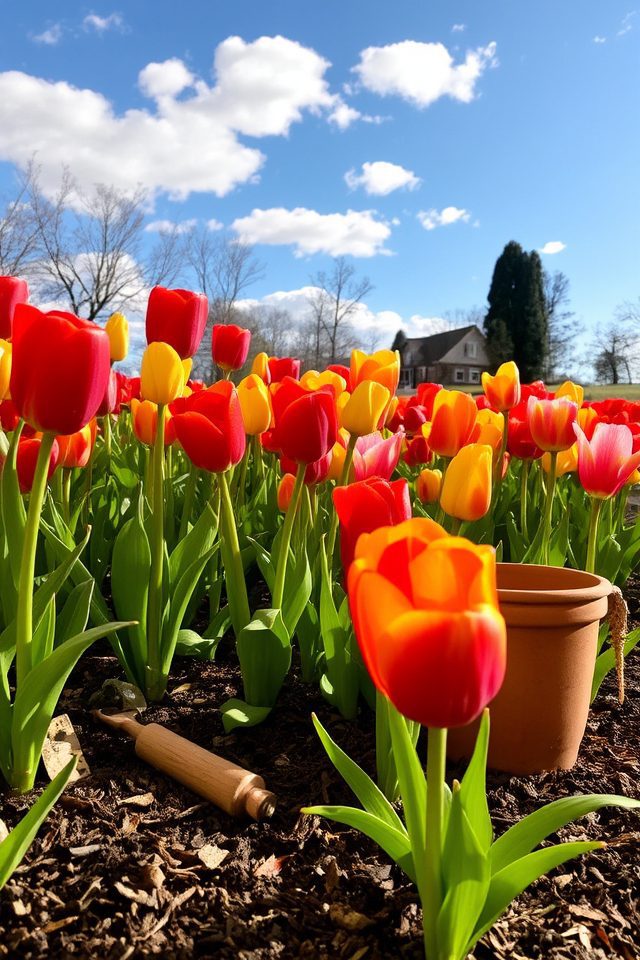
Choosing a suitable planting location is essential for a thriving tulip garden. Ideally, select a spot that receives full sunlight for at least six hours a day, as tulips flourish in bright conditions. Make sure the soil is well-draining to prevent bulb rot, and consider a location protected from strong winds, which can damage delicate blooms. Assess the space for proper air circulation, promoting healthy growth and vibrant flowers throughout the blooming season.
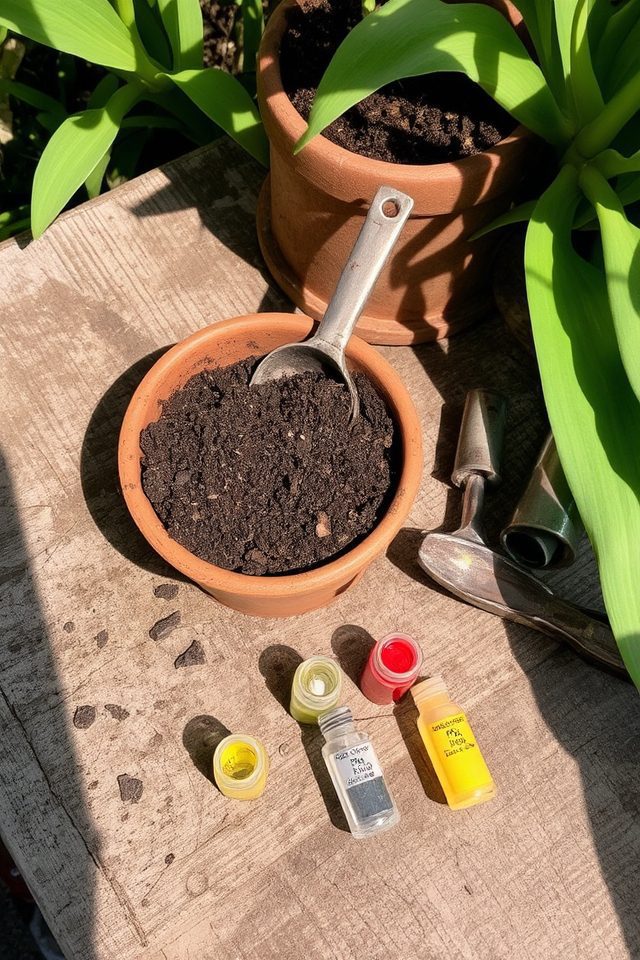
Testing your soil is an essential step in creating a successful tulip garden. Start by collecting soil samples from different areas of your garden, ensuring a mix that reflects the overall conditions. Send the samples to a soil testing laboratory or use a DIY home kit to analyze pH levels and nutrient content. Tulips thrive in well-drained, slightly acidic to neutral soil (pH 6.0-7.0). Based on the results, you can amend your soil accordingly, ensuring ideal growth for your tulips.

Improving soil drainage is essential for a thriving tulip garden, as tulips prefer well-drained soil to prevent bulb rot. Start by amending heavy clay soils with organic matter, such as compost or peat moss, to enhance drainage. Incorporating coarse sand or gravel can also improve aeration. Additionally, consider planting tulips in raised beds or mounds to further guarantee excess water drains away, creating an ideal environment for these vibrant flowers.
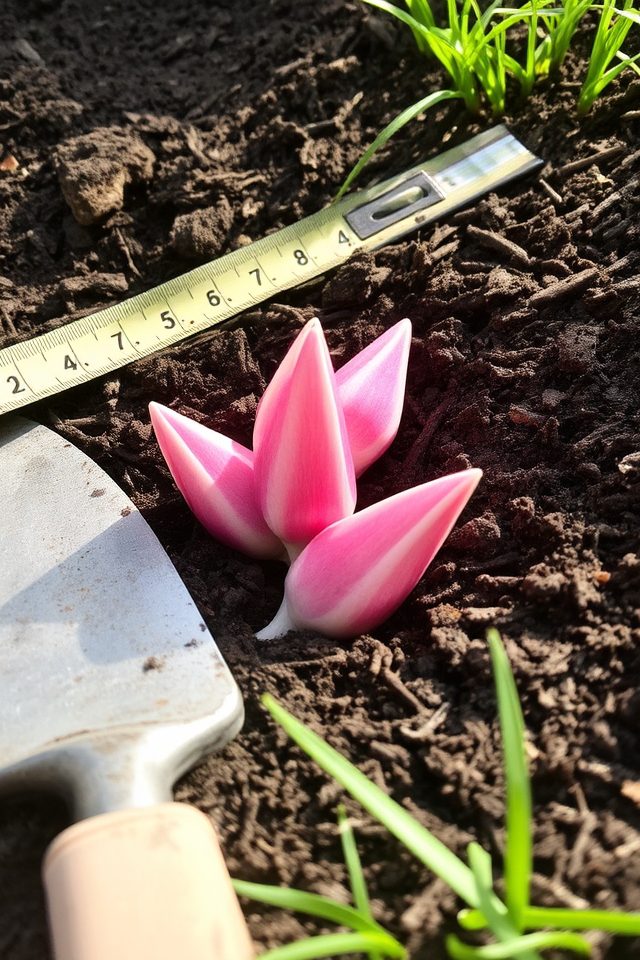
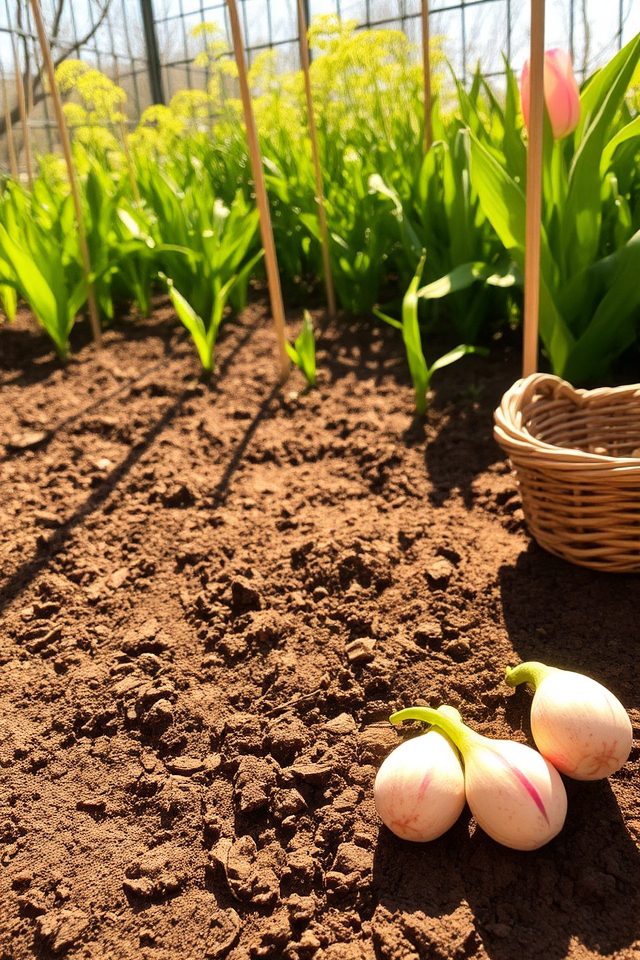
Determining the right planting depth for tulips is essential for their growth and blooming. Typically, tulip bulbs should be planted at a depth of about 6 to 8 inches, with the pointed end facing upwards. This allows for proper root establishment and protects the bulbs from frost. Make certain your planting hole is well-drained to prevent rot, as tulips thrive in well-aerated soil. Adjust the depth slightly based on your soil type and climate for best results.
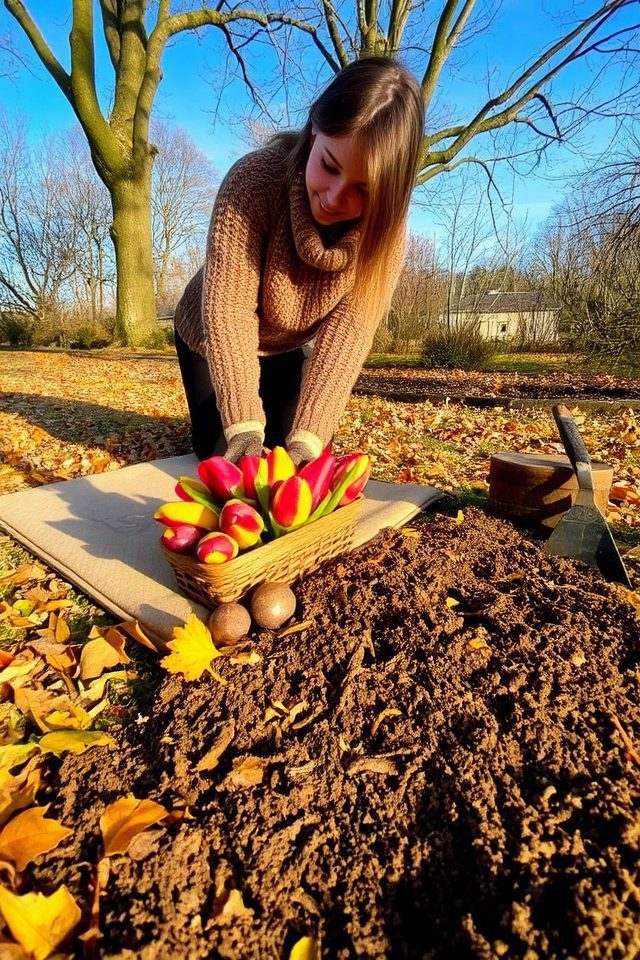
Planting tulips at the right time is essential for a vibrant display in your garden. Ideally, you should plant tulip bulbs in the fall, about 6 to 8 weeks before the ground freezes. This timing allows them to establish roots before winter. In most regions, this means planting from late September to early November. Make certain the soil is well-drained and prepare the site by digging to a depth of about 6 inches for ideal growth and blooming come spring.
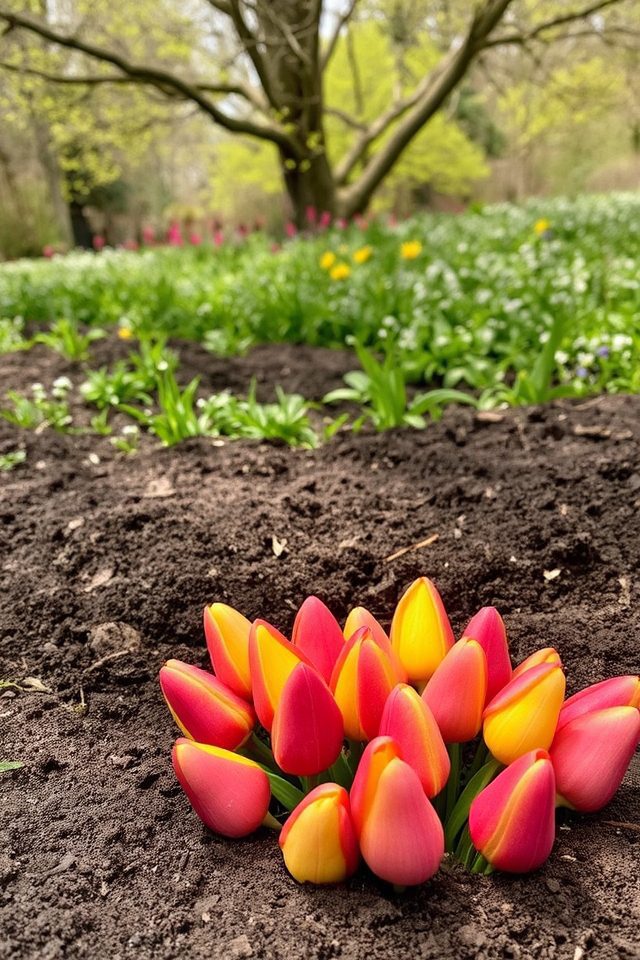
When creating a tulip garden, proper spacing is essential for healthy growth and ideal blooming. Ideally, plant tulip bulbs 4 to 6 inches apart to allow adequate air circulation and prevent overcrowding. This spacing guarantees that each bulb receives sufficient nutrients and sunlight. Additionally, consider planting them in clusters or drifts for a more natural look, while maintaining the recommended distance. Proper spacing not only enhances the visual appeal but also helps prevent disease and increases the longevity of your tulips.

Watering techniques for tulips are vital to their growth and health. Tulips prefer well-draining soil, so it’s important to avoid overwatering. Water them thoroughly when the top inch of soil feels dry, usually around once a week during their active growing season. Early in their growth, make sure they receive consistent moisture, but reduce watering as the foliage dies back in late spring. A soaker hose or drip irrigation can help provide even moisture without saturating the bulbs.
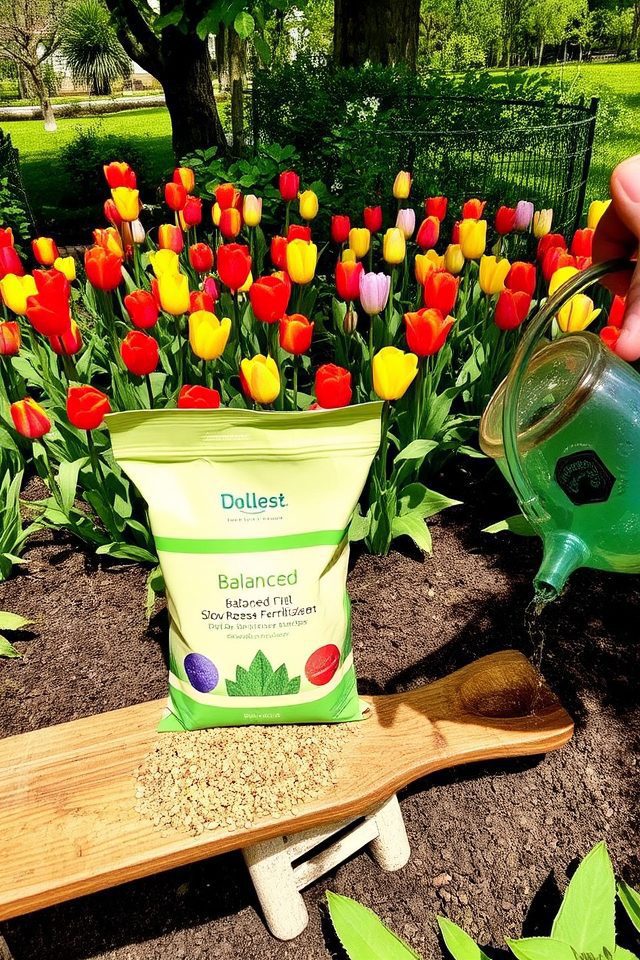
Fertilizing your tulip garden is essential for peak growth and vibrant blooms. Start by incorporating a balanced, slow-release fertilizer into the soil before planting, focusing on one that is low in nitrogen to prevent excessive foliage at the expense of flowers. During the growing season, apply a liquid fertilizer every few weeks to provide a nutrient boost. Be sure to water thoroughly after fertilization to enhance nutrient absorption and promote healthy root development.
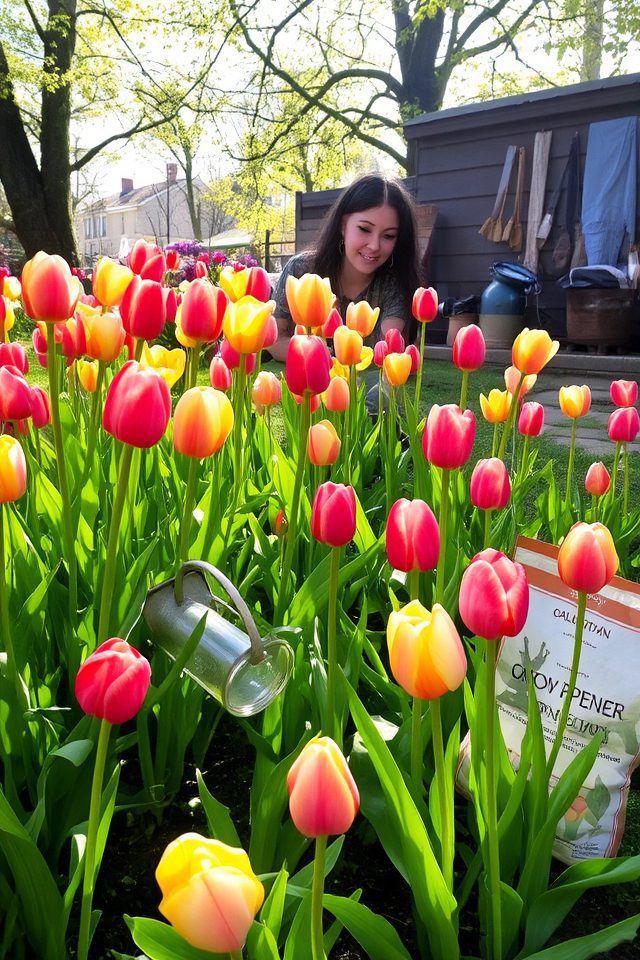
Weed control is essential for maintaining a healthy tulip garden, as these unwanted plants compete for nutrients and water. Employing strategies such as mulching with organic materials, like wood chips or straw, can suppress weed growth while retaining soil moisture. Regular hand-pulling or using tools to remove weeds is vital, especially in early growth stages. Additionally, applying pre-emergent herbicides can prevent weed seeds from germinating, ensuring your tulips thrive without competition.
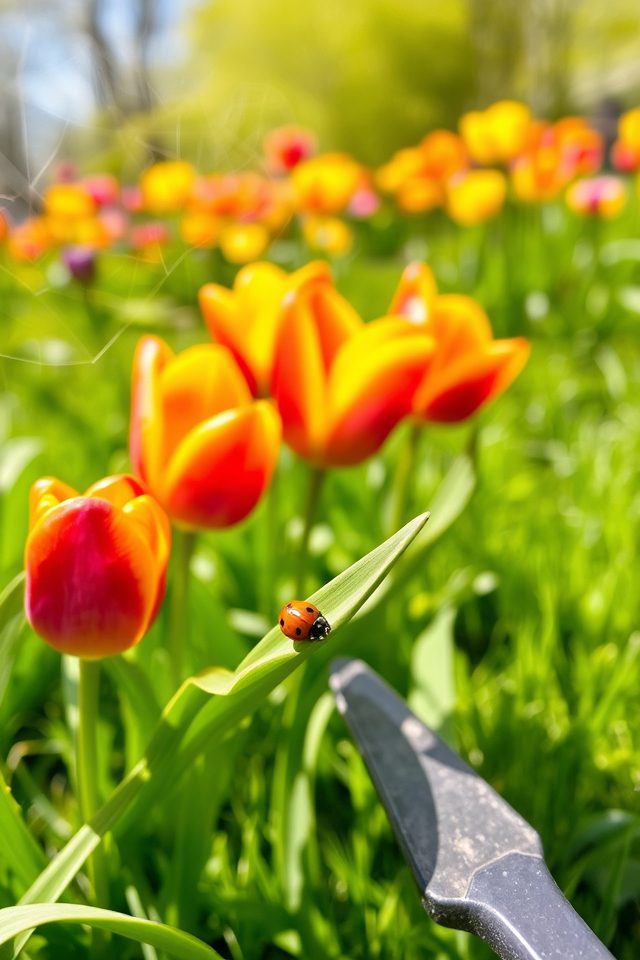
Pest and disease management is essential for maintaining a vibrant tulip garden. Regularly inspect your plants for signs of pests such as aphids, bulb mites, and slugs. Introduce beneficial insects like ladybugs to control populations naturally. To prevent diseases such as botrytis and fungal infections, guarantee proper air circulation by spacing your tulips appropriately and avoiding overhead watering. Implementing these strategies will help keep your tulip garden healthy and thriving throughout the blooming season.
Deadheading is the practice of removing spent flowers from your tulips to encourage a longer blooming period. By snipping off the faded blooms at the base of the stem, you prevent the plant from diverting energy into seed production. This prompts the tulips to focus on producing more flowers instead. It’s best to deadhead your tulips after they’ve bloomed but before the seed pods form, ensuring your garden remains vibrant for an extended time.
Mulching is an essential practice for maintaining a thriving tulip garden. By applying a layer of organic mulch, you can help retain soil moisture, suppress weeds, and regulate soil temperature. This not only provides a stable environment for tulip bulbs but also enriches the soil as it breaks down. Additionally, mulch can protect tulip bulbs during winter, preventing freeze-thaw cycles that could damage them, ensuring vibrant blooms in spring.
Preparing for seasonal changes in your tulip garden involves several key steps to guarantee vibrant blooms year after year. Begin by evaluating the soil quality and drainage, as tulips thrive in well-drained environments. Mulch the flowerbed to regulate soil temperature and moisture, protecting bulbs from temperature fluctuations. Additionally, plan for proper watering schedules as seasons change, making sure your tulips receive adequate nutrients without becoming waterlogged. Finally, consider planting companion plants that thrive in similar conditions to enhance your garden’s overall health and beauty.
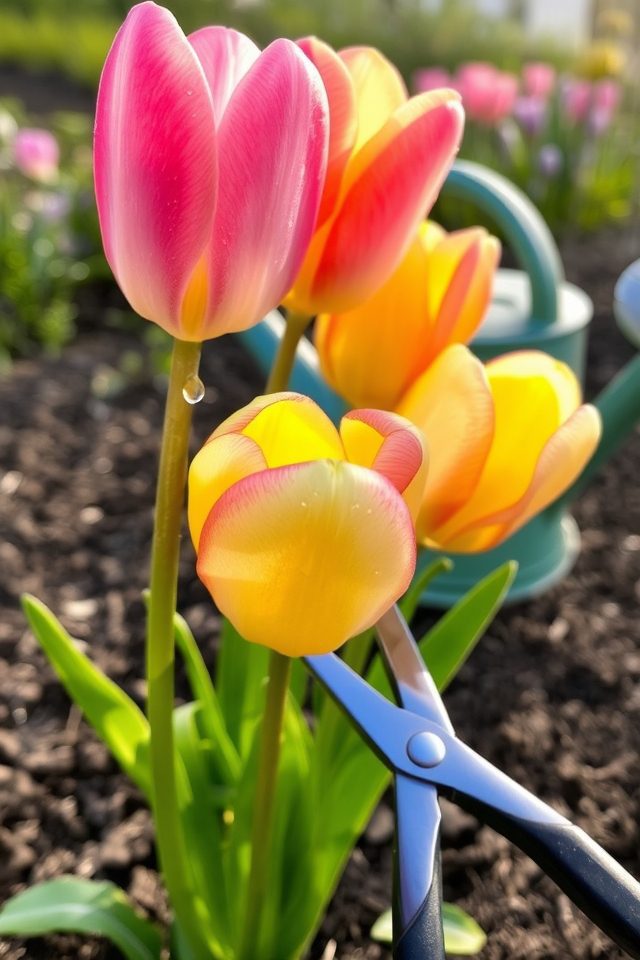
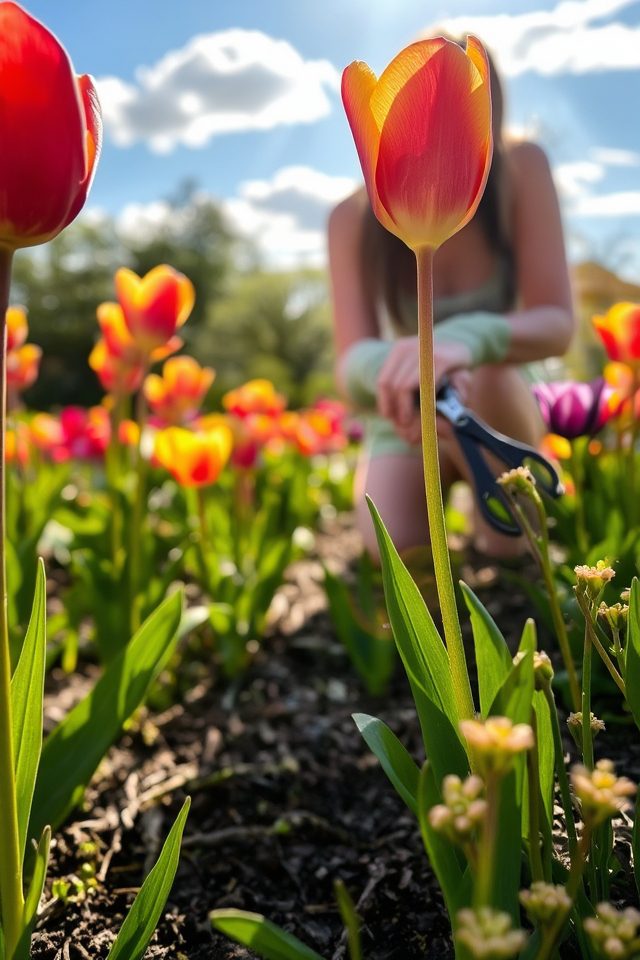
Harvesting cut tulips requires careful timing and technique to guarantee vibrant blooms. The best time to cut tulips is in the early morning or late afternoon when temperatures are cooler. Use sharp, clean scissors or garden shears to cut the stems at a 45-degree angle, ideally when the buds are just beginning to show color but not fully open. Immediately place the cut tulips in water to keep them fresh and promote longer-lasting enjoyment in arrangements.
After tulips bloom, proper care is essential to guarantee next year’s display. Allow the foliage to remain until it naturally withers, as this helps store energy in the bulb. Avoid cutting the leaves prematurely, as this can deplete the bulb’s strength. Water the plants during dry spells, and consider fertilizing with a balanced fertilizer to promote bulb health. Once the leaves turn yellow and die back, you can remove them to tidy the garden.
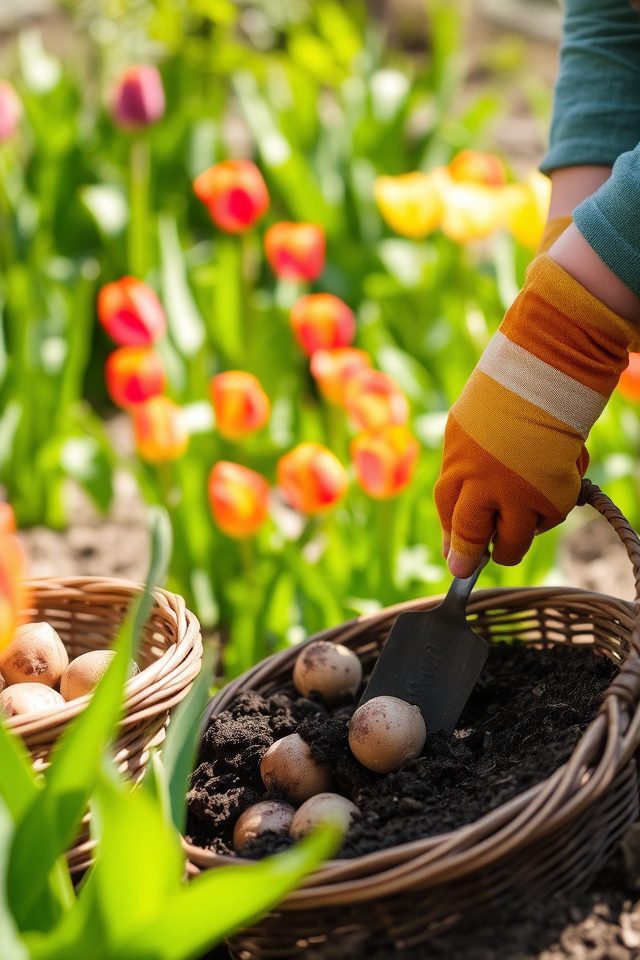
Saving tulip bulbs for future seasons is a rewarding practice that guarantees beautiful blooms year after year. After flowering, allow the foliage to die back naturally; this helps the bulbs store energy for the next season. Once the foliage has turned yellow and wilted, carefully dig up the bulbs. Clean them, let them dry, and store them in a cool, dry place until the fall planting season. Remember to label the bulbs for easy identification when it’s time to plant!
Creating your perfect tulip garden is like orchestrating a vibrant symphony of colors and fragrances. By selecting a diverse mix of tulip varieties and giving them the ideal conditions to thrive, you’re setting the stage for a breathtaking spring display. Don’t forget to care for your blooming beauties and plan for the seasons ahead. With a little patience and attention, your garden can transform into a stunning masterpiece that delights the senses and brings joy to your outdoor space.
Don't let aphids, slugs, and caterpillars ruin another plant. Take back control with simple, natural methods that actually work.
